 | Home > My Range Rover > Cold Turkey over, think I've found my next one! |
 
|
|
|

| stevepen Member Since: 03 Feb 2017 Location: Cheshire Posts: 64  
|
Brilliant Guide. Just done mine at weekend. I changed the O rings a few months ago but still got the oil smell now and again. Gaskets done now so hope it's solved it. The old ones were very flat and it was a good opportunity to clean out all the crud from the intake manifold etc 2011 Vogue SE TDV8 |
||
|
| mm289 Member Since: 11 Mar 2016 Location: Hampshire Posts: 207 
|
I found mine still smelt for quite a while after I did the change, I think the oil only burns of certain places when it is really hot or long run. Been fine for the last year or more but took months before it cleared initially.
|
||
|
| stevepen Member Since: 03 Feb 2017 Location: Cheshire Posts: 64
|
Yes, same here. Done a couple of weeks ago and still had a feint oil smell for a few days. Was worried I'd not put something back properly. Nothing now and when someone is in the car with me I don't have to blame the car in front |
||
|
| Pysta Member Since: 05 Sep 2021 Location: Bra Posts: 24  
|
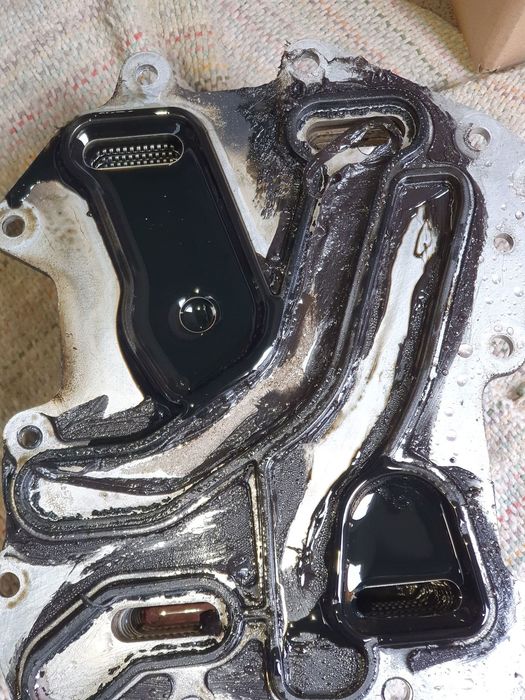
Finding myself in the same situation as most of you here, I prepared the tools, consumables and extra spare time to get the job done on a nice Saturday morning. The disassembly was going pretty smooth, took me something around 2 cups and an hour until I got the cooler assy out ... just to find out that some F%
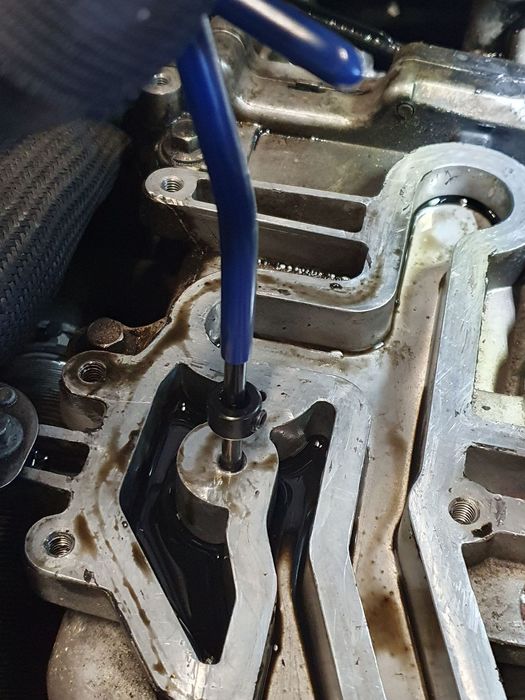
...to add to my immeasurable joy, he also stripped 4 bolts. Oh the long-forgotten joys of in-car thread repair jobs
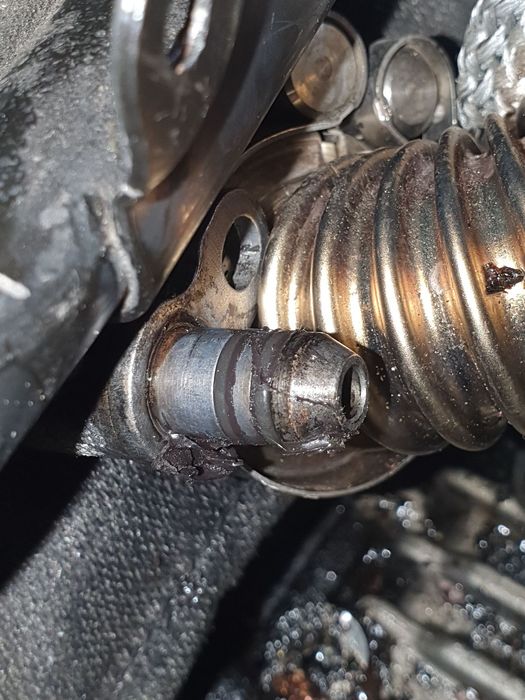
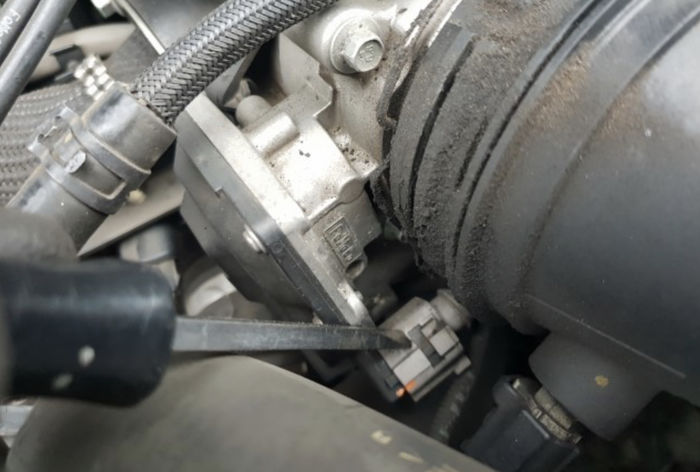
...and as a cherry on top, as he decided to use silicone instead of 20 euros worth of new gaskets, he even skimmed on 33 cents and put the goo onto the turbo oil pipe as well! Sure is sure:
Now to wait and see what other damage I have not been able to find and fix |
||||||||
|
| JMC Member Since: 01 Feb 2009 Location: Aberdeen-Angus Posts: 779  
|
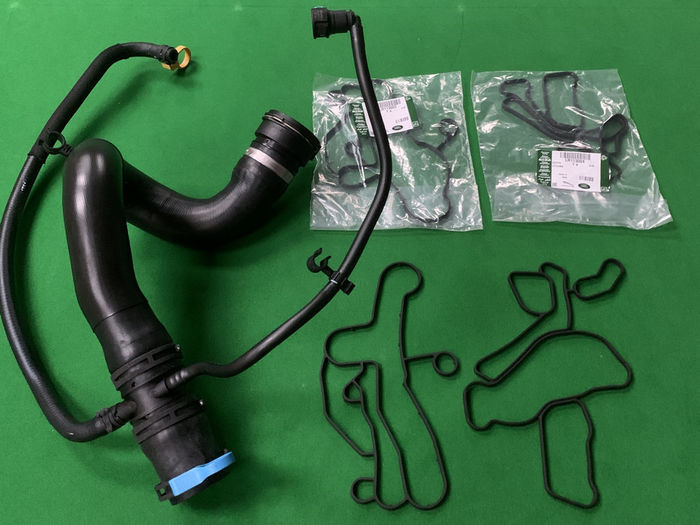
Delivery arrived from Rob at Duckworths today and it's worth noting that the oil cooler gaskets have new part numbers, signifying an update / change to the original parts.
|
||||
|
| paul530a Member Since: 06 Feb 2022 Location: Harpenden Posts: 2 
|
JMC, do you have a part number for the large air hose and connectors shown in your photo. I'm just about to start the whole process on my 2011 V8. |
||
|
| mezo Member Since: 13 Mar 2022 Location: Milton Keynes Posts: 22 
|
Great guide - i ordered the o-ring for the coolant hose, but elected not to replace it as it seemed ok - may live to regret that... |
||
|
| paul530a Member Since: 06 Feb 2022 Location: Harpenden Posts: 2
|
I've just completed the fix. It would have been extremely difficult without this great guide. Some of the bolts were tricky to find without reference to the photos. I got the new seals part numbers are LR113003 & LR113004 and replaced the orings in the oil feeder and the water pipe.
|
||
|
| mm289 Member Since: 11 Mar 2016 Location: Hampshire Posts: 207
|
So my original "new to me car thread" has in reality turned into the oil cooler replacement thread
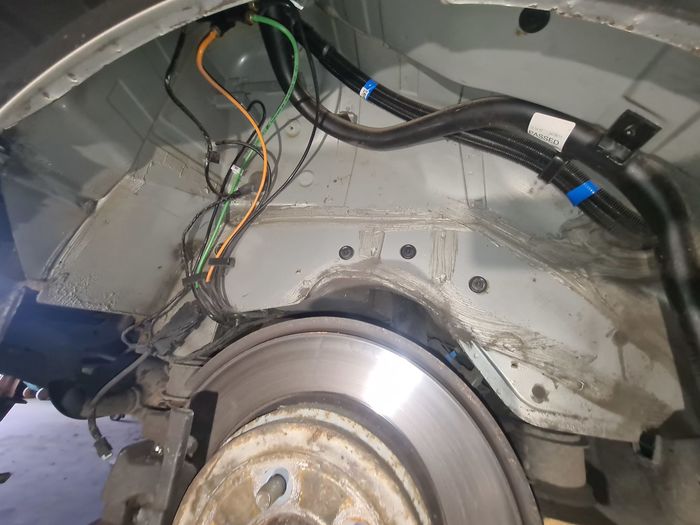
The rust issue on these tends to be from inside the front of the arch and on the arch itself, combination of stone chips and accumulation of muck that never gets cleaned away. They are also notorious for corroding underneath the plastic cill trim that covers the jacking points etc, so I thought I would pull off these as well to check out the cills. That meant removing the running boards which was easier than I thought 2 x 13mm bolts and 4 x 10mm on each board. The cill trim is removed by popping out the 8 or so plastic retaining clips underneath, then if you give it a smart tap the upper retaining clips will pop out from the top off the cill. I would recommend remembering/photographing the way the running board, cill trim, mudflaps orient as I had a lot of faff trying to get these to fit back together (mine has the design pack as well which probably didn't help). Anyway, once the cill trims are off hopefully
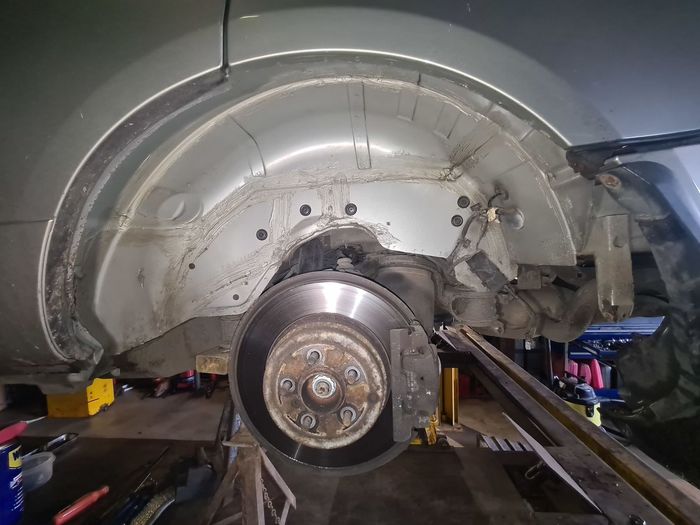
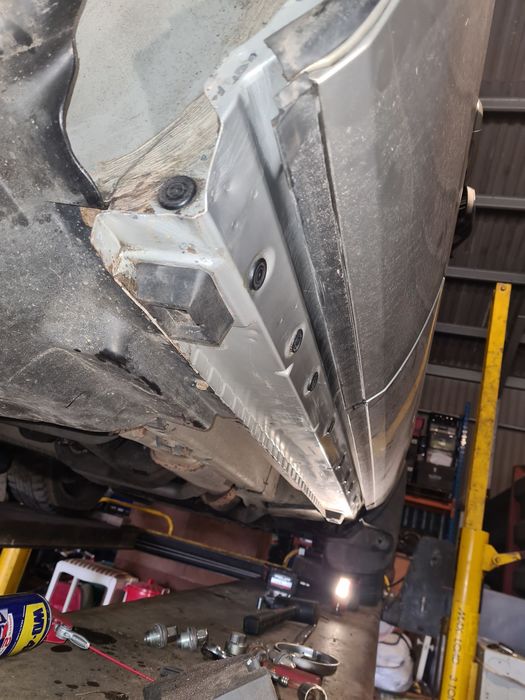
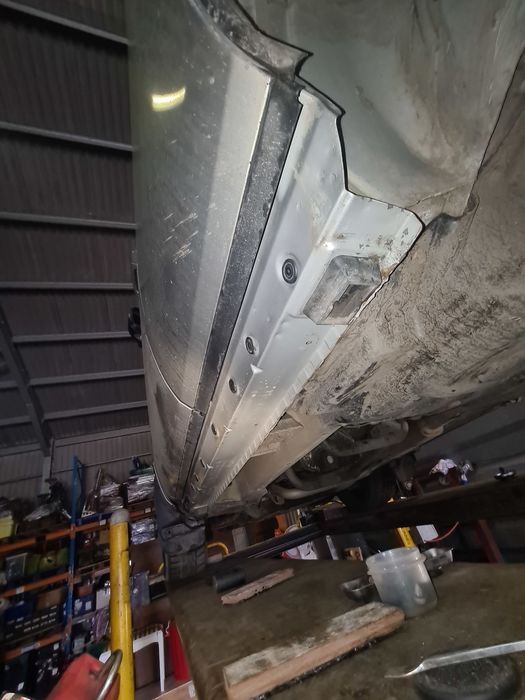
A set of lovely rust free cills There was a few bits of surface discoloration on the inner arch and some stone chip damage on the lip which I treated with Hydrate 80 (Bilt Hamber rust converter which I really rate) and then sprayed over with a LR spray touch up can just for added protection. Probably took me about 5 hours but most of that was trying to get it back together I need to replace a couple of the larger (10mm head) self tapping bolts as the captive nut bit came off on disassembly and disappeared somewhere - so if anyone knows of a link to these or what size they are let me know Cheers, Paul. 2011 TDV8 AB 2006 TD6 AB (Gone to Wales) |
||||||||||
|
| dhallworth Member Since: 10 Oct 2011 Location: Glasgow Posts: 3188
|
It's nice to see one so solid in the cills after recent pictures!
|
||
|
| mm289 Member Since: 11 Mar 2016 Location: Hampshire Posts: 207
|
Not difficult to remove but fiddly. If you have sidesteps these need to come off first which is easiest done on a ramp.
|
||
|
| MC-RR Member Since: 26 Jan 2022 Location: Monte Carlo Posts: 25 
|
What a superb walk through mm289 A pleasure to read and view.
|
||
|
| Jon G Member Since: 02 Dec 2016 Location: Leicester Posts: 120
|
Just done the O Rings on mine yesterday.
|
||
|
| nambFFRR Member Since: 07 Aug 2018 Location: United Kingdom Posts: 197 
|
Hi
Any advice appreciated |
||||
|

|
|
| All times are GMT + 1 Hour |
< Previous Topic | Next Topic > |
Posting Rules
|
Site Copyright © 2006-2025 Futuranet Ltd & Martin Lewis
![]()
