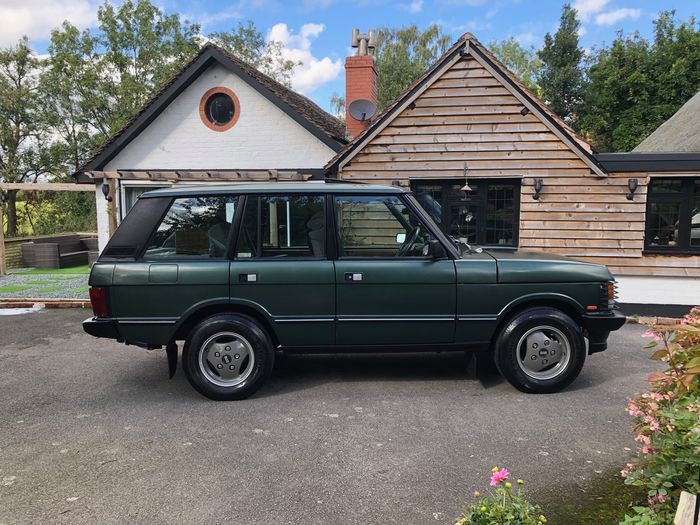
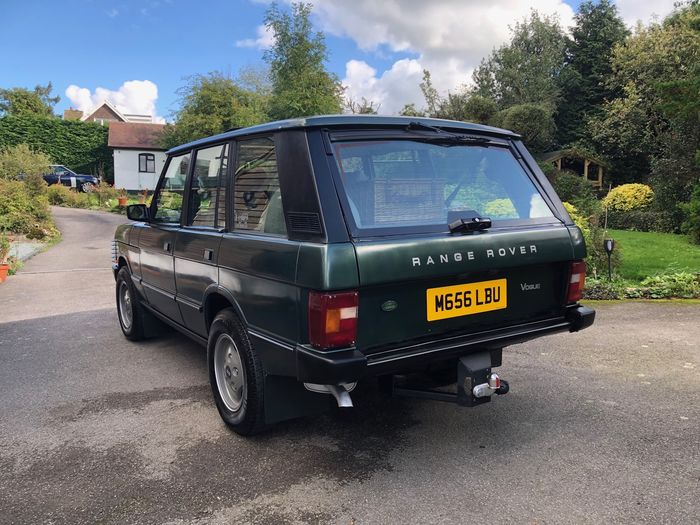
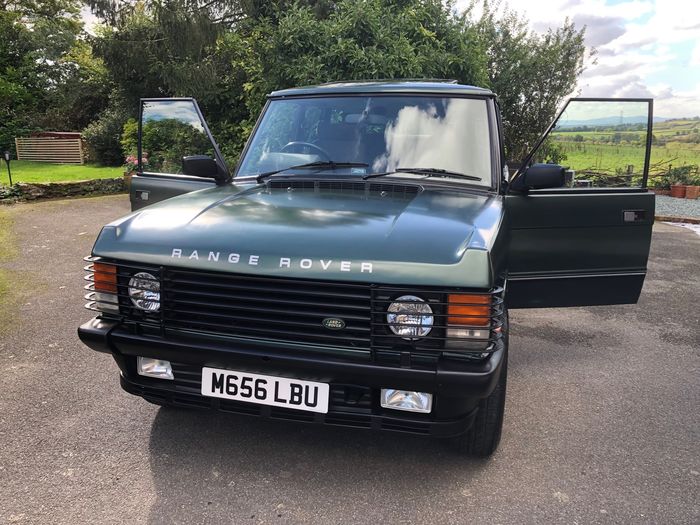
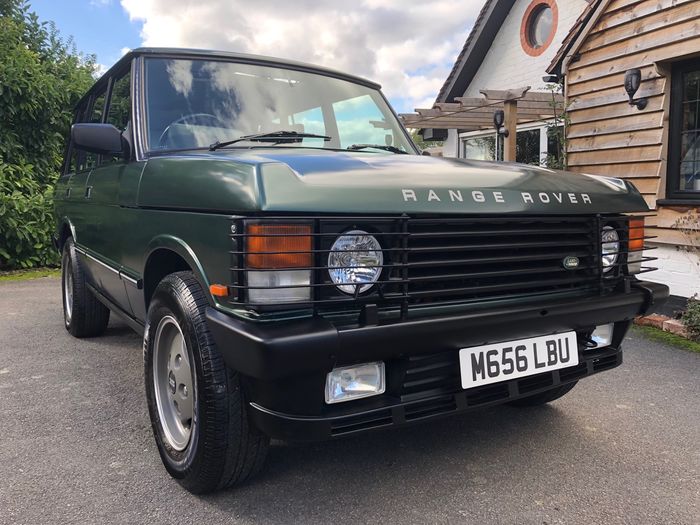
 | Home > Range Rover Classic > Sprayed my RRC with rattle cans!! |
 
|
|
|
| Scouse Exile Member Since: 09 Dec 2022 Location: East Midlands Posts: 306  
|
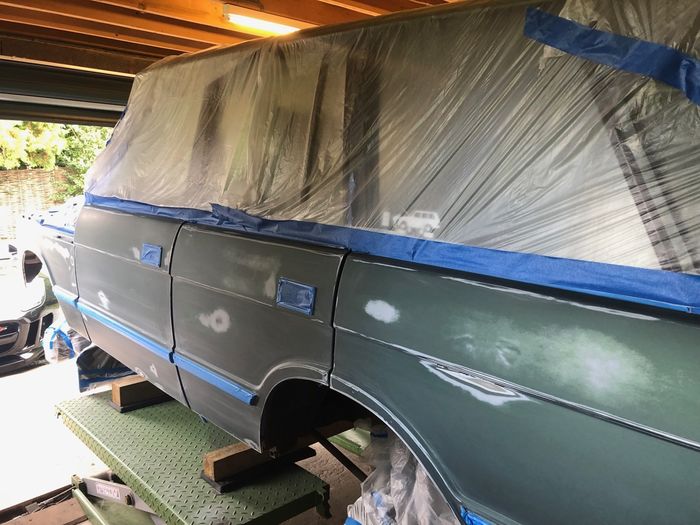
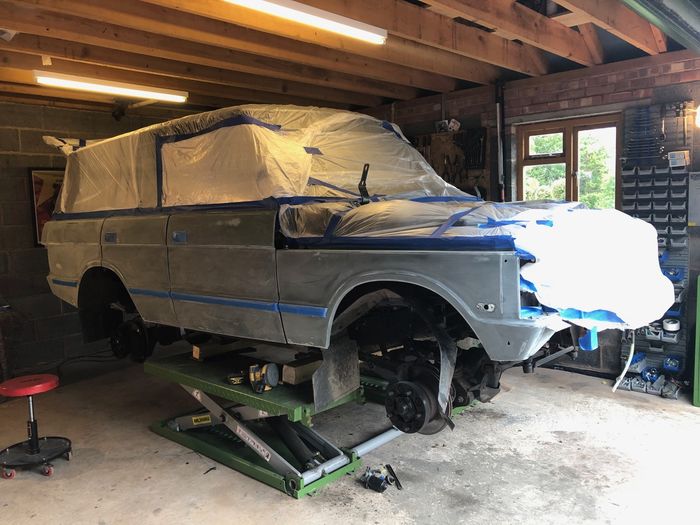
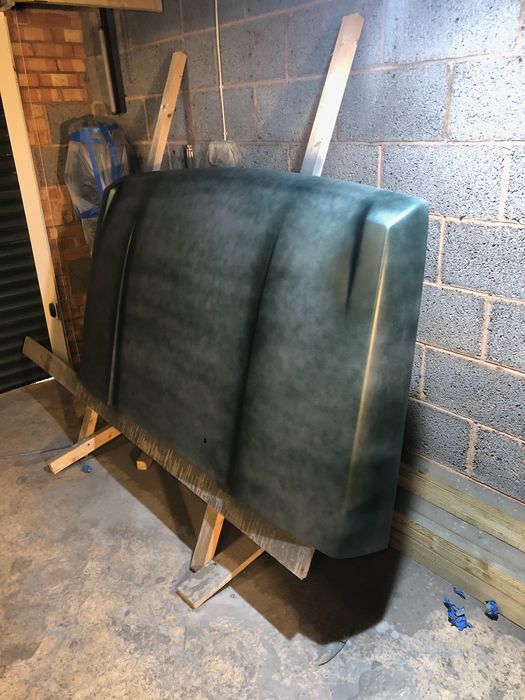
I think you've done a pretty good job, certainly the effort cannot be faulted. I only did one rear quarter panel after some rust repairs and that came out well but the hardest thing to do with a rattle can is to get good clear coat. Did you use 2k clear in a rattle can?
|
||
|
| ajac8 Member Since: 04 Oct 2011 Location: Shakespeares County Posts: 1653 
|
Cheers
|
||
|
| dhallworth Member Since: 10 Oct 2011 Location: Glasgow Posts: 3067 
|
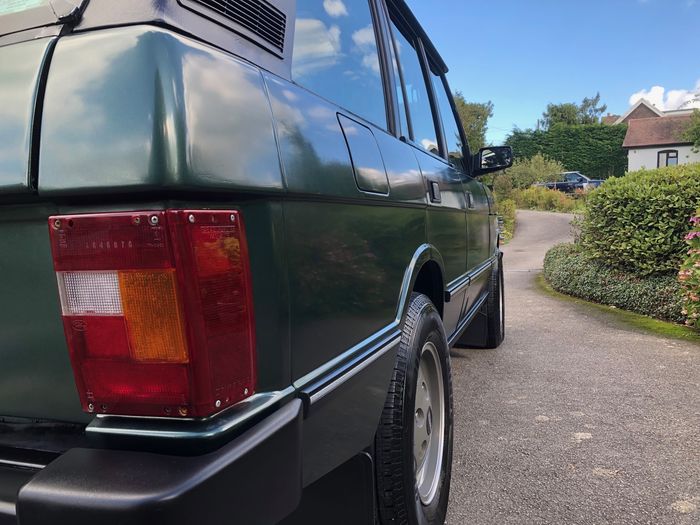
That's a good effort!
|
||
|
| Joe90 Member Since: 29 Apr 2010 Location: Hampshire Posts: 6407 
|
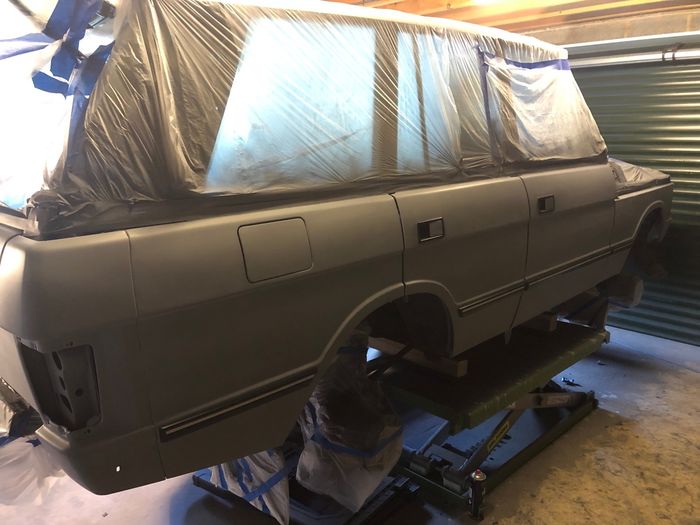
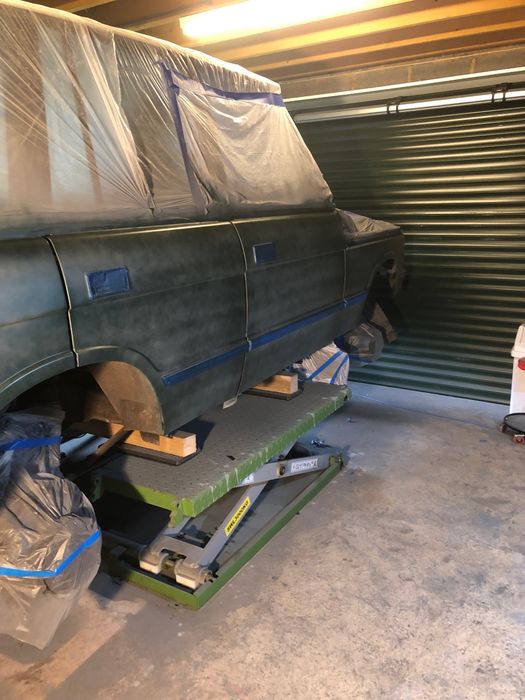
A tip I found for spraying with cans is to use two at the same time, at right angles to each other. This gets more paint onto the surface in one pass for a "better" finish. This also works with clear coat.
|
||
|
| Haylands Member Since: 04 Mar 2014 Location: East Yorkshire Posts: 8190 
|
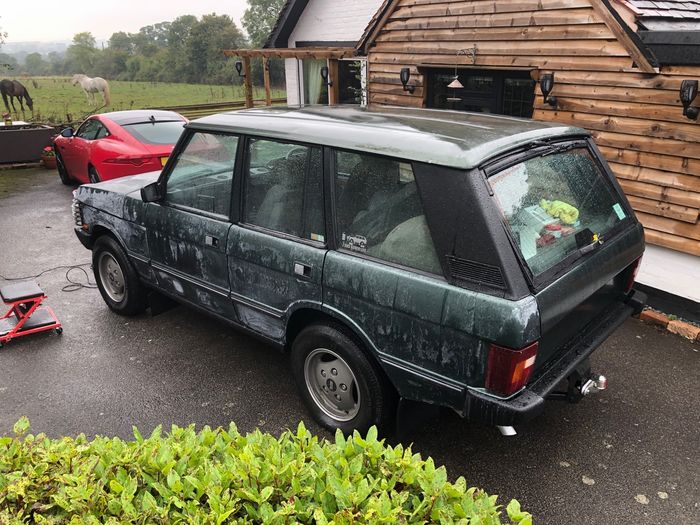
That looks great, seen so called professionals do a worse job... |
||
|
| V8 Bob Member Since: 15 Mar 2018 Location: Cumbria Posts: 357 
|
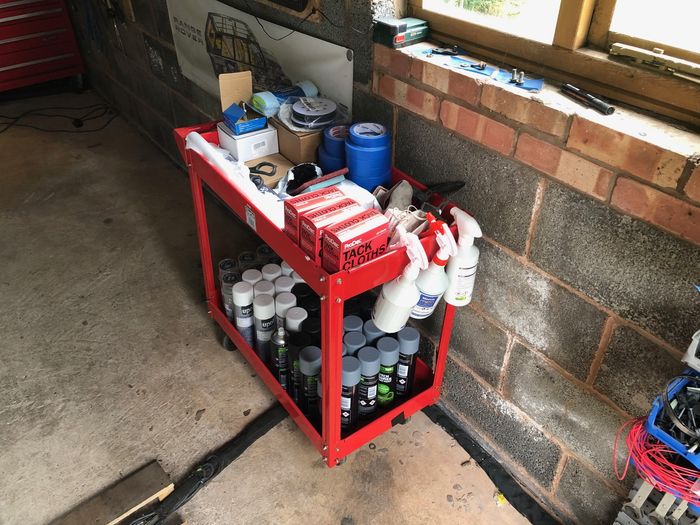
Did you use a rattle can shaker? 2012 tdv8 Westminster arrived Jan 19 gone Dec 23
|
||
|
| ajac8 Member Since: 04 Oct 2011 Location: Shakespeares County Posts: 1653
|
Yes... my right arm! |
||
|
| Gremlin500 Member Since: 11 Mar 2022 Location: Newcastle, UK Posts: 1421 
|
@Ajac8:
|
||
|
| ajac8 Member Since: 04 Oct 2011 Location: Shakespeares County Posts: 1653
|
|
||
|
| Cam-Tech-Craig Member Since: 03 Aug 2011 Location: Gloucestershire Posts: 16281
|
Maybe buy a cheap HVLP system for next try? Would have cost less in paint I think? |
||
|
| ajac8 Member Since: 04 Oct 2011 Location: Shakespeares County Posts: 1653
|
Just had to google that to find out what CTC was referring too. Yes I see your point - perhaps next time.
|
||
|
| Cam-Tech-Craig Member Since: 03 Aug 2011 Location: Gloucestershire Posts: 16281
|
Yes many many times. We have had a site spraying buisness in the family for many many years. We have sprayed hundreds of shop fronts, garages, window frames, steel staircases etc etc etc. All using HVLP systems.
|
||
|

|
|
| All times are GMT |
< Previous Topic | Next Topic > |
Posting Rules
|
Site Copyright © 2006-2024 Futuranet Ltd & Martin Lewis
![]()
