Joe90
Member Since: 29 Apr 2010
Location: Hampshire
Posts: 6432


|
PART II
Tackled the rear pipes first (easier believe it or not!)
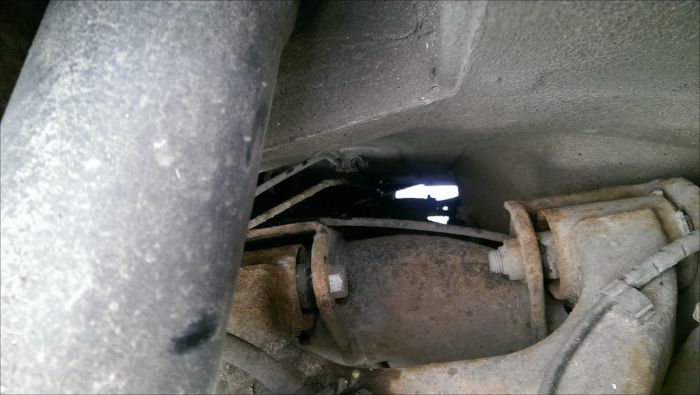
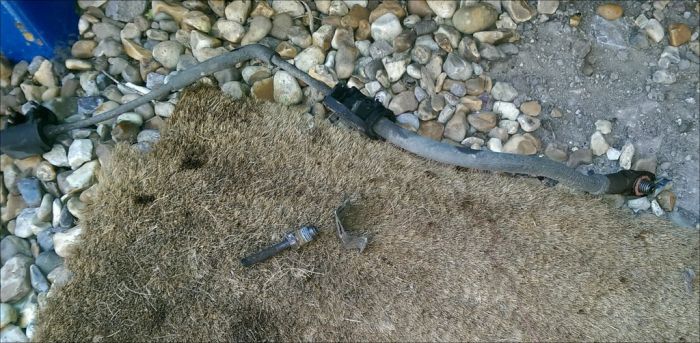
Rear flexible has to come out
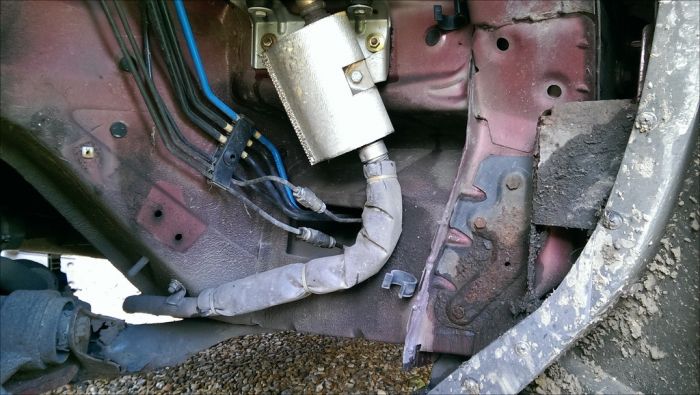
and the RR cross pipe
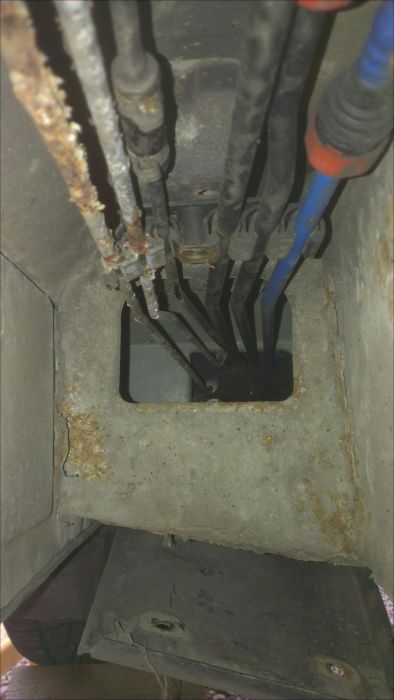
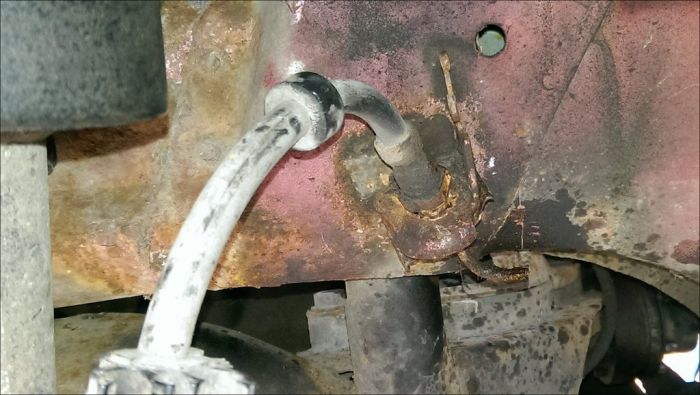
See corrosion from other side
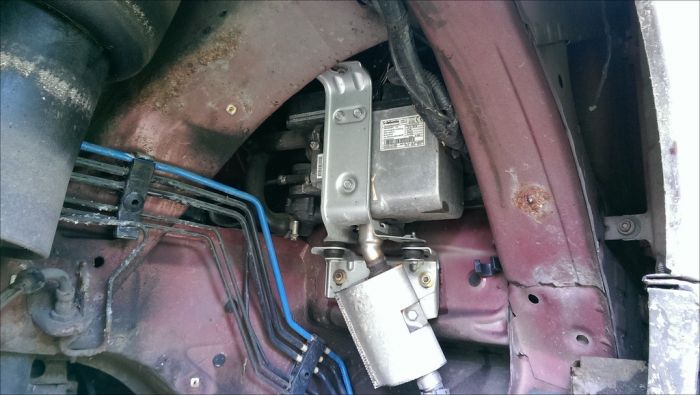
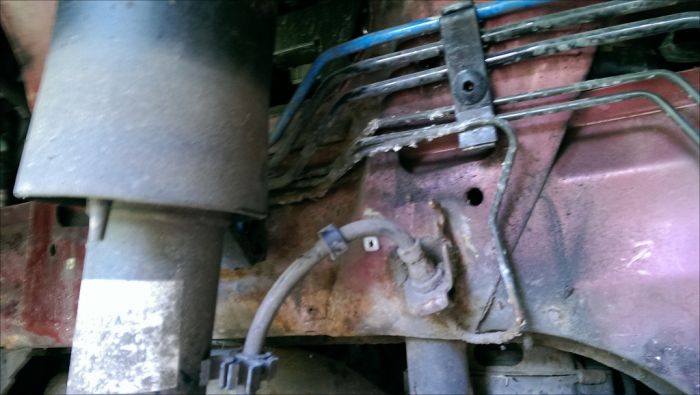
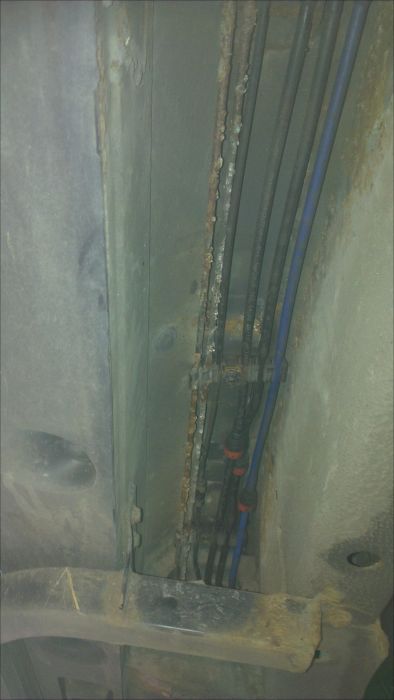
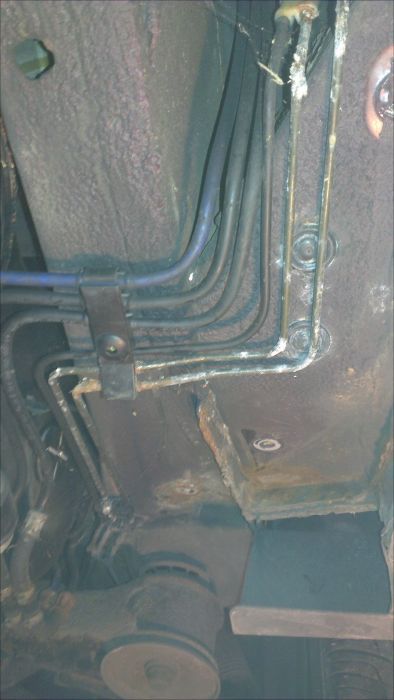
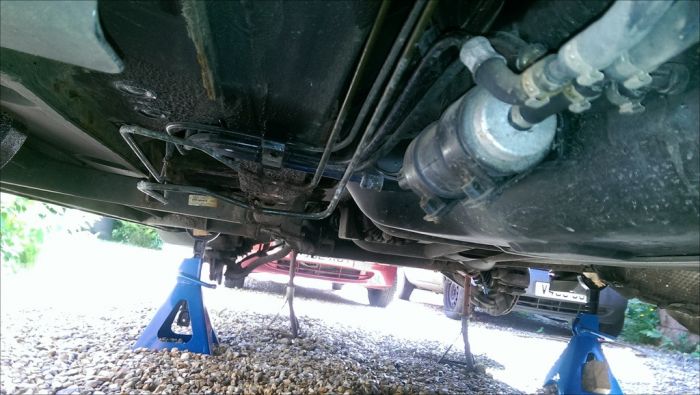
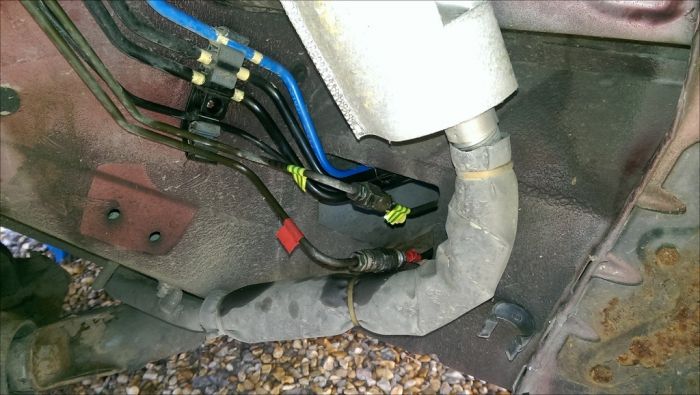
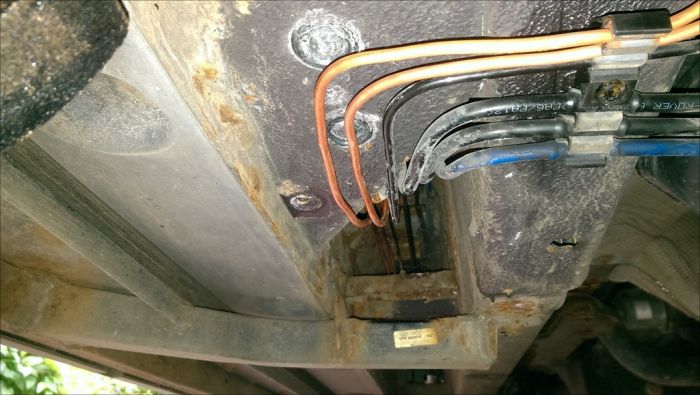
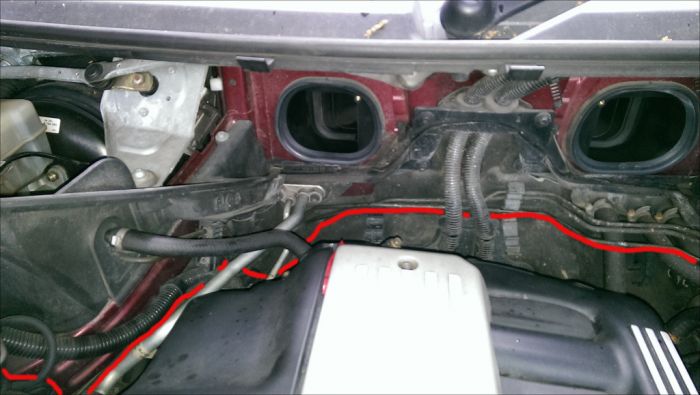
and the runs from front to back
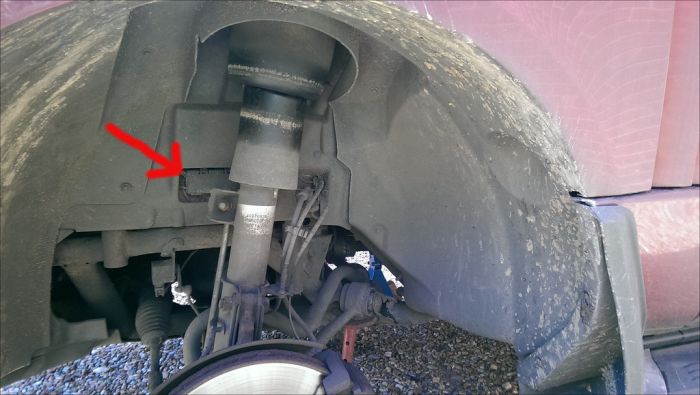
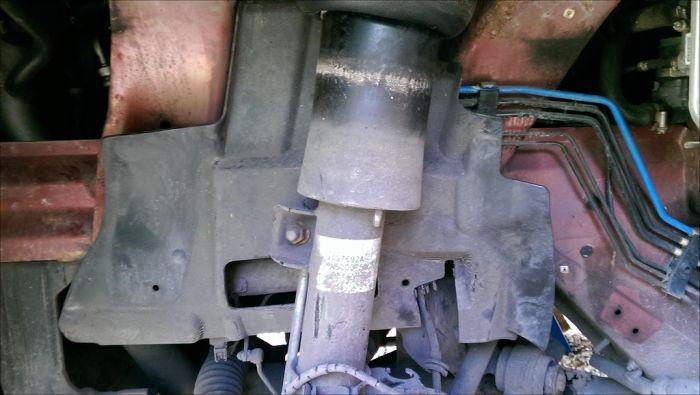
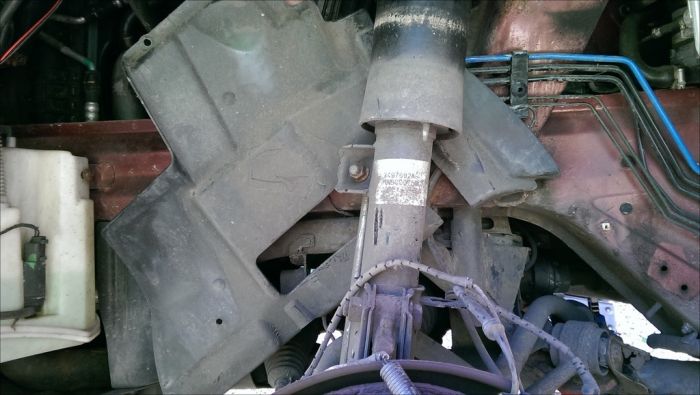
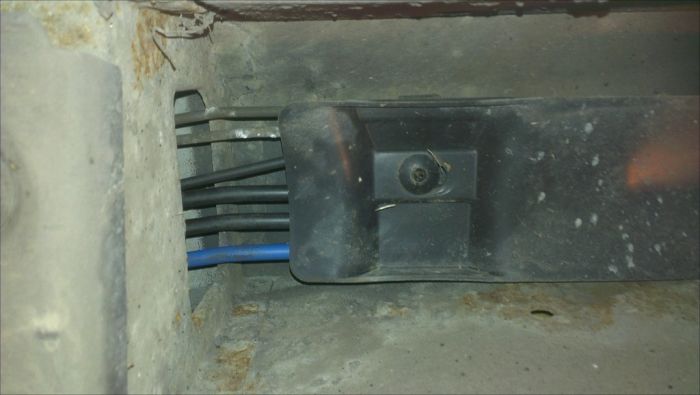
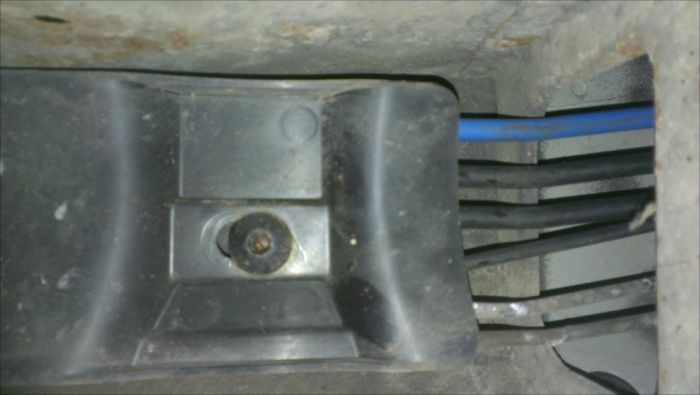
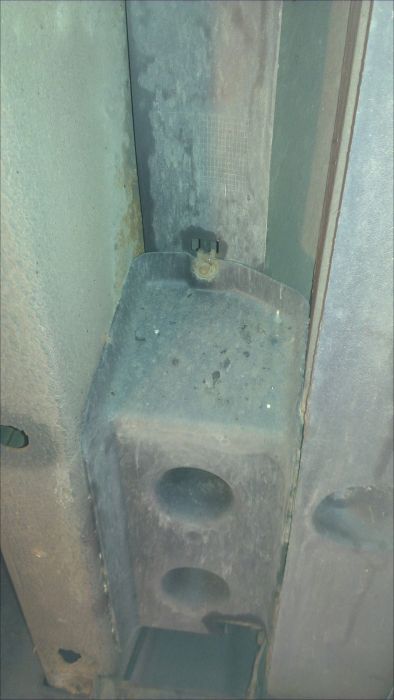
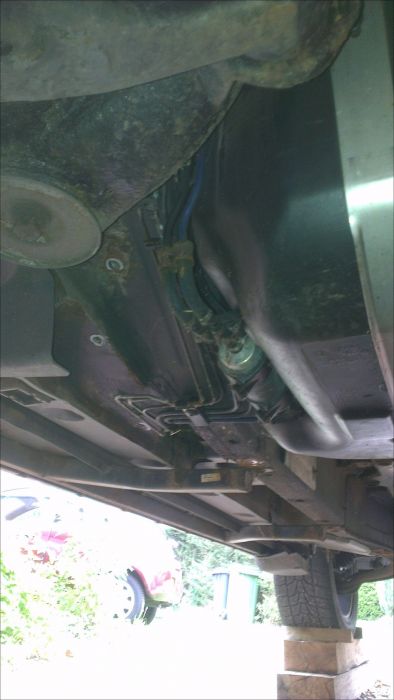
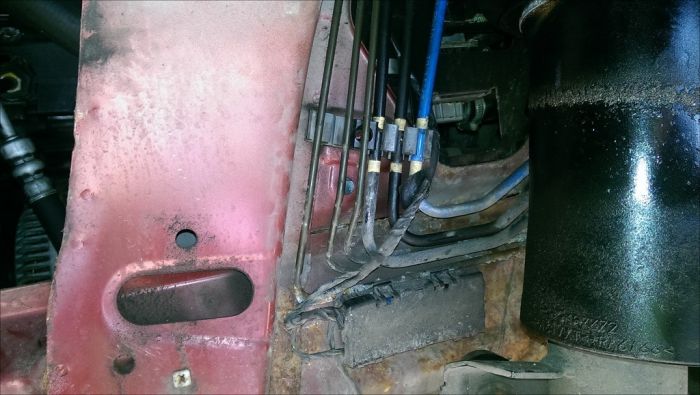
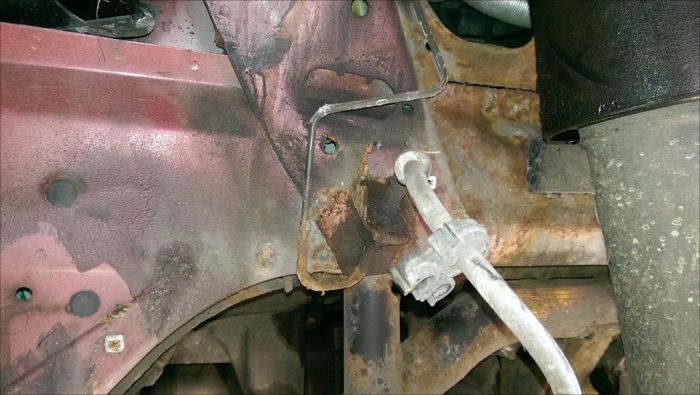
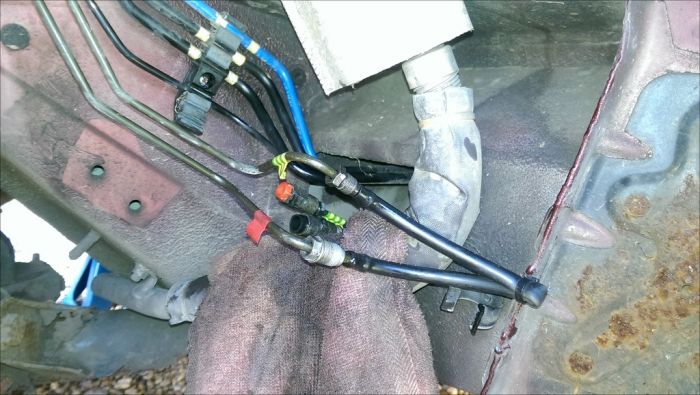
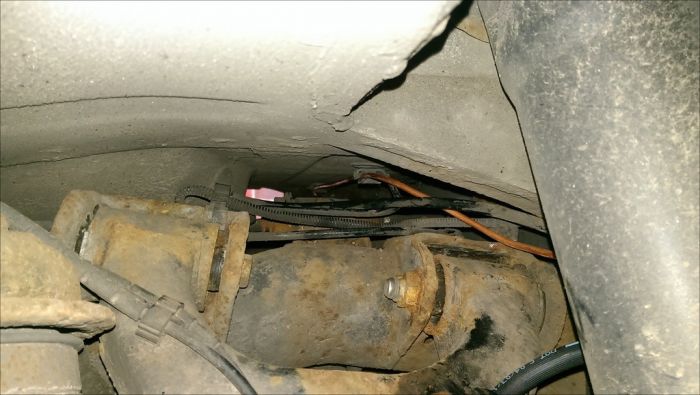
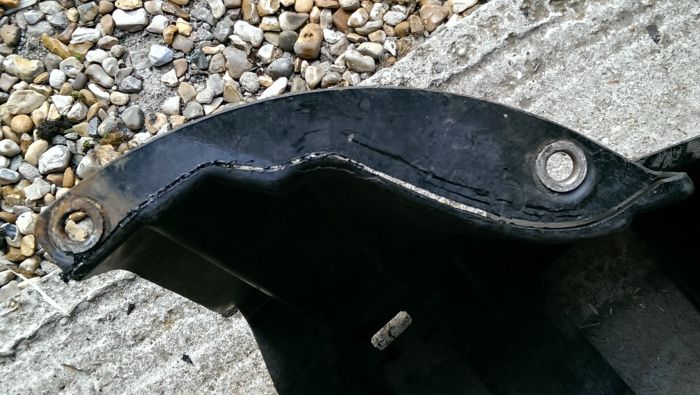
Corrosion to pipes in FR wheelarch, hidden by small cover
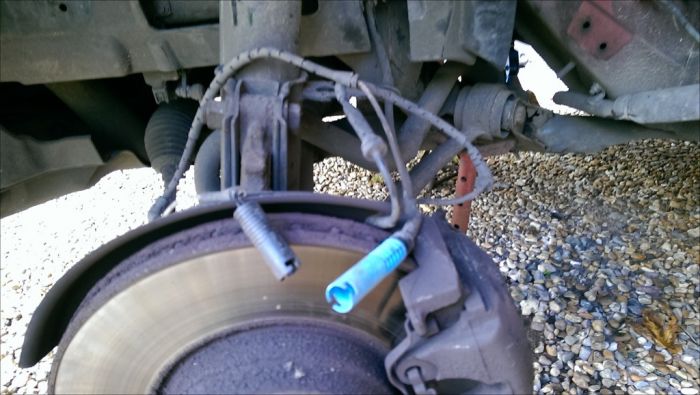
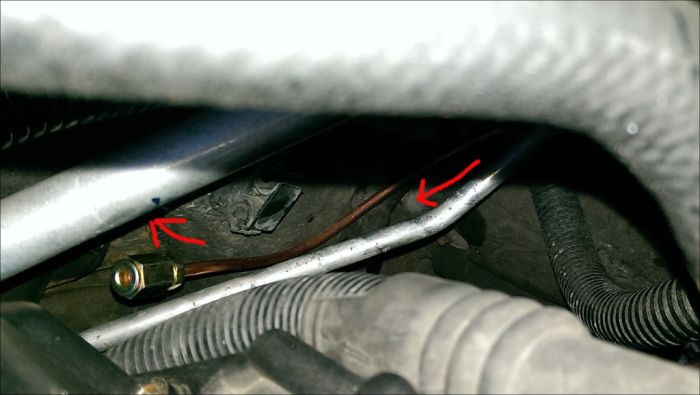
Corrosion to FL pipe (will get to that!)
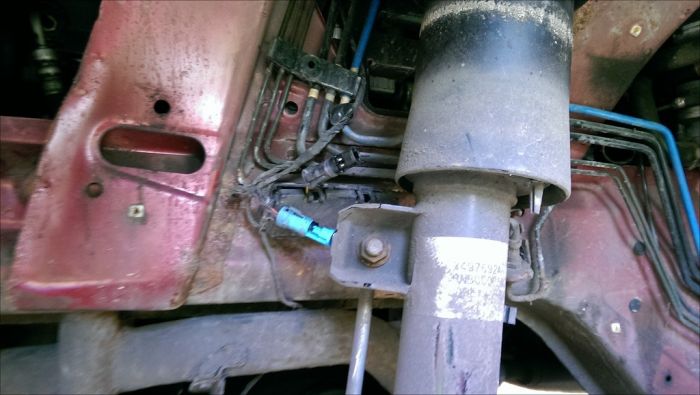
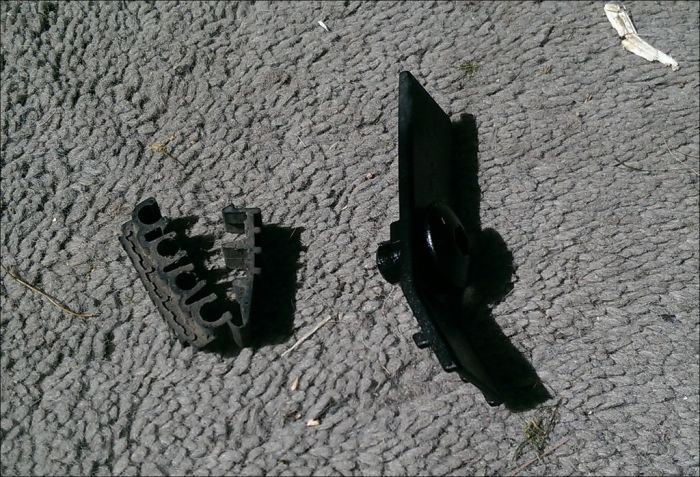
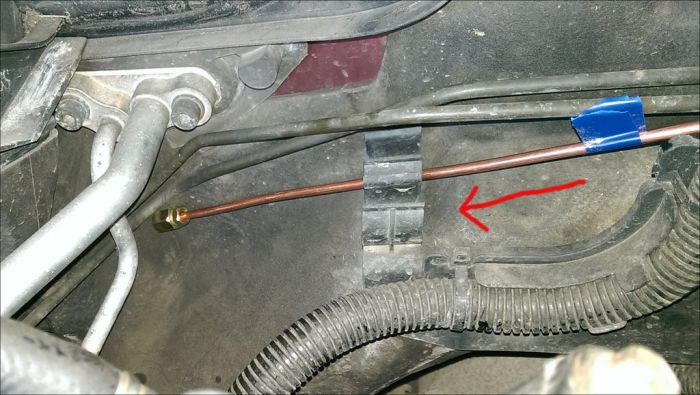
Those clips I was going on about in Part I
Oh and a before and after shot following Mr Muscle action! (it is not all work, in fact I had some fun fixing a leaking cistern in the house when I got bored!)
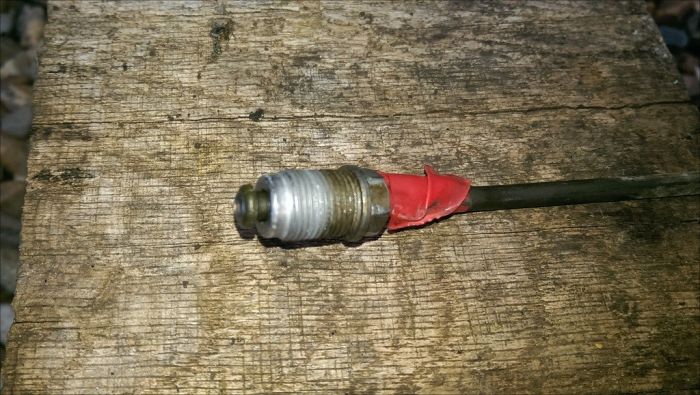
Right, to work! First up was to "label" the two main runs to the back. LR had kindly used a larger fitting on one of the pipes, so will have to reuse this as I don't have any! This labelling is necessary because I am swapping to new pipes.
(Suppose I should have put a normal sized fitting in the picture too!) Worth knowing though, if you plan to do any work in this area, to check what parts you may need.
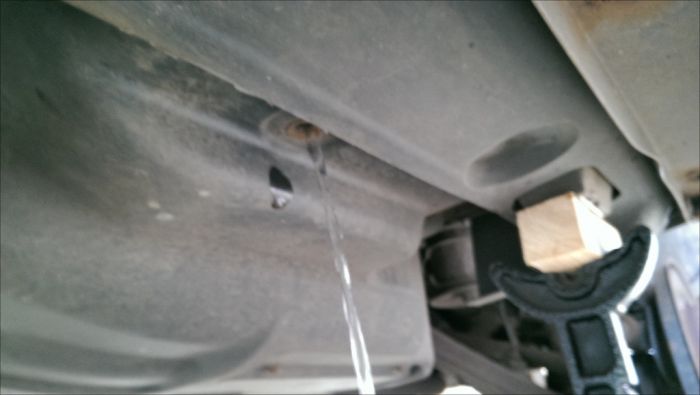
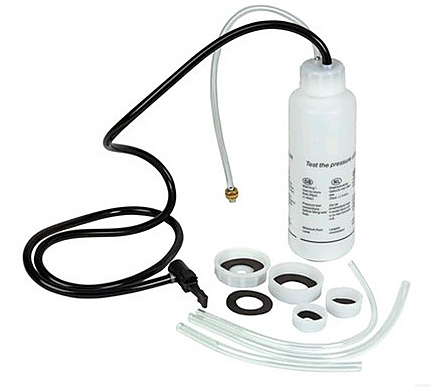
It has never worked for me - on any car, but might as well try it here. removed float from fluid cap, fitted small plastic bag over the sensor and tightened up. Supposed to stop fluid running. You can just see the bag if you look closely. When I did this, I removed the white float from the sensor pole for a bit more space. If you do this, take care to catch the small washer shaped magnet in the float which activates the sensor. I mislaid this on the bench and only after getting "Check Brake Fluid" faults and no suspension, did I realise what was wrong. You can short the pins in the sensor connector with a paperclip to test that the wires are working.
Managed to crack open both of the backward runs on the couplers, very tight! 11mm and 15mm open ended spanners. And yes, they started dripping. Grabbed some small hose and popped over the ends. Tight fit, drips stopped. 
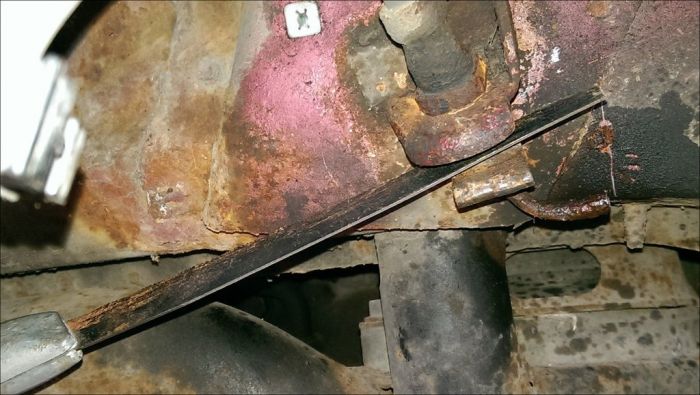
Tackled the RL fexible next. removed the two allen key fixings ( you need to retain these for the new pipe ) and undid the 11mm bolt on the caliper, catching the drips. Clean up this area carefully, there is likely to be a fair amount of rusty metal to clean off to allow the new hose to fit on. The other end of the flexible was not so much fun. As probably expected, the 11mm nut on the fitting just span around, so I cut off the pipe and used a ring spanner to remove it. No such luck on the other side, had to hacksaw through the whole fitting in order to remove it! There is a little spacer behind the star shaped hole, hang onto to this for refitting.
Right decision time, I could see that I had little chance of removing the RR pipe in one piece, and little chance of refitting one, so I cut the old pipe on the door side of the LR wheelarch. I was then able to remove the crosspipe and the front to back pipe - giving me comfort that I could do the same on refit.
Removal of the LR pipe went without further incident.
Time to make up the new pipes. Using a tape measure I worked my way along each of the old pipes, following the corners, and including the bits I chopped off, to get a reasonably accurate length. YMMV, but for me: LR pipe - @ 2600mm, RR pipe - front section - @ 2200mm, rear cross pipe section - @ 1510mm. Allow a little bit extra, say 1 or 2 cm, to provide some slack if you mess up a flare! I used a combination of pipe cutter and hacksaw with new blade to cut the pipe of my 7m reel. I won't go into the detail of making up the pipes, other than to say ensure a square end, chamfer the edges, burr the inside of the pipe, and you need a single flare.
You can see how I did it and what I used in this youtube video. I had six flares to do, and even with this great tool had three failures. Pays to take your time and get all the above right. I used the 3/16 SAE tool.
Flaring Tool and it really is that easy! (Sorry video now gone!)
I then set out to shape the new pipes the same as the old. This seemed like a good idea, until I offered up to the car when just about every bend was wrong! Fortunately, with copper pipe, and a warm day, it was possible to reshape in situ.
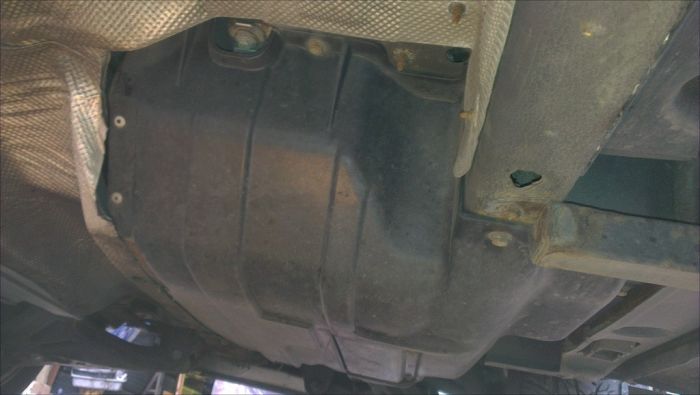
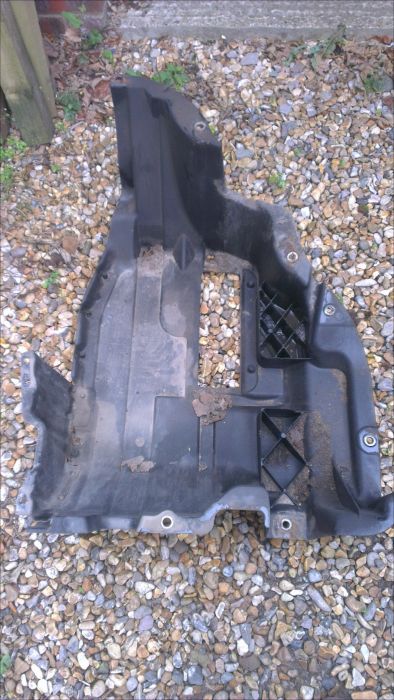
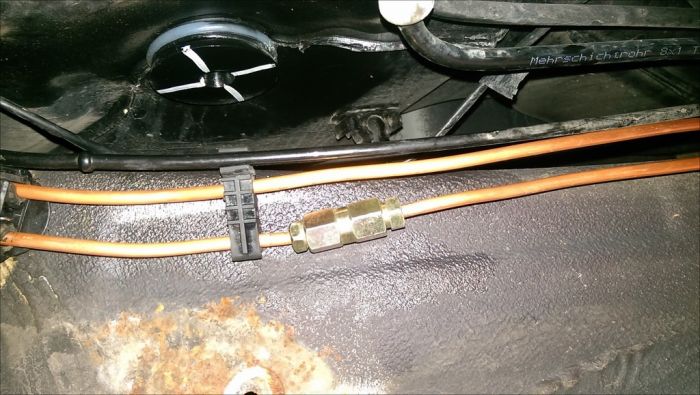
Fitted the RR crosspipe first, then connected this up to the new flexible hose. Then ran the front section of the RR pipe from the back up to the front, clipping into place. I connected up these two section with a joiner. This is somewhere near the fuel tank and will be protected under the fuel tank cover.
Then slotted the one piece LR pipe into place and connected up at the rear. i haven't yet connected to the front downpipes as these may also be replaced.
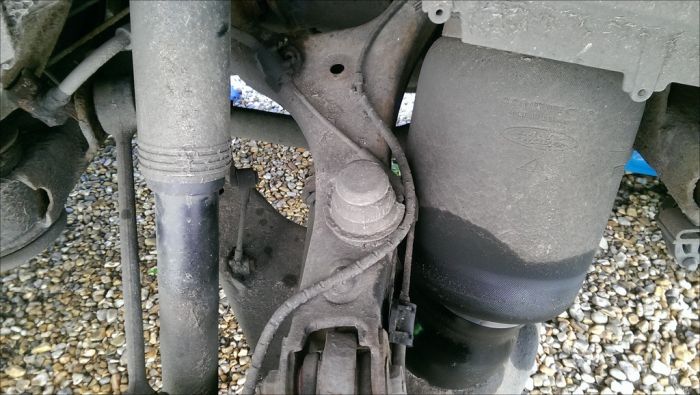
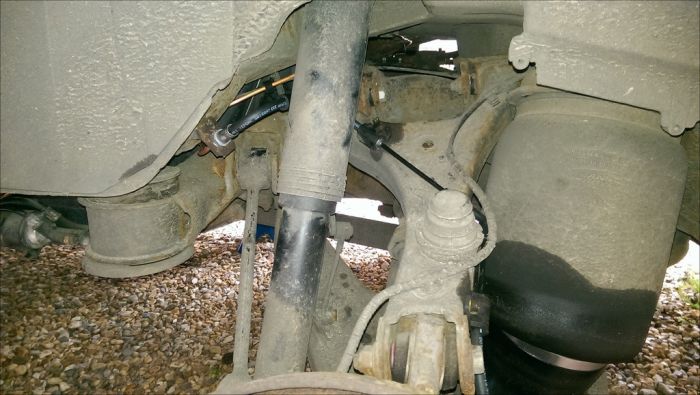
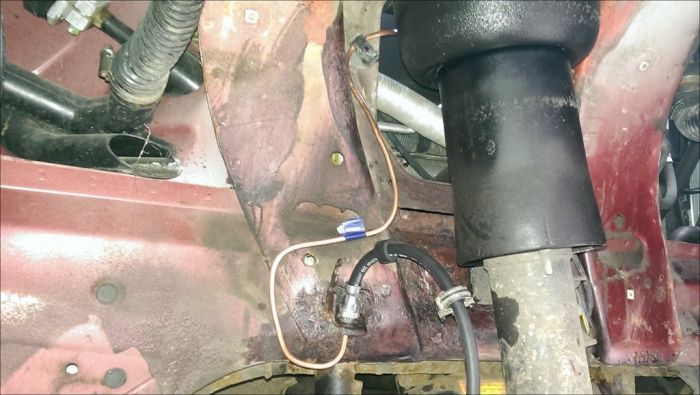
New flexi connected up. Seems a bit close to the air bag, but clearance should improve once weight back on suspension.
New crosspipe
Bending by eye not too bad - but then who is going to see it!
Finally went around and tightened everything up, and had a tidy.
Front Pipes:
Had a recon and measure up this evening. It seems a shame that for the most part the brake lines up front are in good nick (or some of the bad bits are hidden from the view of the MOT guy) but I have started so must finish.
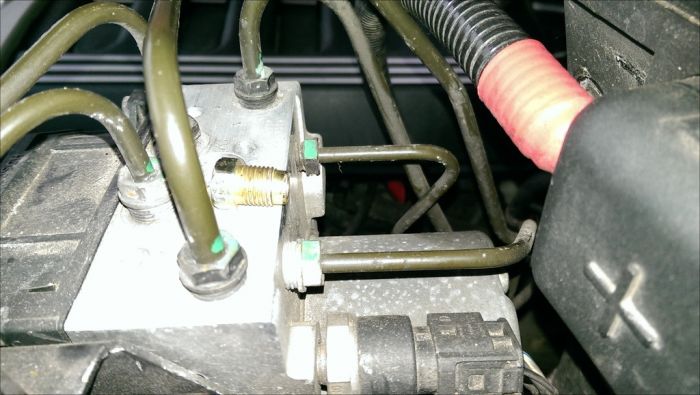
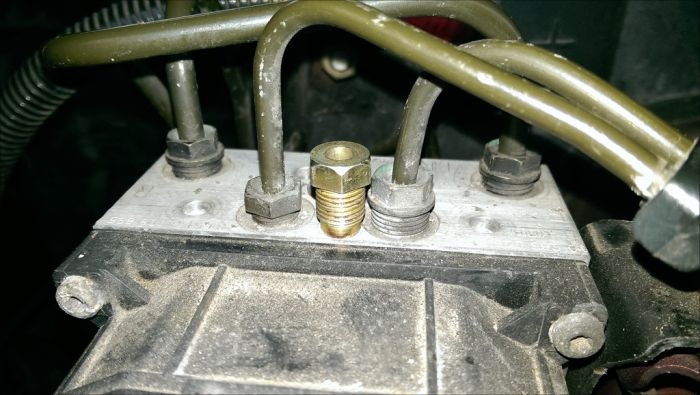
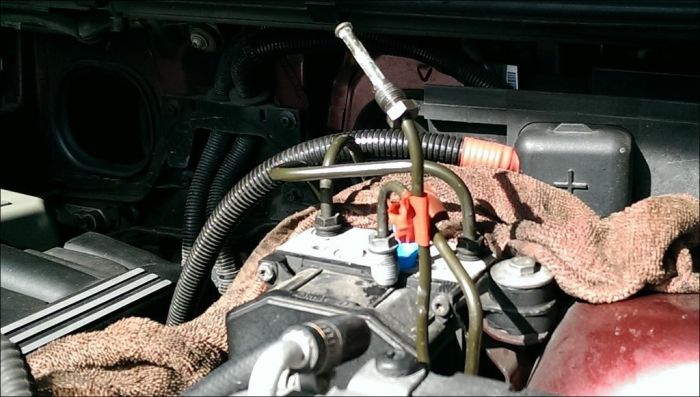
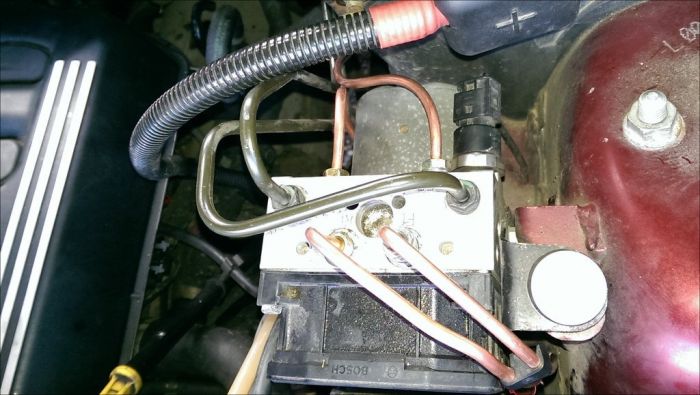
On closer inspection at the ABS block I see that LR have kindly continued their use of a larger fitting on two of the pipes, on the FR and FL pipes. This has scuppered my plan for a one pipe at a time using the only plug I have which is the normal size. Must have a root about in my bits box.
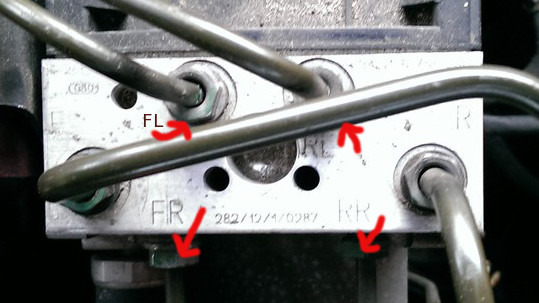
Also measured up the four front pipes:
FL: @ 1340 mm (from flexi to ABS block)
FR: @ 2170 mm (from flexi to ABS block)
RL: @ 1460 mm (from connector in wheelarch to ABS block)
RR: @ 1500 mm (from connector in wheelarch to ABS block)
Having used one 7m reel of pipe for the rears, was please to be able to get these pipes out of my second 7m reel.
Just measuring the FR pipe was an ordeal, I think it will have to be cut out, but I will work in the new one and shape it in place in order to follow the route before removal.
The other three will just be tricky working them around the ABS block.
Getting to be quite a dab hand at flaring now, the job gives pleasure so you just keep going back for more. Can't state enough though the importance of getting the cut square, and chamfering the sides, and deburring the insides. Very pleased with my little flaring tool, which now joins my press kit and brake caliper kit in Joe's Tool Hall of Fame (ooer!)
Right, four pipes and two flexibles to change: FR, FL, and RR and RL to sill tunnel connection.
Tackled to FL, RL and RR pipes first. Undid from ABS block and there was no fluid! Plugged each orifice in any case to keep any dirt out. The FL & RL pipes need to be straightened up to allow removal through the gap in the inner wing
The RR pipe (at the back of the ABS block) can be withdrawn into the engine bay.
Undoing the connection on the FL and the flexible hose can be fun, YMMV. For me, the nut span on the opened spanner so i cut the pipe, but it also span on the ring spanner and socket. So nothing for it but to take a hacksaw blade to the top of the nut in order to release the flexible hose. This invariably destroys the spring clip. Given I had the same problem on three corners of the car I strongly recommend you invest in four new spring clips before you start. Part number SGK100670L, available from Dan@Duckworths �3.50 each !
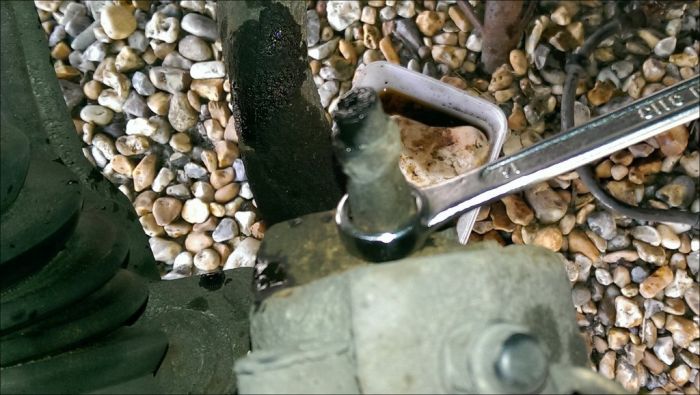
The flexi to caliper needs a 14mm spanner. This was on tight too, so to get a better purchase I cut the pipe and put a ring spanner on it. This worked. Make sure you have a good clean around this area before removing completely. I left the stub in place until ready for new flexi. Remove cable clip from old flexible hose and fit to new.
With everything out of the way, I took a wire brush to some of the rusty areas on the inner wing, including the mounting plates for the front mudflaps. Then coated with Hammerite Kurust.
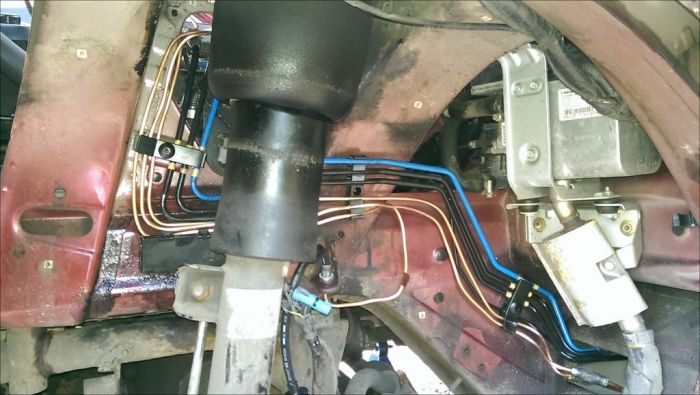
I had already made up the new pipes, so transferred the "bigger" fittings from the old pipes to the new ones, flared up the ends, shaped the new pipes against the old pipes and fitted in reverse of removal. I found it best to clip the pipe into the rubber mounts on the inner wing, then shape to ensure no pipes were touching each other or touching the body. Connected up the two rear pipes with the connectors to rear.
Screw in new flexible hose to caliper and tighten then fit to chassis mounting using new spring clip. Eventually you shouold end up with something looking like this:
Now to the FR, one I wasn't looking forward to, but actually getting the old pipe out proved more difficult than getting the new pipe in, thanks to the malleability of the copper.
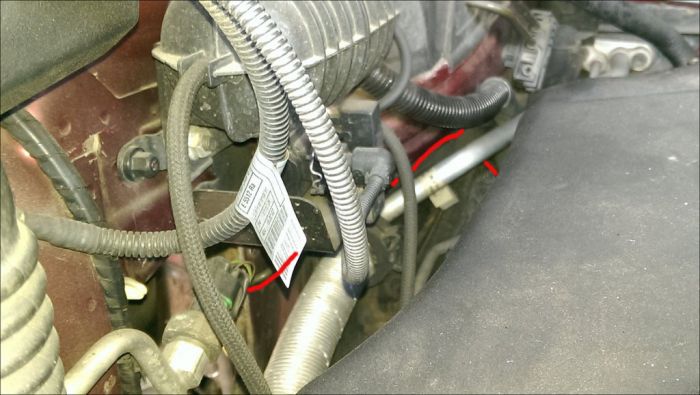
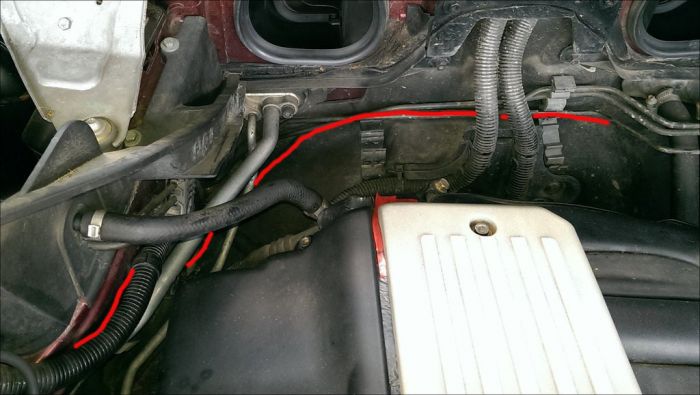
I took some photos of the pipe runs, undid the connection to the ABS block and then cut the pipe in the rear corner of the engine bay (behind the air filter cover). I had already cut the pipe near the connection to the flexible hose, and was then able to work the ABS end out in the engine bay, and the caliper end out into the wheelarch.
I didn't bother to shape the new pipe in anyway, just started to feed it across the back of the engine bay, following thepipes from the master cylinder.
Then, lying on top of the engine, I pulled and pushed and eased and bent the pipe around the back of the engine bay, up behind the air con and other pipes and into the wheelarch, checking on a couple of occasions how much was in the wheelarch, having measured what was needed.
Then shaped the other side of the pipe into the clips and aligned the fitting with the ABS block and screwed in. Loosely fitted the flexible hose and aligned and shaped the pipe, then tightened both ends.
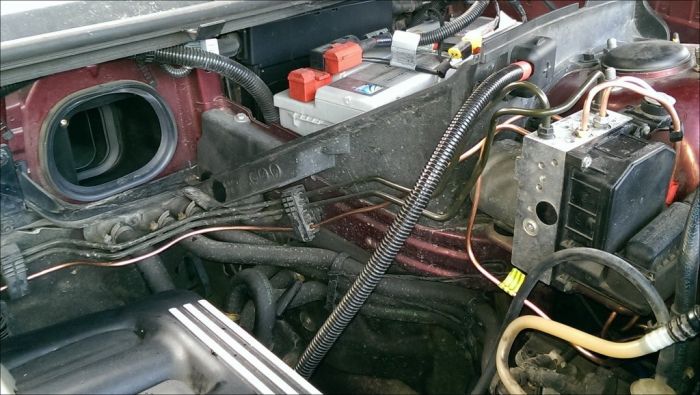
All that done, your engine bay should look a bit shinier with all that copper:
and reasonably tidy at the ABS block
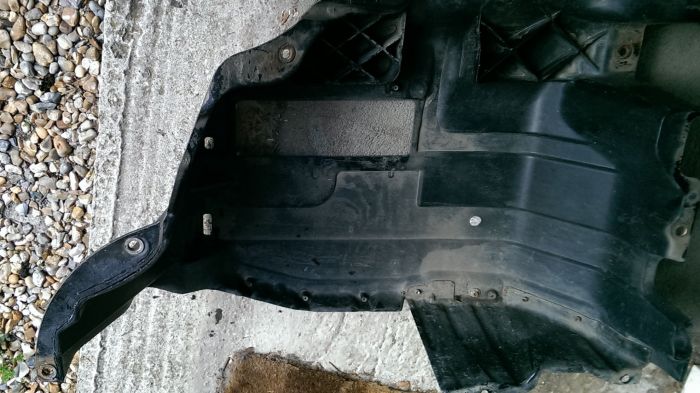
I then went round did another bit of tidying and shaping, gave everything a good spray with silicon lubricant, refitted the three clip covers on the LH side and fitted both inner covers back on.
As I was tidying up I was folding up all the pipes from the front and the back for the skip. Where the pipes looked rusty, they WERE rusty and just disintegrated in my hands in about 8 places across all the pipes. So if you car is @ an '02 and your pipes look rusty - THEY ARE and need replacing.
That's it for Part II, next up brake bleeding and refit. .
Experience is the only genuine knowledge, but as time passes, I have forgotten more than I can remember 
Volvo V70 P2 2006 2.4 Petrol 170bhp Estate SE
MG Midget Mk1 1962
Previous: L322 Range Rover TDV8 3.6 2008; L322 Range Rover TD6 3.0 2002; P38A Range Rover V8 1999
Last edited by Joe90 on 10th Dec 2018 5:50pm. Edited 9 times in total
|


![]()

