 | Home > My Range Rover > And here it is… L322 Overland Build |
 
|
|
|
| 2010BlackL322 Member Since: 30 Oct 2021 Location: London Posts: 119  
|
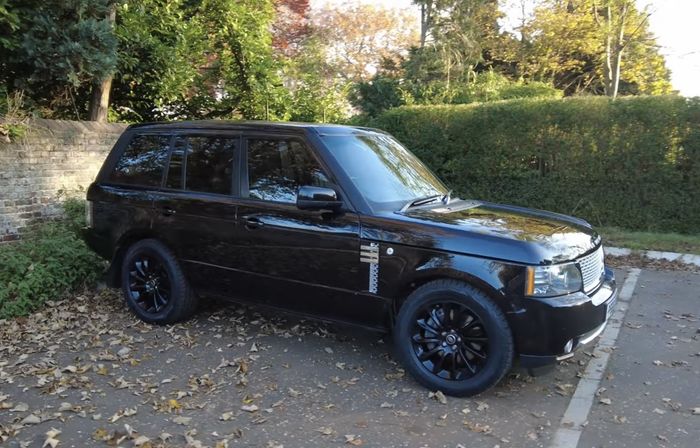
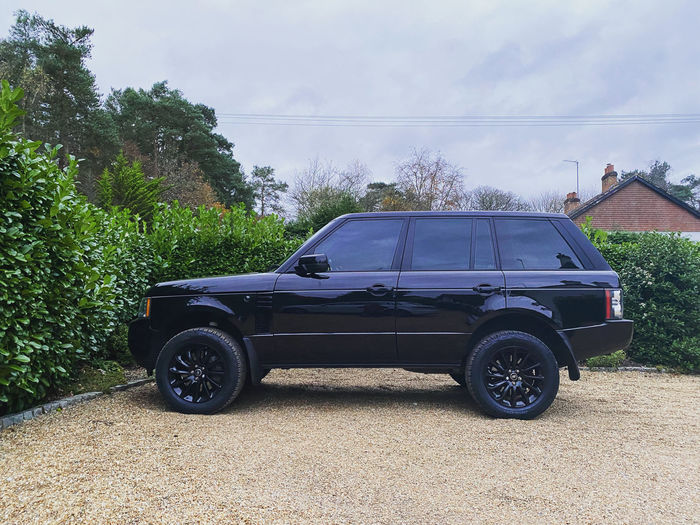
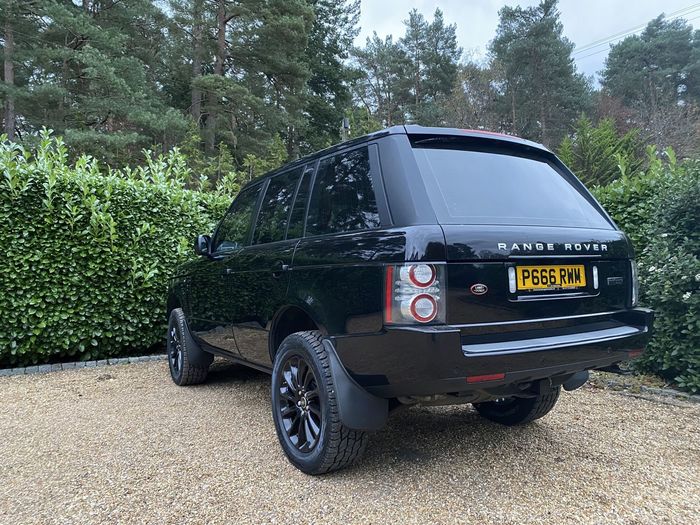
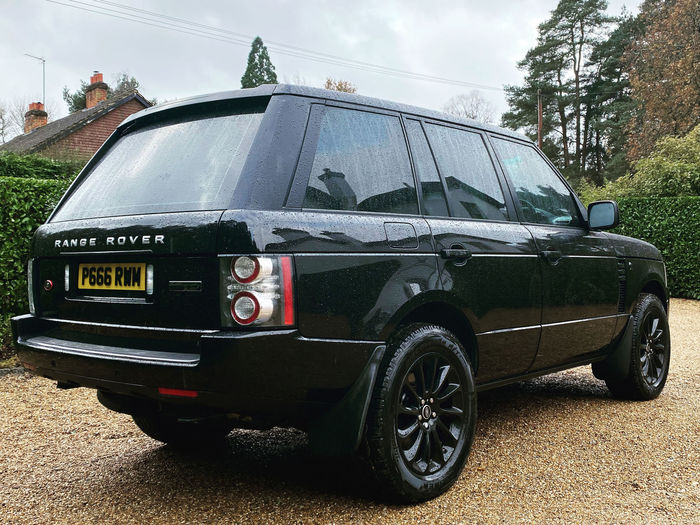
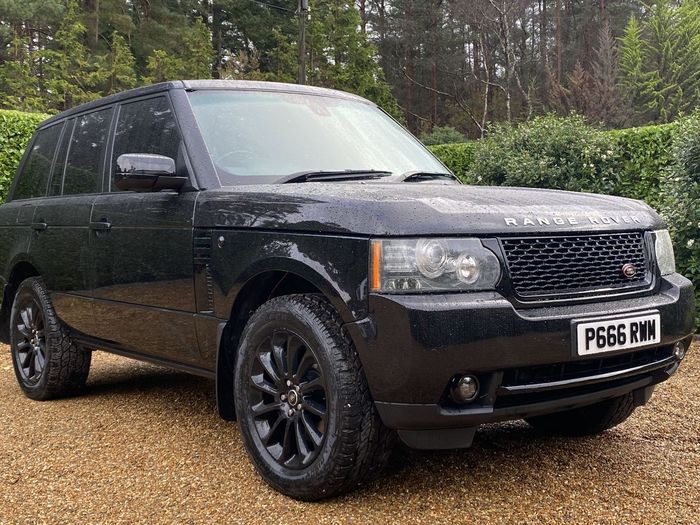
2010 L322 Range Rover Autobiography Black. 135K Miles
https://youtu.be/UHBbLWZXw4A |
||||
|

| Haylands Member Since: 04 Mar 2014 Location: East Yorkshire Posts: 8543  
|
You'll probably find the wind deflectors are there as the black window surrounds start rusting from the top down and the deflectors cover it up... |
||
|
| 2010BlackL322 Member Since: 30 Oct 2021 Location: London Posts: 119
|
The window surrounds are fine, checked under them when I peeled one back, but you never know what’s under them.
|
||
|
| gettingold Member Since: 03 Apr 2018 Location: Wiltshire Posts: 285
|
If you don’t find a suitable roof rack I saved this from the Disco3 forum.
|
||
|


| 2010BlackL322 Member Since: 30 Oct 2021 Location: London Posts: 119
|
I have them on the Defender, which is far worse with rain pouring in off the gutter, but they look terrible on the RR |
||
|
| 2010BlackL322 Member Since: 30 Oct 2021 Location: London Posts: 119
|
Thanks, I have a cargobear on the defender and love it, they make a rack for the Disco 3/4 but I’d have to check the width dimensions and the mount brackets for the roof rails / factory mounts, and how they match up to the rack. As with anything, can be done, just depends on the time, effort and probably £ to make it all fit. But, looking like this one and avoid the hassles https://www.landroverpassion.com/en/produc...over-l322/ Thanks https://youtu.be/UHBbLWZXw4A |
||
|
| Andy2986 Member Since: 26 May 2019 Location: Suffolk Posts: 117 
|
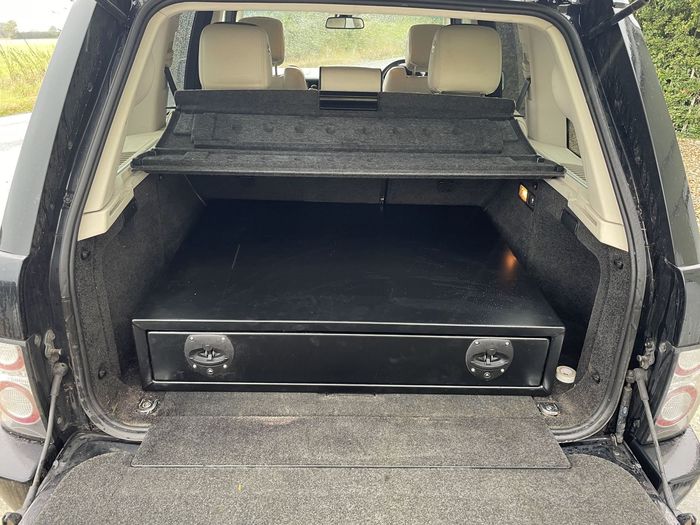
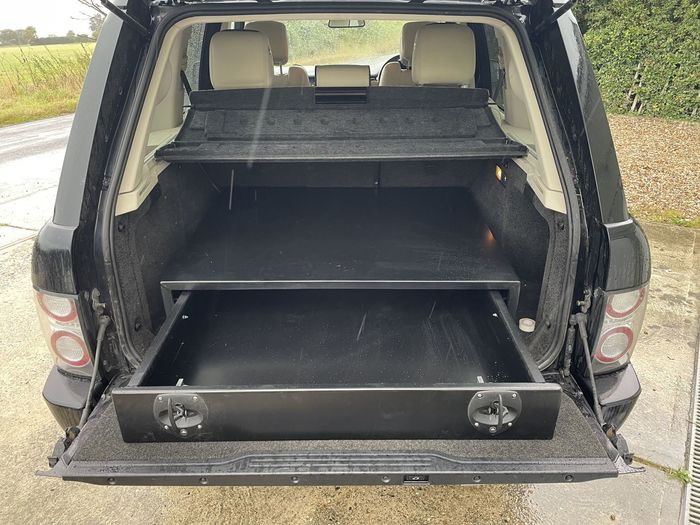
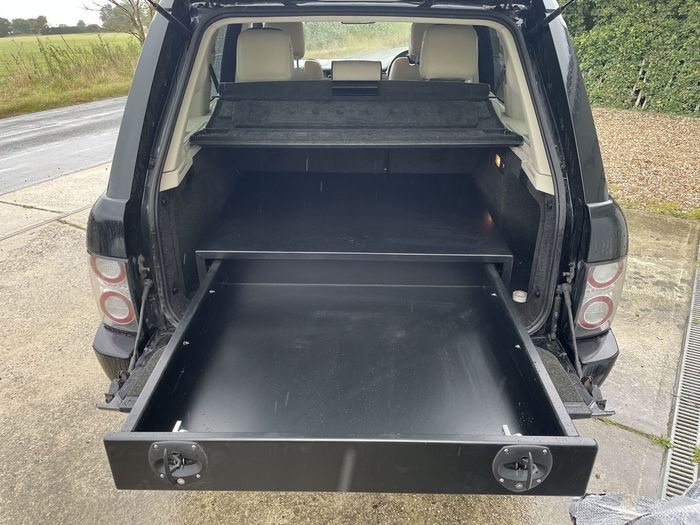
Ive had a drawer made for the back of mine ( I use it as a gun safe ) It was made to measure and cost around £800. Will dig out the address if it’s the sort of thing you want. I’m going to be using the company again to add to the drawer system in my disco 1.
1998 D1 300tdi 1971 2 door Classic |
||||||||
|
| 2010BlackL322 Member Since: 30 Oct 2021 Location: London Posts: 119
|
That looks like it would work, how have you attached it to the load space floor?
|
||
|
| Andy2986 Member Since: 26 May 2019 Location: Suffolk Posts: 117
|
It’s a guy on eBay “metallicsuk “. I dealt with him through eBay messenger.
|
||
|
| 2010BlackL322 Member Since: 30 Oct 2021 Location: London Posts: 119
|
Thanks Andy, Will contact him
|
||
|
| 2010BlackL322 Member Since: 30 Oct 2021 Location: London Posts: 119
|
Good news, after destroying an old plastic locality card, the wind deflectors are off, and there is zero rust underneath. https://youtu.be/UHBbLWZXw4A |
||
|
| 2010BlackL322 Member Since: 30 Oct 2021 Location: London Posts: 119
|
As I mentioned in my initial post, the tyres where installed white walls out, yuck, so they turned them around, and I think you’ll agree, it looks much better that way.
Mods / work to do I pulled off the wind deflectors, no rust on the window frames as one member predicated, begs the question as to why they were added, personally, they looked terrible and cheap. Easylift suspension module - Video to upload with install and app review - light off road footage - lift is now max 5” 😬 Review of the L405 1060 wheels and AT’s riding on Cooper Discoverer AT3 Sport 2’s Stepped up to 275/55/20 - no rubbing, feels far better planted on the road, and quieter too. Leather needs a good clean and fed with hide food T Cut the bodywork, see if I can remove some of the scratches, not deep, should come out, mostly on the drivers door. DE-Blinging continues, take off / replace / paint the grey / chrome items Fit new mud flaps ITG filter Fit new LED fog lights Fit new black side vents I’ve sourced the battery for the dual battery install, optima yellow top, that will go in the well, drivers side rear, under the fuse box/ ECU for the suspension, there is a live battery feed coming directly to that fuse box to tap into, need to build a frame for the rear to house everything that is planned to go in, fridge etc. Booked in for ECU remap with Empire in early December, that will, hopefully, coincide with a new stainless rear exhaust box, with smaller silencers, eliminating that monster rear box. I have found a roof rack, Land Rover Passion in Milan seems the best option for now Further updates as I go, the build has truly started, the planned trip to Spain has been booked for the end of May, deadline set. Updates on YouTube too https://youtu.be/UHBbLWZXw4A |
||||
|
| 2010BlackL322 Member Since: 30 Oct 2021 Location: London Posts: 119
|
A full weekend to getting to grips with the L322.
Sundry trim items removed and replaced, front bib spoiler, fog lights, all road chipped, rear trim under the Range Rover lettering.
Replaced the side vents with black version, replaced the side indicators with smoked versions, replaced the mud flaps on the front, as the old ones had the side step inserts, I removed mine as they were rotten. I also painted the reverse lights black, using the powerful UK template, looks much better than that large expanse of white plastic, simple 30 minute job .
Inside, all interior bulbs replaced with LED’s and started to add in more USB sockets to replace the 12v lighter until, simple plug and play in the cubby box, and the rear “power socket” Gave the leather a really good clean and fed it with leather cream, brought up the shine. Removed the centre console, switch gear panel, as someone had tipped over fluid into the panel, that was all disgusting and needed a good clean and gave the carpet on the passenger a damn good clean, as the fluid had stained it, now all gone. I also replaced the gear shift knob from the old and chipped silver one to a nice and bright red one, with a leather topper, genuine LR part. Things I found that need attention. The left side air filter and the pollen filter needs replacing Wiper cowl missing 2 plugs, windscreen wiper arm corroded and needs replacement, drivers side mirror cover cracked, rear high level brake lens badly faded and cracked. All in all, good progress, video posting later this week, after I try and restore the corrupted video files 🤦🏼♂️ GoPro’s UGH Things to do this weekend Change over grille to blacked out version Change the mirror cover Connect the USB’s and test Put the centre console back together. Replace the wiper arm and wiper blades Change air filter Change pollen filter Start to plan out the rear box to house my fridge / side the electrics that will be connected to the second battery, inverter, BCDC charger, dual air compressor. I plan to build it with 25mm box alloy tubing with push fit connectors and rivnut the until to the space loadspace cover, simply bolt in, bolt out. It should sit below the loadspace cover, so that can stay in place as and when required Once plans and dimensions are finished, happy to share if any is interested in building one / copying. I’ve also engaged with a company to look at building some custom brackets to fit a cargobear Disco 3/4 roof rack to the L322 factory roof mounting points, they are also looking at building a sump guard / front diff guard and maybe, maybe rack sliders, but with the extend lift I have with the Easylift, not sure I’ll be needing them, we shall see. More updates next week 👍🏻 Check out my YouTube channel https://youtu.be/UHBbLWZXw4A |
||||||||
|

| 2010BlackL322 Member Since: 30 Oct 2021 Location: London Posts: 119
|
3 weeks in, the plastic trims has been removed, almost all of it, grille, vents etc were cracked, missing tabs, paint chipped, or the fake chrome peeling off, all replaced. Fog lights replaced with smoked LED’s, the trim that holds them in, rattle canned gloss black. The high level brake light was cracked, only 4 random LED”s working, replaced with a smoked version. The stealth look not for some, traditionalists will be shouting “heretic” at your screens, but this for me is how I want it, and this is not, or won’t be a curb princess. This is going to do what it was built to do.
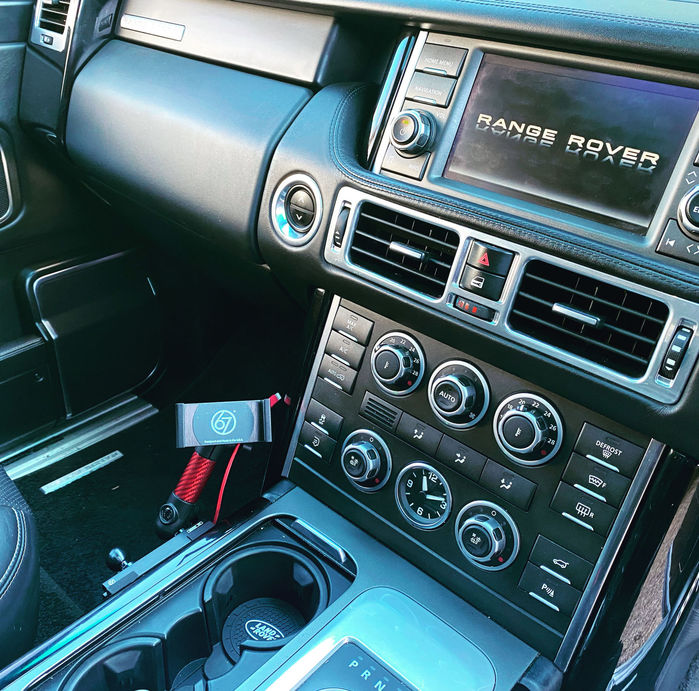
Started on the interior, LED’s now replaced the interior older yellowing bulbs, nice and bright, map reading lights on the front, red, for better nighttime vision, carpets, cheap and nasty, replaced with genuine mats, and carpets and finally, 67 Designs Series’s 55 100mm mount, screwed on the centre console, fear not, that trim panel had a crack in it already, these now house the 20mm balls for iPhone mount, and iPad mount, USB power is fed from the USB socket in the cubby box.
Work now begins on the dual battery install in the rear, and the frame I’m building out of 25mm box alloy tubing to house the fridge / slide etc. Sourced a roof rack https://www.landroverpassion.com/en/produc...over-l322/ Deadlines, Strat Florida shakedown weekend in late Feb, late May trip to Spain booked, and planning a 3 week long trip to the Balkan in September. ECU remap with Empire due in the coming weeks. More updates in a few weeks. YouTube videos being uploaded weekly. Check out my YouTube channel https://youtu.be/UHBbLWZXw4A |
||||||||
|

|
|
| All times are GMT + 1 Hour |
< Previous Topic | Next Topic > |
Posting Rules
|
Site Copyright © 2006-2025 Futuranet Ltd & Martin Lewis
![]()
