 | Home > Maintenance & Mods (L322) > Lower arm replacement |
 
|
|
|
| northernmonkeyjones Member Since: 24 Mar 2012 Location: derby Posts: 8749  
|
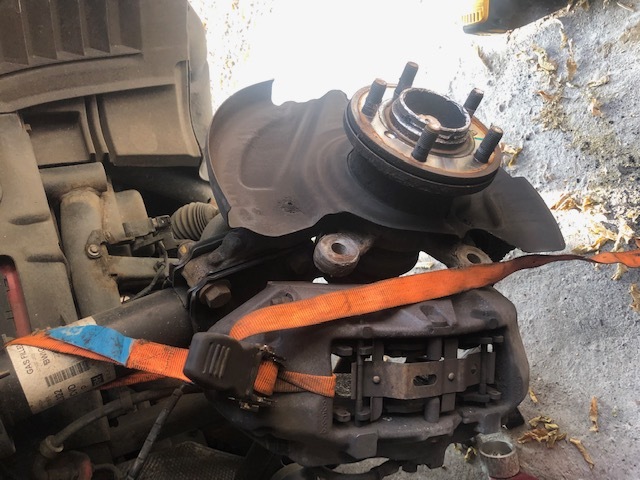
So my upper arm ball joints and lower arms turned up today..
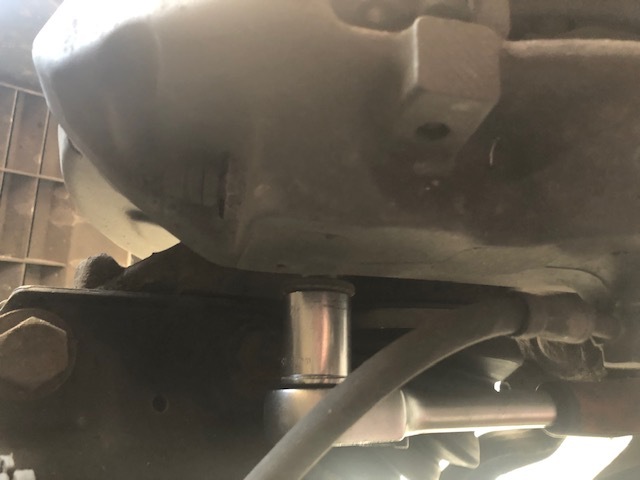
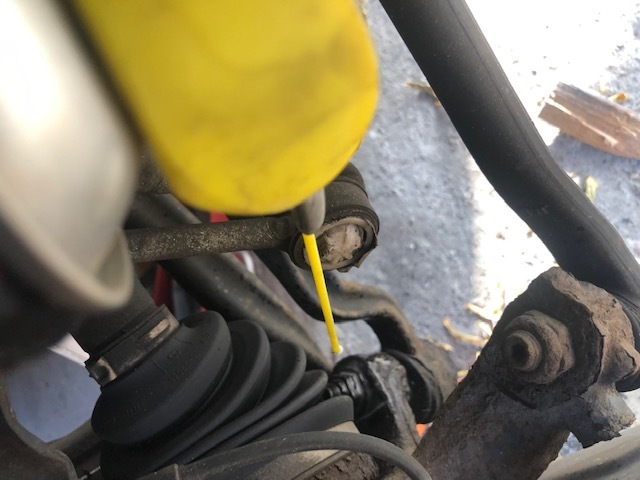
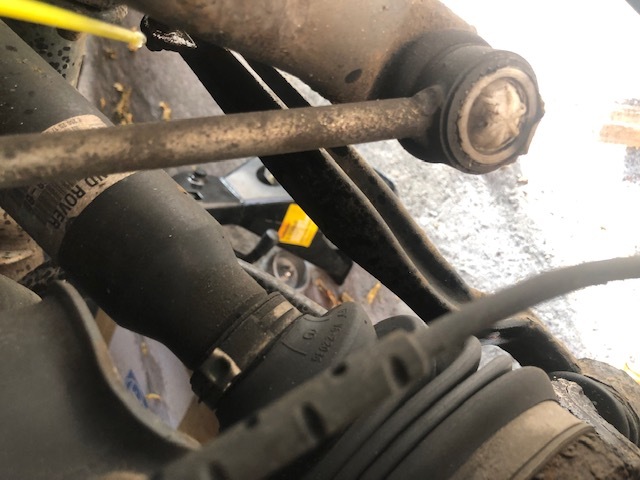
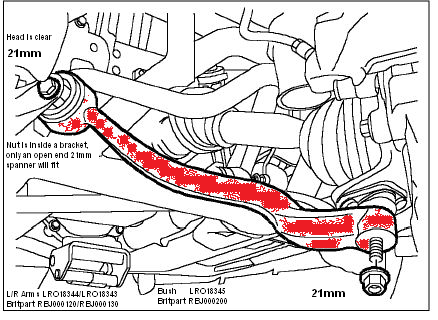
now remove the nut off the outer joint and then remove the whole arm. Put the inner end of the new arm into position first and slide the bolt through. Next pop the thread of the ball joint into the taper and put the new nut on the top. Tighten this up to 80NM, in reality you can't get a torque wrench on this so spanner FT. Put the nut on the inner bolt, the nut goes towards the back how it came off, incase you forgot..... Do this up losely Now put the other jack under the end of the new arm and jack up the hub so that its centre is 490mm from the underside of the wheel arch, you may need to lower the car body slightly if your jack doesn't have enough reach. 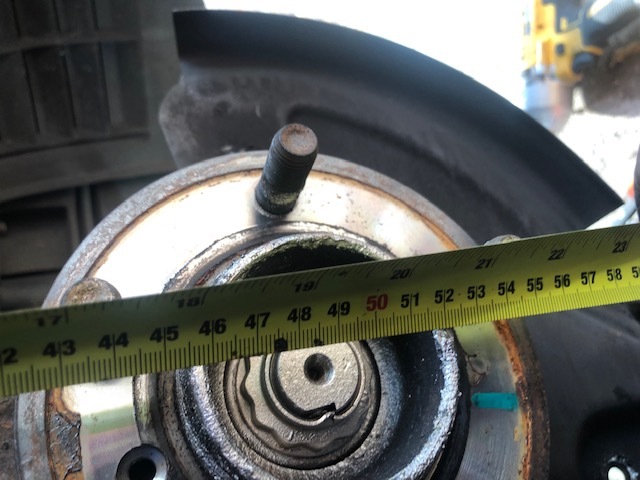
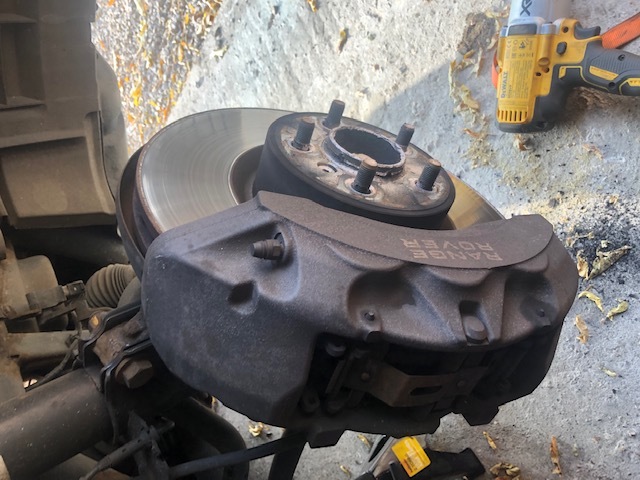
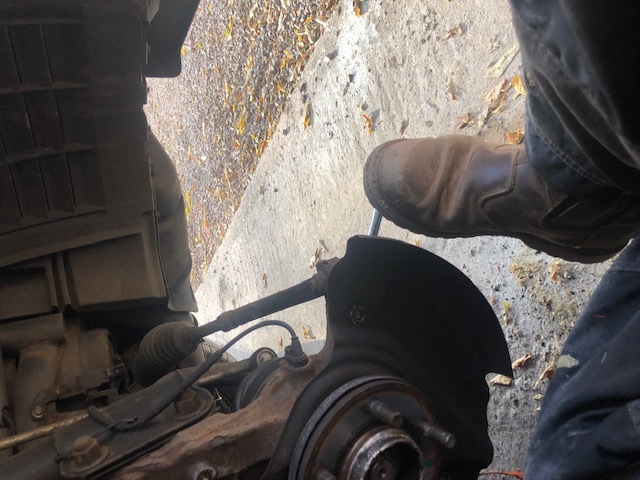
Now the position of the arm is the same as if the car were on the ground or a 4 post lift. Its important that the bolt not be torqued up until the arm is in the right position otherwise it will be under stress in its normal operating position (lots of use of the word position) and will fail quickly. You can so this with the wheels back on and the car on the ground but it is a PITA. Torque up the nut and bolt to 165NM and then an extra 90deg. Remove the jack from under the hub, refit the backplate, disc and calliper, tightening the rear calliper bolts to FT with a big bar. Rave says 265NM, but my torque wrench didn't go that high....... Refit the wheels nuts to 140NM, and take it for a test. FFRR 4.4 SDV8 Autobiography Santorini Black. KIA E-Niro 4+ 2021 Discovery 5 D300 MHEV commercial Last edited by northernmonkeyjones on 17th Nov 2018 7:04pm. Edited 6 times in total |
||||
|


| stan Site Moderator Member Since: 13 Jul 2010 Location: a moderate moderated moderator moderating moderately in moderation Posts: 35627
|
thank you Mark, put in the wiki.. |
||
|
| Henda Member Since: 02 Aug 2018 Location: Gateshead Posts: 282 
|
Good one |
||
|
| northernmonkeyjones Member Since: 24 Mar 2012 Location: derby Posts: 8749
|
For info
|
||
|
| Bazzer79 Member Since: 26 Apr 2016 Location: Thames Ditton, Surrey Posts: 43 
|
I did this job at the weekend, but I followed another how to guide on you tube. The guide video didn't have the step of measuring the hub to underside of wheelarch and setting the suspension at the height again before tightening the bolt fixing the suspension arm to the subframe.
|
||
|
| Joe90 Member Since: 29 Apr 2010 Location: Hampshire Posts: 6419 
|
It is important, otherwise the inner bush will be under unnecessary stress "at rest" and at play !
|
||
|
| northernmonkeyjones Member Since: 24 Mar 2012 Location: derby Posts: 8749
|
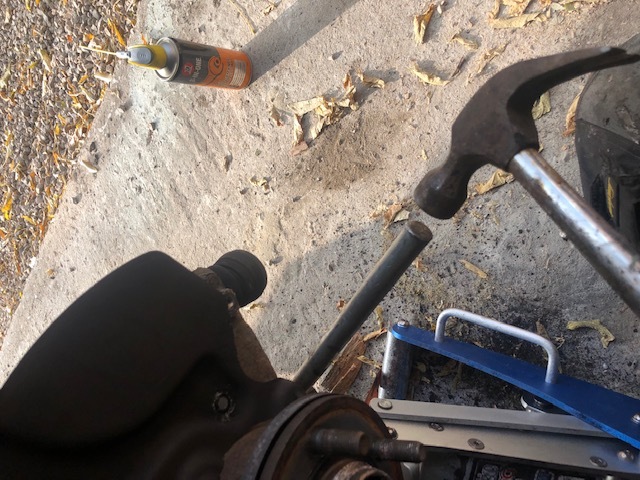
Super important to either torque up on a 4 post lift or set the hub in the right position with a jack. As Joe90 says the bush will be twisted when the car is on the ground if you torqued it with the hub hanging at the end of the suspension travel. There is nothing that can't be fixed with a hammer😜😜
|
||
|
| bgennette Member Since: 13 Jan 2013 Location: Newcastle Posts: 88  
|
I've just done the Compression links. And there are several extra, annoying things that need to be known about to make the job easy (or very hard if you are not prepared).
|
||
|
| MikeO Member Since: 02 Jan 2018 Location: The Cotswolds Posts: 526  
|
I did my front lower arms today and |
||
|
| MikeO Member Since: 02 Jan 2018 Location: The Cotswolds Posts: 526
|
I neglected to say a big thank you to northernmonkeyjones for the original howto which was extremely helpful. 2016 Skoda Octavia VRS Estate
|
||
|
| GGDR Member Since: 26 Nov 2016 Location: London Posts: 3552 
|
duplicate post Cheers, Greg
|
||
|
| GGDR Member Since: 26 Nov 2016 Location: London Posts: 3552
|
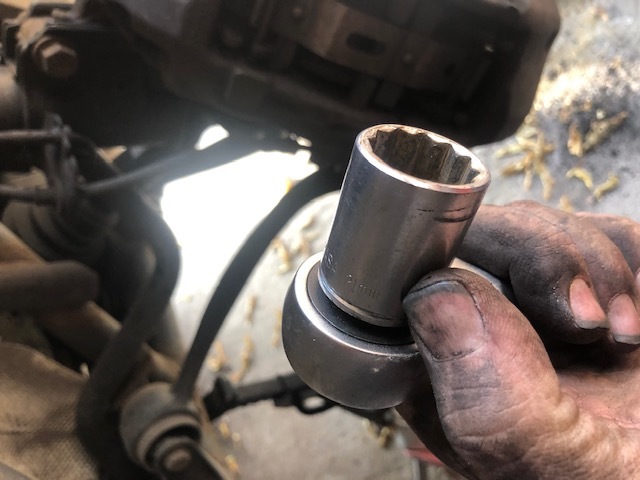
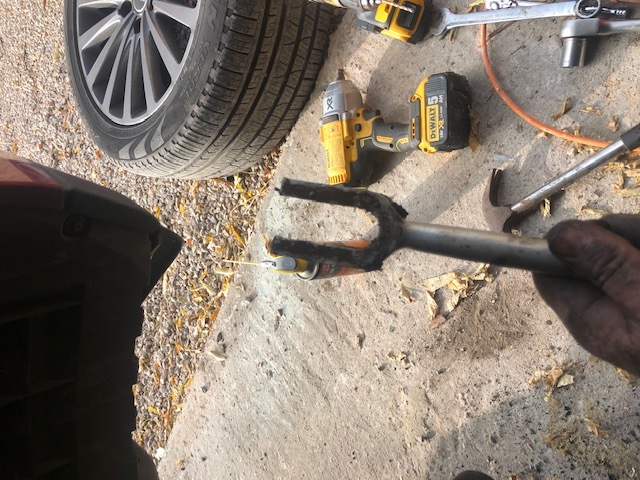
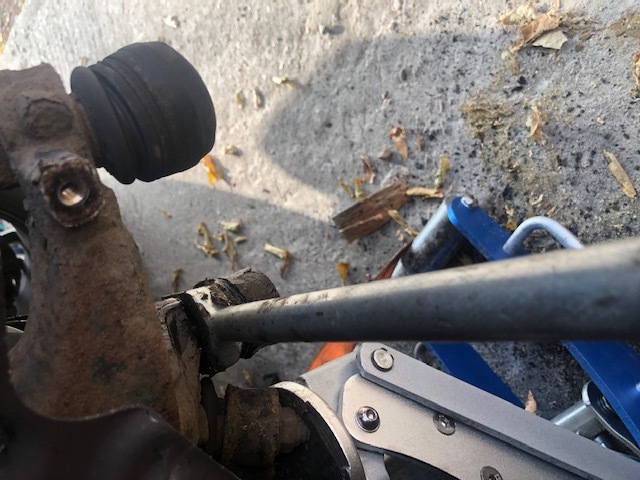
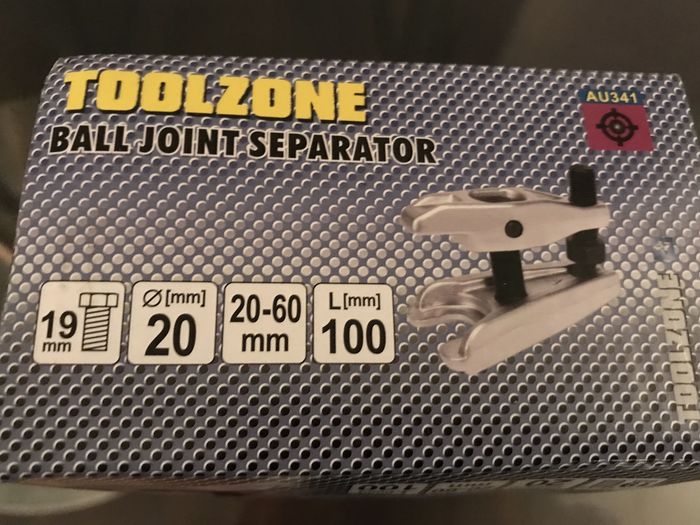
So I got this ball joint tool as linked I think earlier up in this thread but reading your warning bgennette I'm concerned about damaging the rubber boot.
- - - - - - - - - - - - - - - - - - - - - - - - - - - - - - - - - - - - - - - - - - 2011 Vogue SE 4.4 with lots of toys in Stornaway |
||||
|
| GGDR Member Since: 26 Nov 2016 Location: London Posts: 3552
|
MikeO - Or were you changing the ball joint cassette so didn't matter if you damaged the boot?
|
||
|
| MikeO Member Since: 02 Jan 2018 Location: The Cotswolds Posts: 526
|
I wasn't concerned about the boot. I trashed it. I also had a similar Toolzone separator but it didn't fit. Probably a smaller size than the one on your picture. I can't imagine it would have been up to the job of the one on the drivers side. It took so much force with the separator I had and a sledge hammer to get it out... 2016 Skoda Octavia VRS Estate
|
||
|

|
|
| All times are GMT + 1 Hour |
< Previous Topic | Next Topic > |
Posting Rules
|
Site Copyright © 2006-2025 Futuranet Ltd & Martin Lewis
![]()
