 | Home > Technical (L322) > EGR valve replacement L322 TDV8 3.6 |
 
|
|
|
| Edfors Member Since: 26 Oct 2012 Location: Uppsala Posts: 168  
|
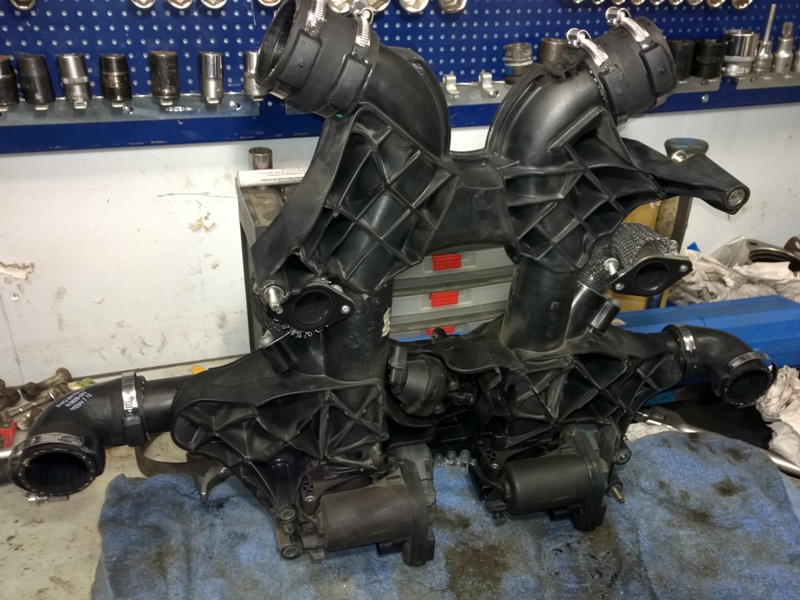
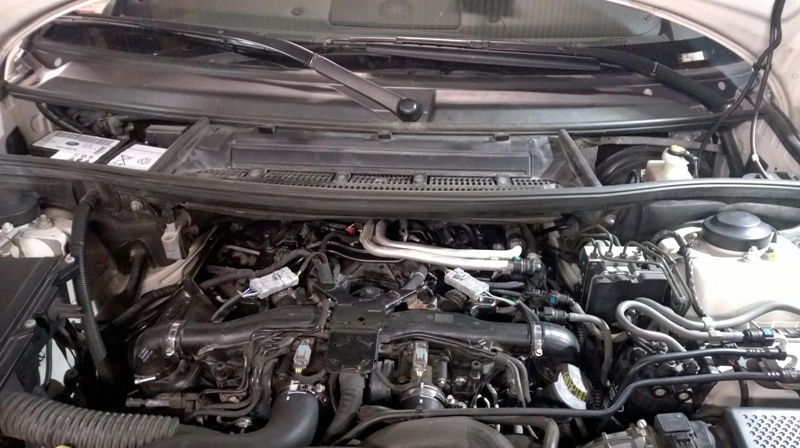
EGR Valve assemblies of a TDV8.
Beware this is a very image intensive post, 100+ images and steps to replace both EGR valves on a 3.6 TDV8. I also chosen to replaced a few inlet hoses and a couple of O-rings, I think this is worthwhile when you already have to release these for access. Reason for change was that it had got into fault mode and displayed "Engine systems fault" on our last weekend laning trip. The message went away and all appeared normal after restart, but it came up four times during the weekend so I thought it would be better to be safe than sorry and decided to replace both EGR's. When getting in there I noticed that someone had been there before, the left hand side EGR seems to have been replaced once earlier. I don't yet have a fault code reader and could not decide which EGR was failing but think it's worth to replace both EGR's while you're down there, same with the inlet hoses. WARNING: There is really limited space and you may lose nuts/bolts/tools downwards, so removing the under tray first could be a good idea, I lost one 10 mm ring spanner, which was caught on the under tray and retrieved afterwards. There is also a fair amount of electrical connectors to release and re-fit, if you not comfortable with these or opening up the coolant hoses please consider using a specialist for the job. Also there are potential risks of severe engine damage if you drop anything into the open inlet pipes. Keep things clean and don't risk your engine. To complete the following job you need these parts: 1 x LR018322, EGR Valve Left Hand 3.6l V8 L322 Range Rover + Sport 1 x LR018321, EGR Valve Right Hand 3.6l V8 L322 Range Rover + Sport 2 x LR004250, EGR Tube>EGR Gasket 3.6 V8 - L322 Range Rover + Sport 2 x LR003828, EGR Valve>Tube Gasket 3.6 Dsl 2 x LR003831, EGR Valve Gasket 3.6l V8 Diesel Optional parts: 2 x LR004076, Duct - Air Inlet Manifold 3.6l V8 Lion Diesel - Range Rover Sport + L322 2 x LR014468, Intake Manifold Air Duct Hose - 3.6l V8 Diesel - Range Rover L322 + Sport 1 x PNH500500, Rad Hose Upper + Clips LH 3.6 G-CAT 1 x PNH500510, Rad Hose Upper + Clips RH 3.6 G-CAT 2 x LR003898, O Ring EGR Valve Tube 3.6L DSL G-CAT Tools used: 13 mm ring spanner 10 mm ring spanner and sockets (ratcheting ring spanners helps) 8 mm ring spanner and sockets (ratcheting ring spanners helps) Torx 30 socket (mine was 3/8") 1/4" wobbly extensions of different lengths 1/4" universal joint 1/4" ratchet handle 3/8" extension 3/8" ratchet handle Torque settings between 10 and 25 Nm for reassembly. Hose clamp (to close water hose) Pliers for hose clips A plastic pry tool for connector studs and to loosen stuck hoses. A couple of tie clips for tie up the coolant pipes out of the way. Difficulty of job, 3 of 5. Time used, I did it over 4 evenings, maybe 1- 2 hours each evening.
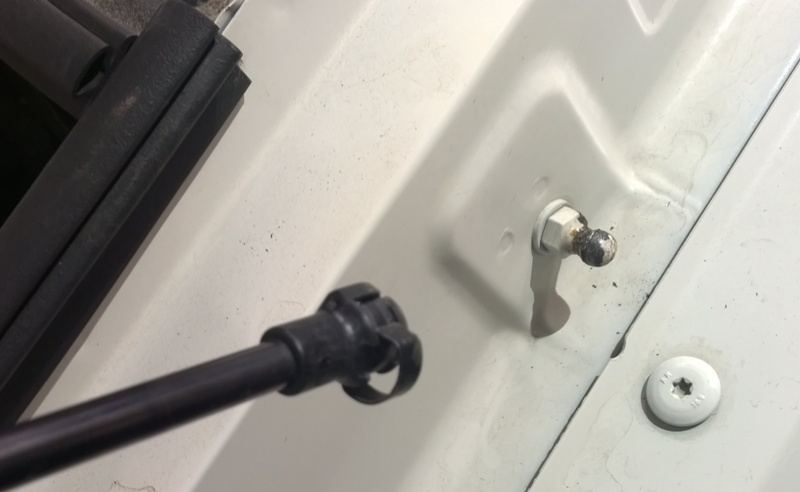
Open the hood in service mode, open the small spring clips on the dampers with a small, thin flat screw driver.
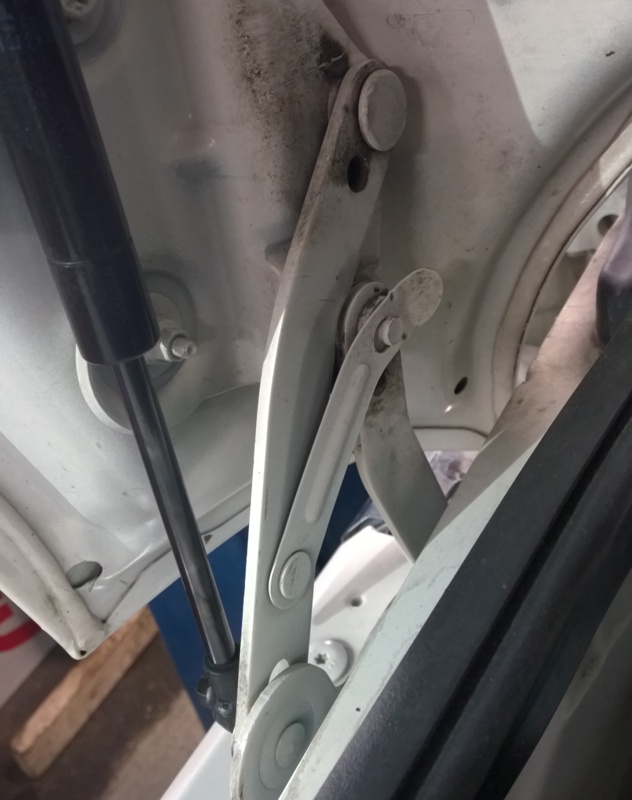
Do both sides while you support the hood with one hand, or use a assistent supporting this (recommended). Move it straigt up and fold out the locking bars over the small pegs each side.
Remove the battery negative cable and put it aside so it cannot spring back and make contact with the terminal.
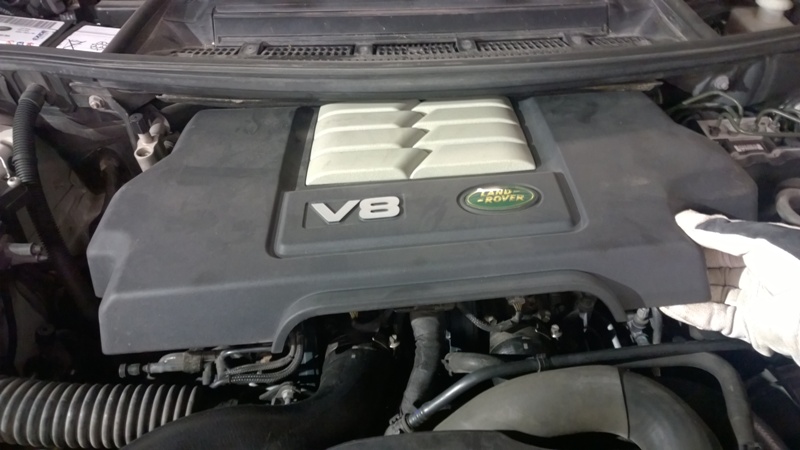
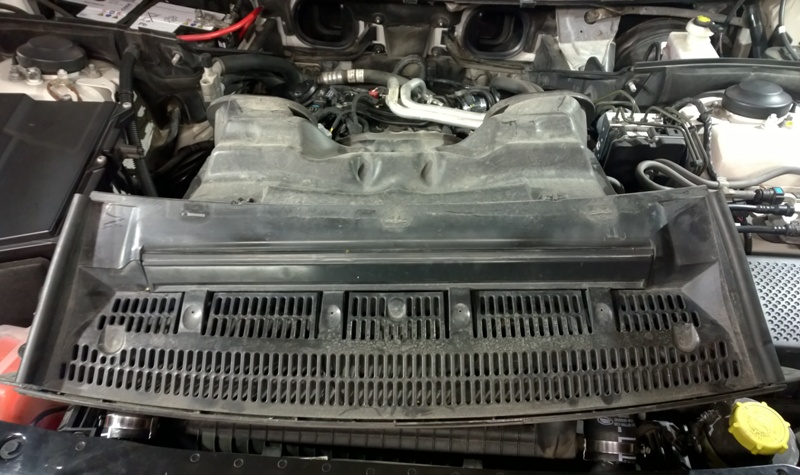
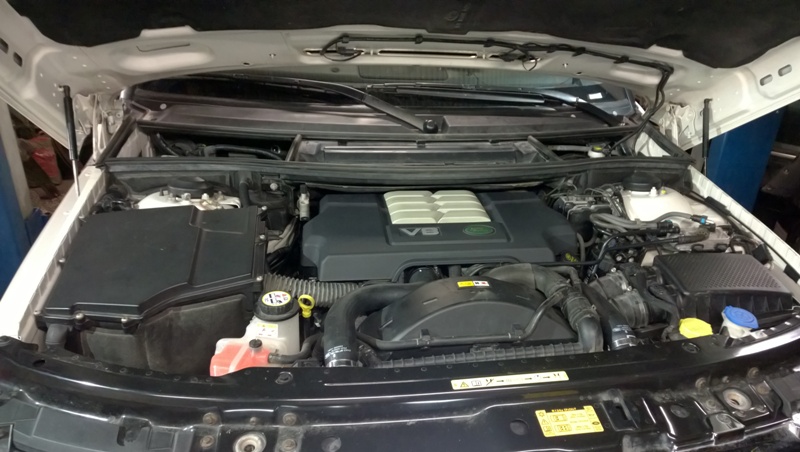
Remove the engine cover by pulling it upwards.
Lift off the hood seal.
The small holes in my hood seal was facing the windshield.
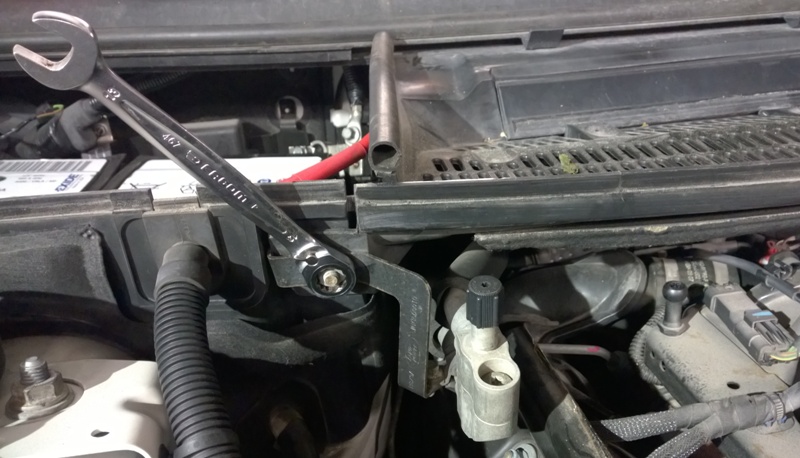
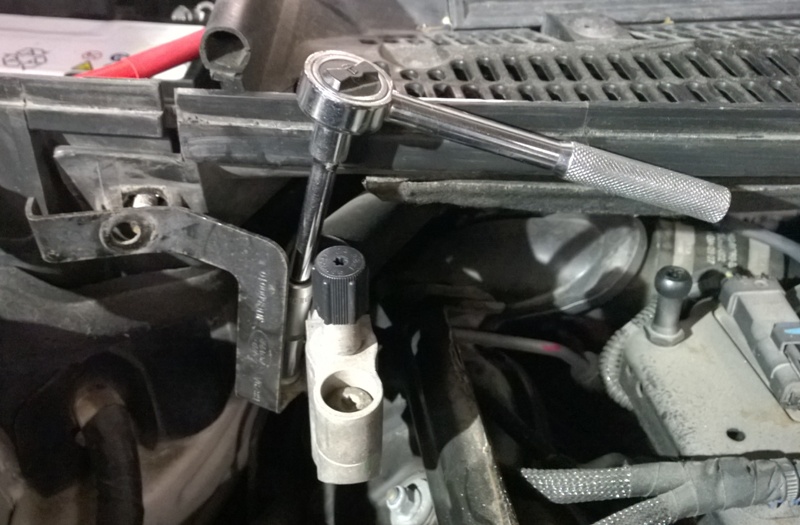
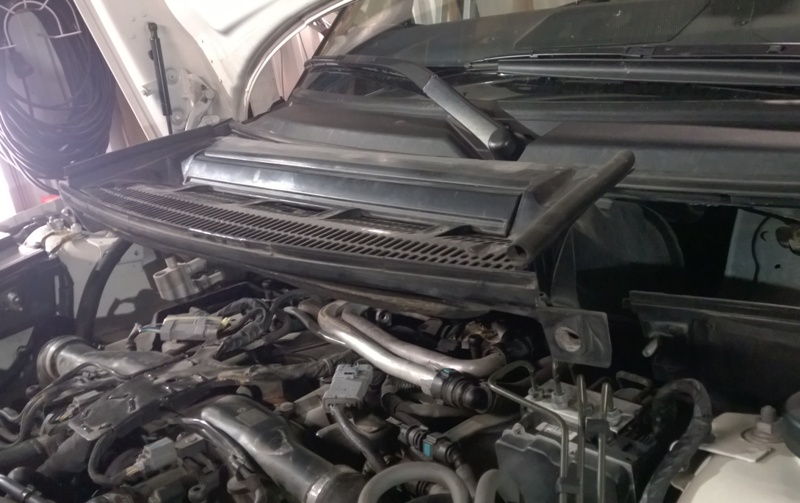
Undo the A/C support bracket.
also from the A/C pipes and the bold on the other side as well.
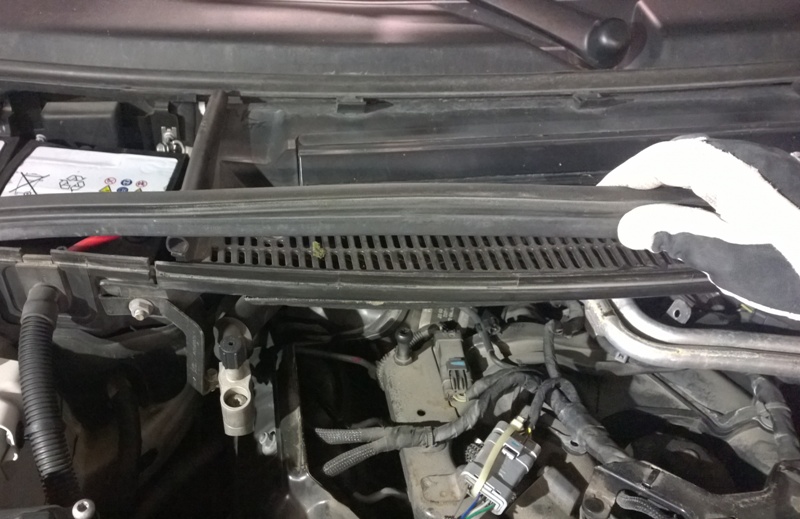
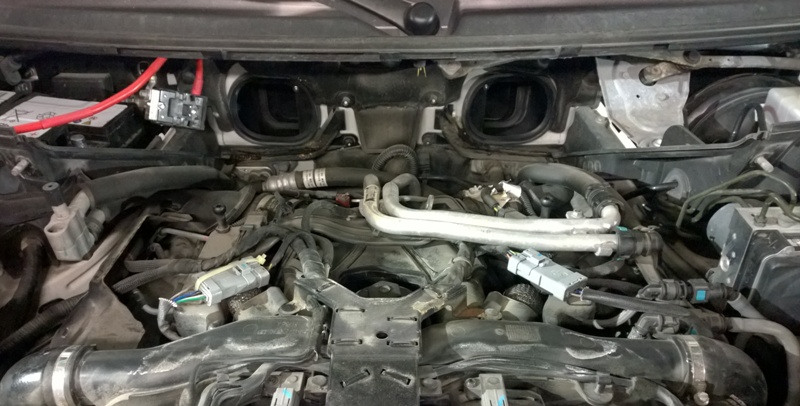
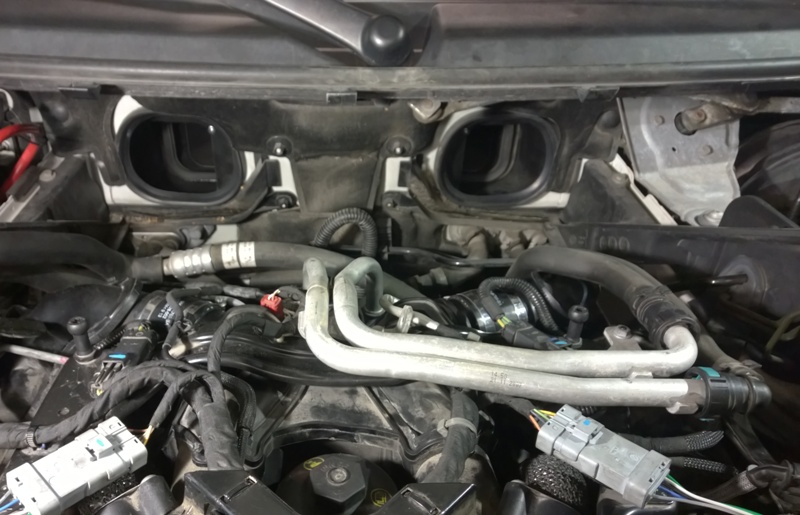
Then the plenum chamber is loose and can be pulled straigt out.
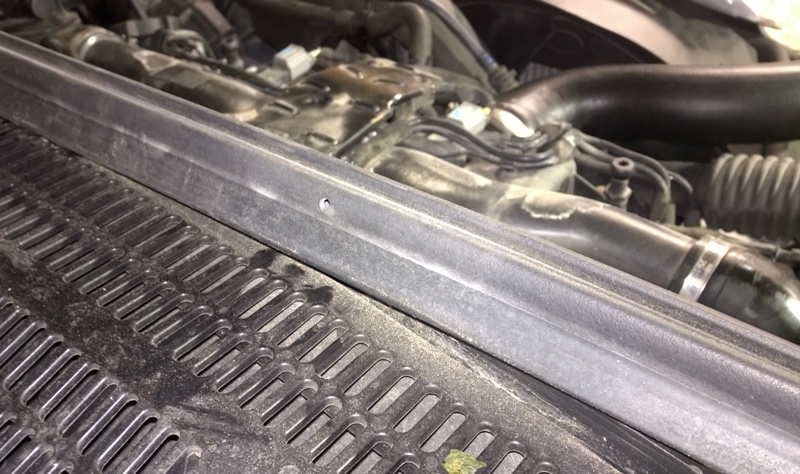
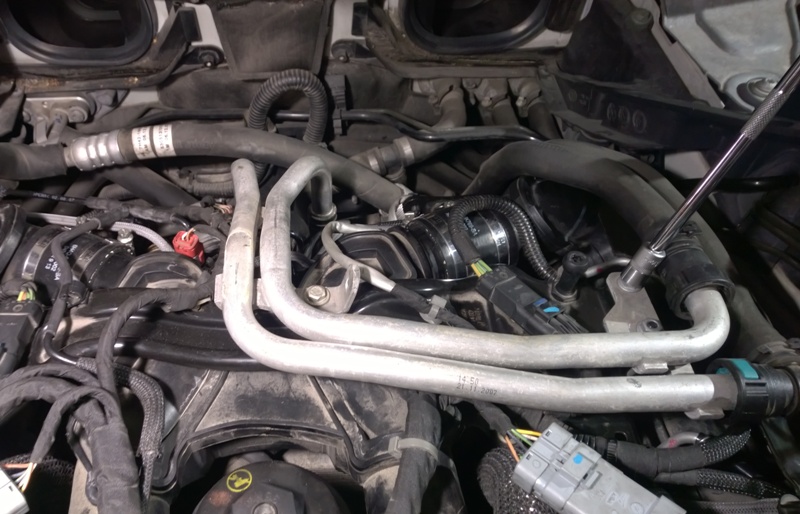
Giving this view. You see the twin cooland pipes to release next.
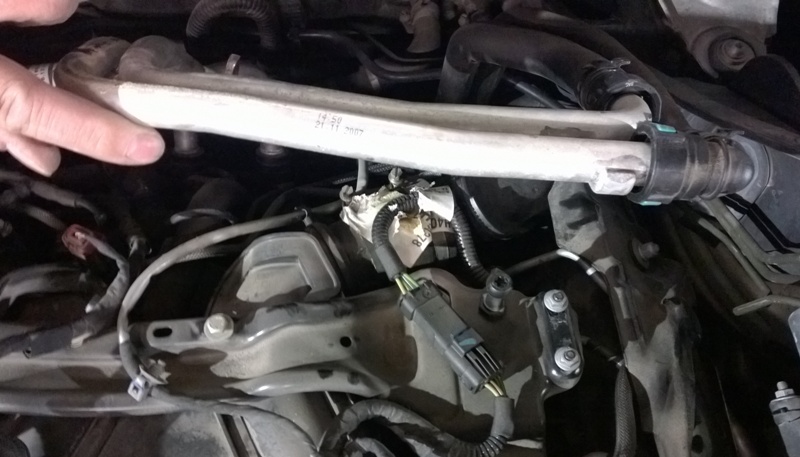
With two nuts and one bolt you can lift and bend the pipes up and I tied them up with a strips to be out of the way.
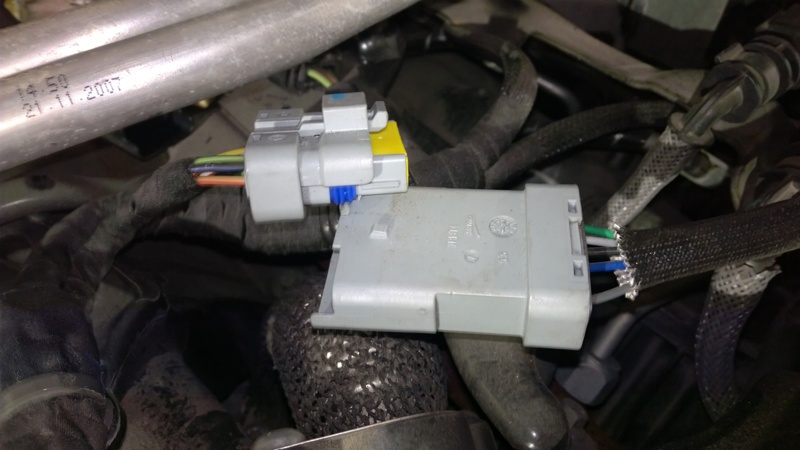
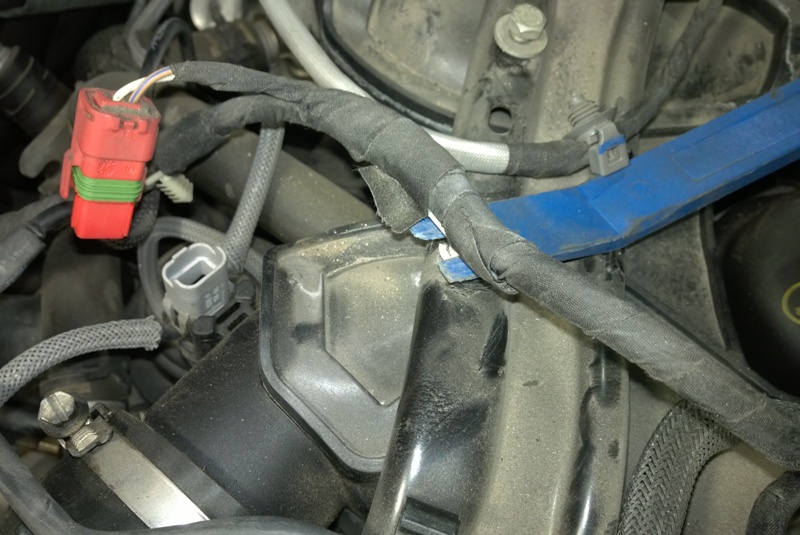
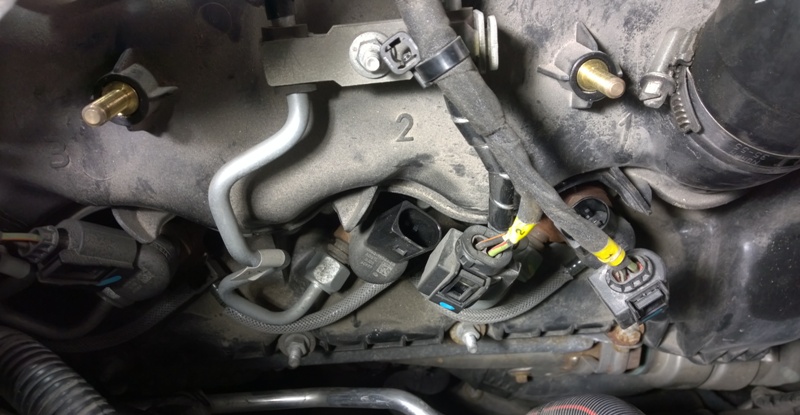
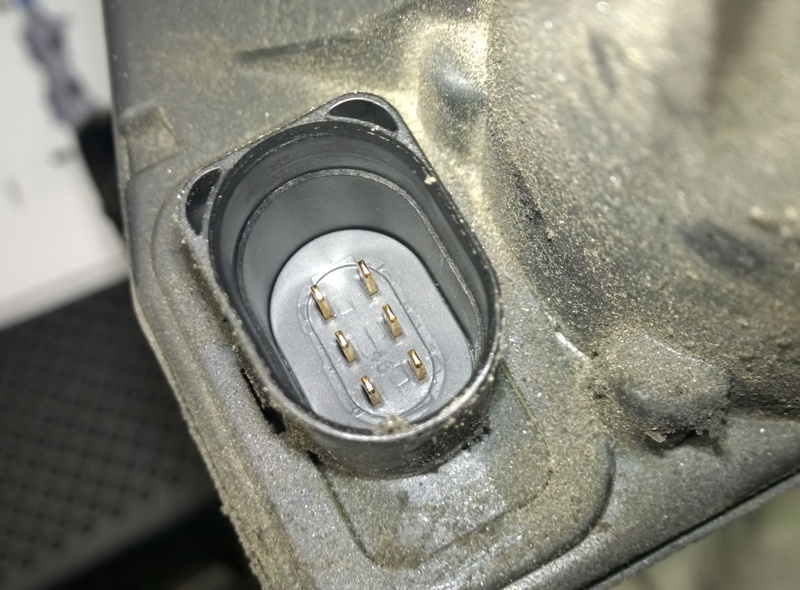
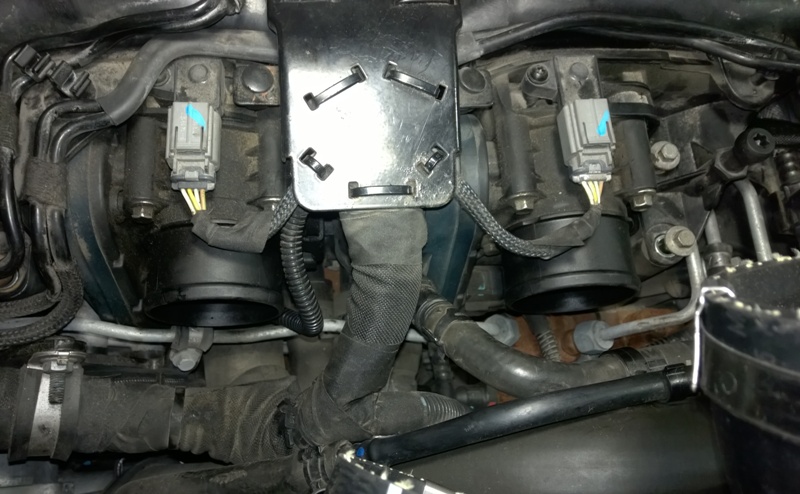
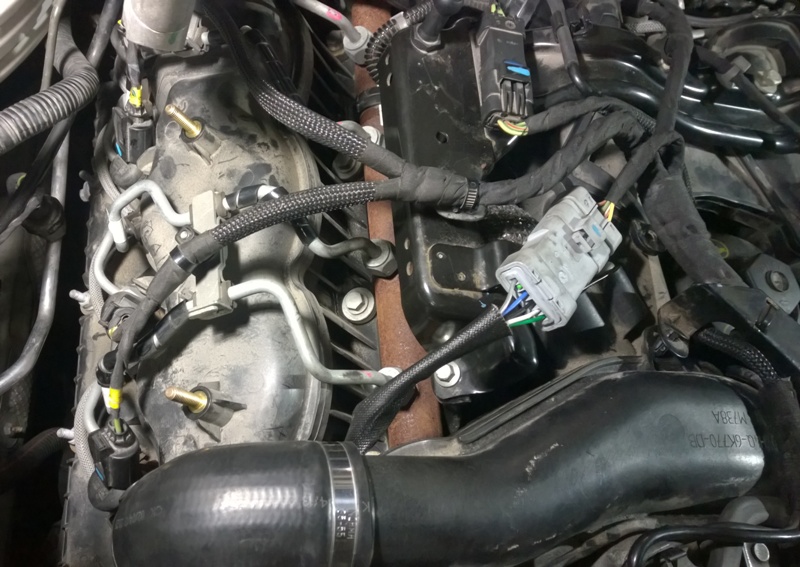
Disconnect and release the wiring to EGR valves. Both sides.
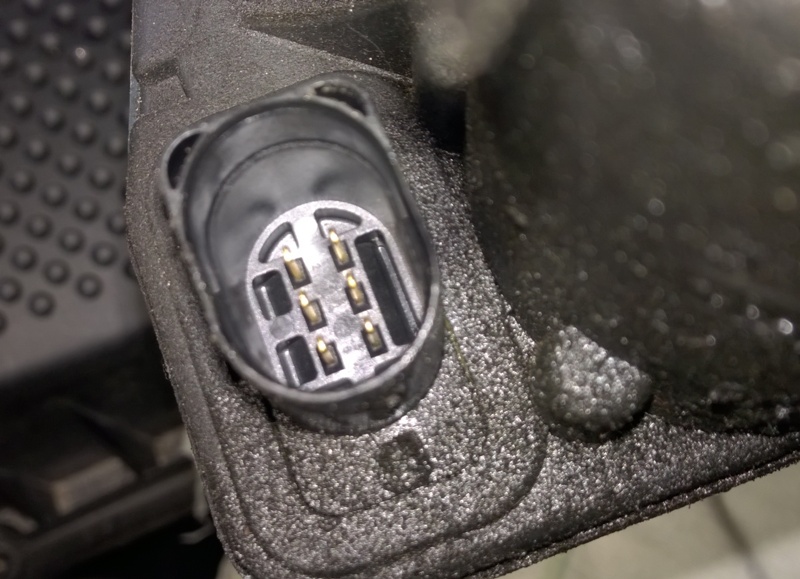
EGR connector to be opened and released.
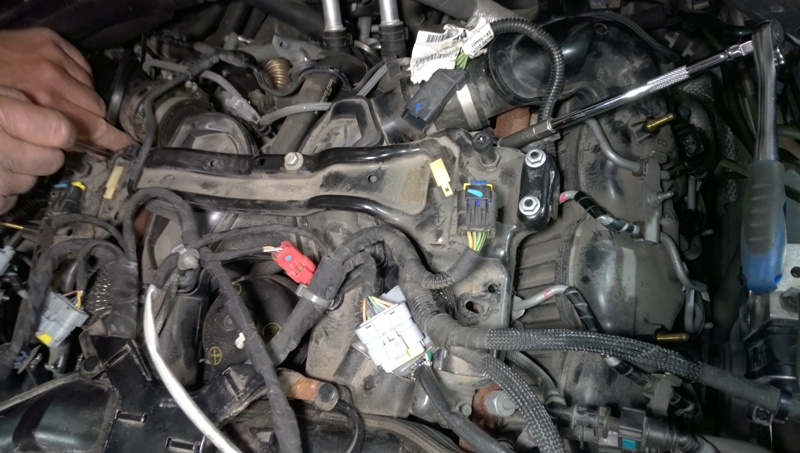
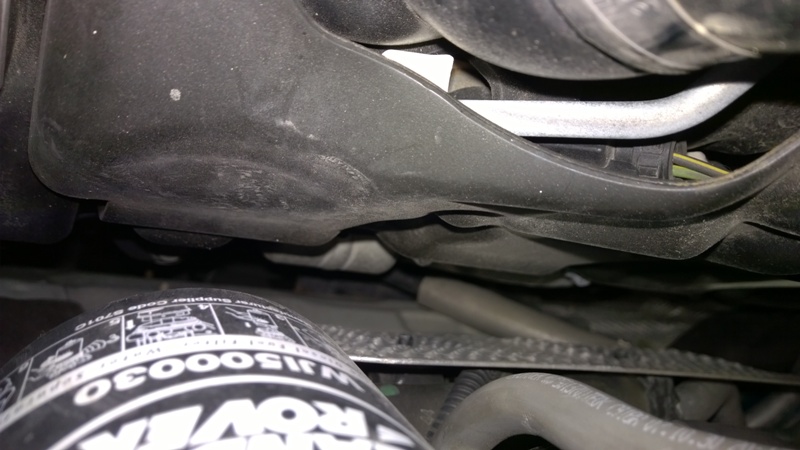
Follow the engine harness and remove where its tied down.
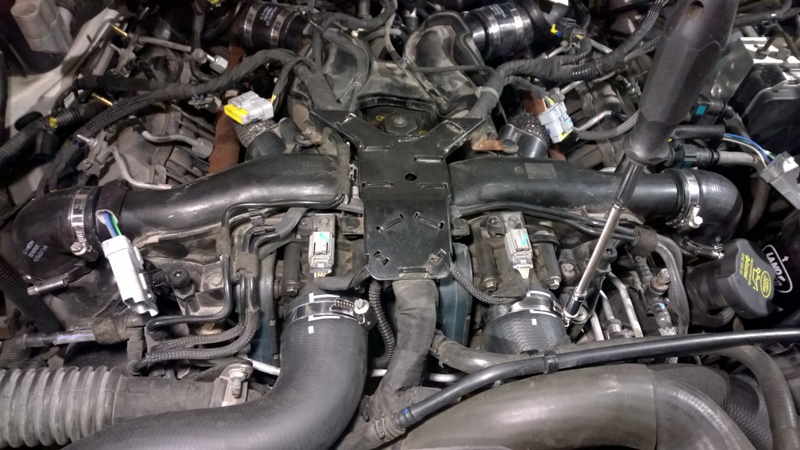
Theres alot of wiring and a big bracket in the centre.
Follow the branches of the wiring and release all clips and connectors.
A plastic pry tool is good help releasing the tie down plugs.
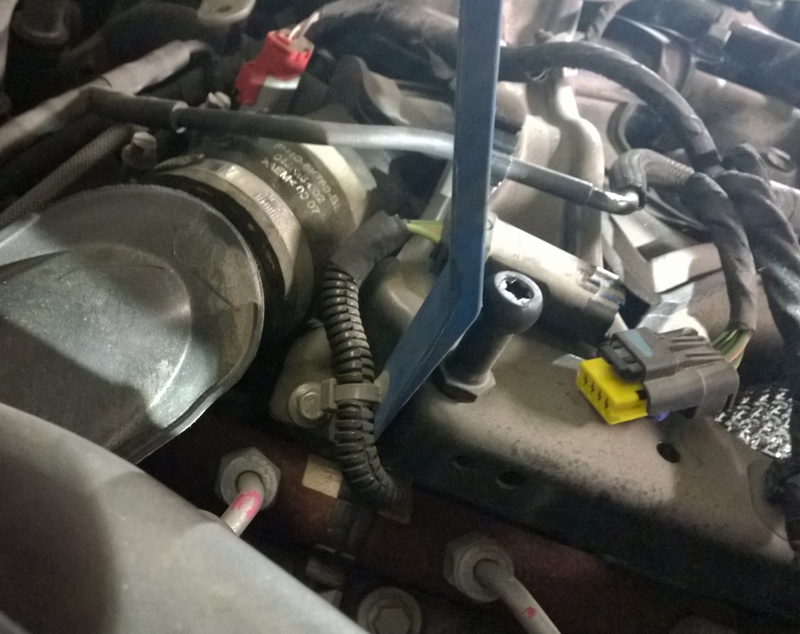
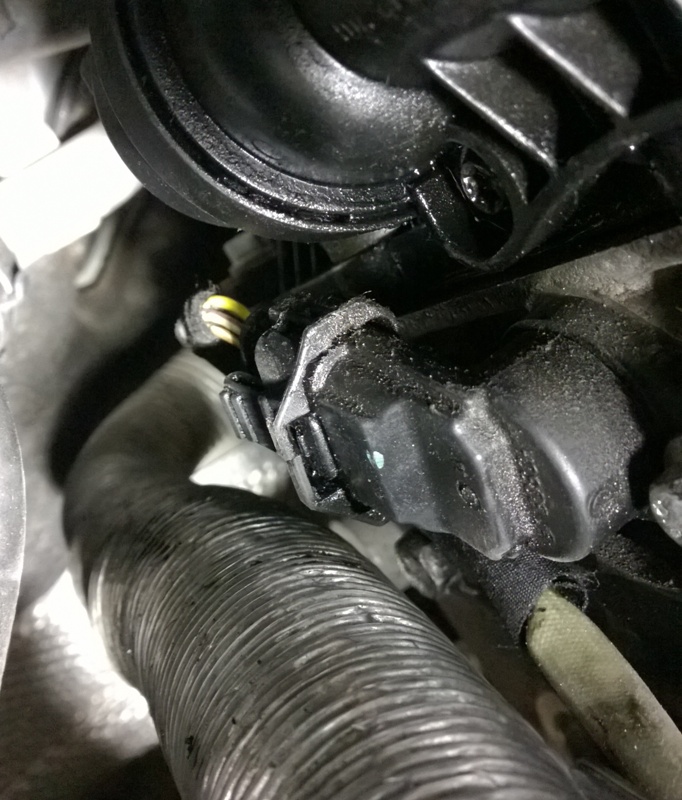
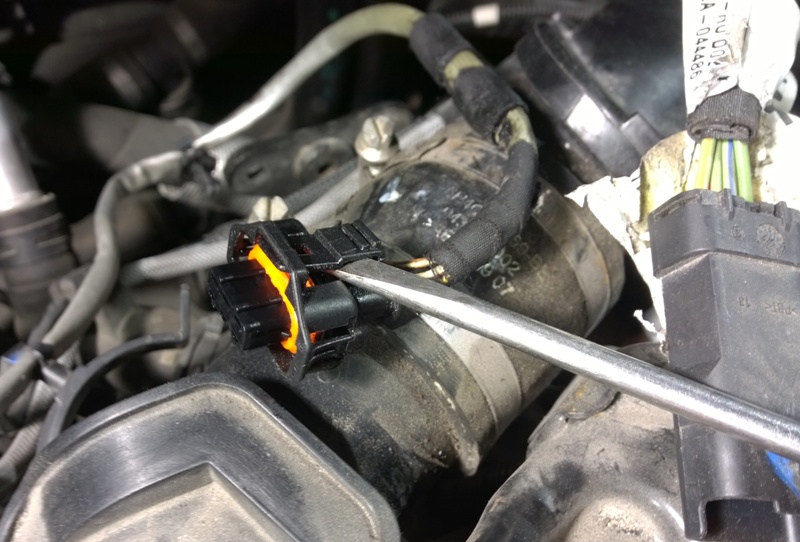
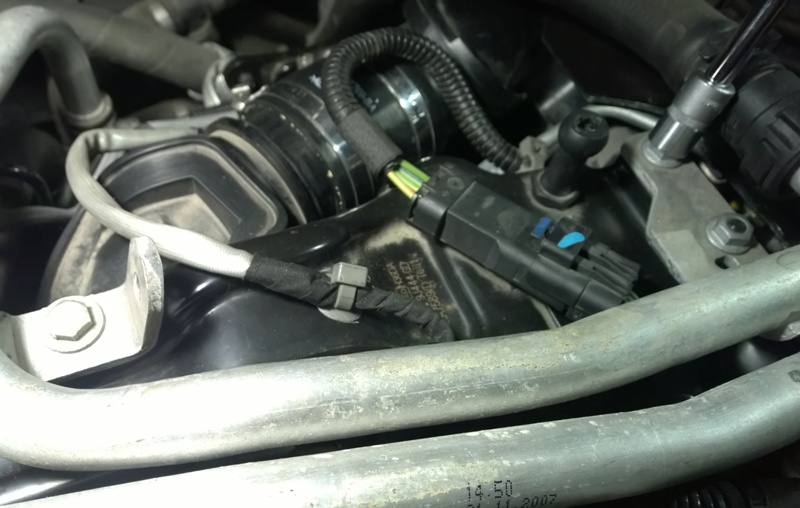
Some plugs are more challanging and this one had a sliding lock.
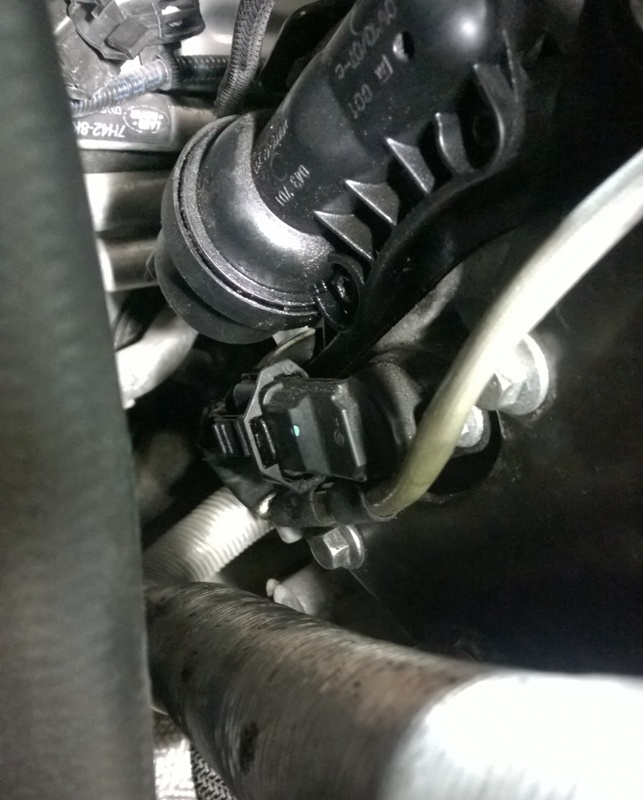
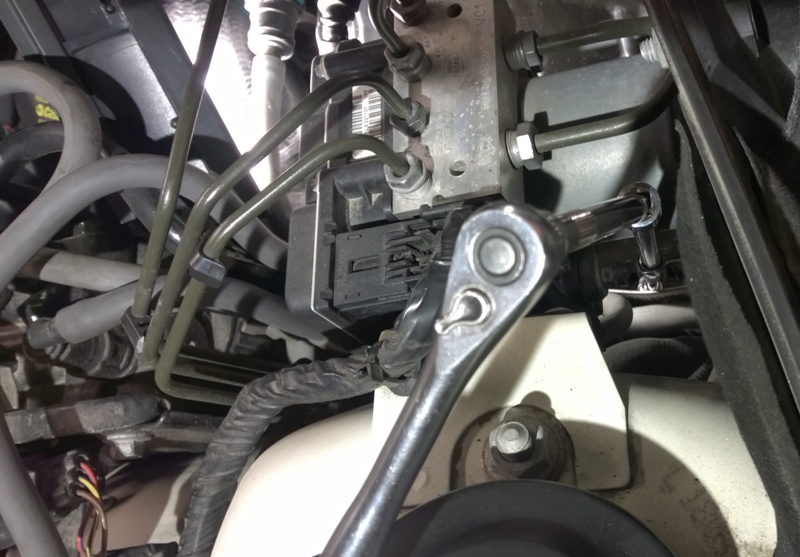
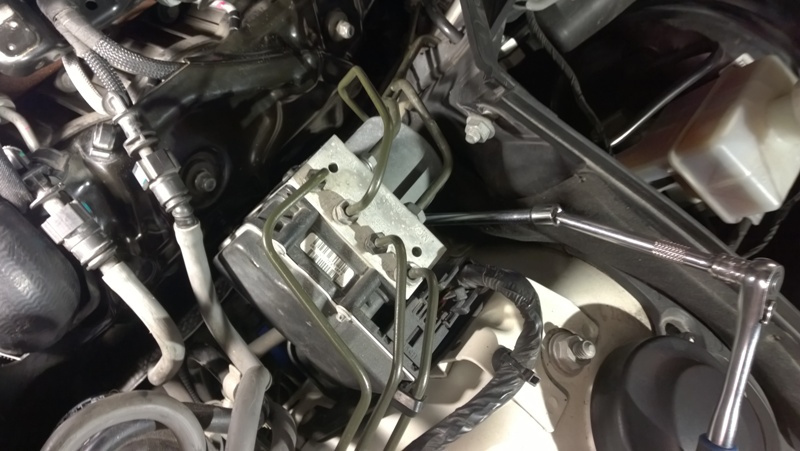
The CPS in the back of the engine is in a very tight spot. Let it take it's time to figure out how to release them all.
The CPS connector released bu putting a flat screwdriver behind the hatch and pulling.
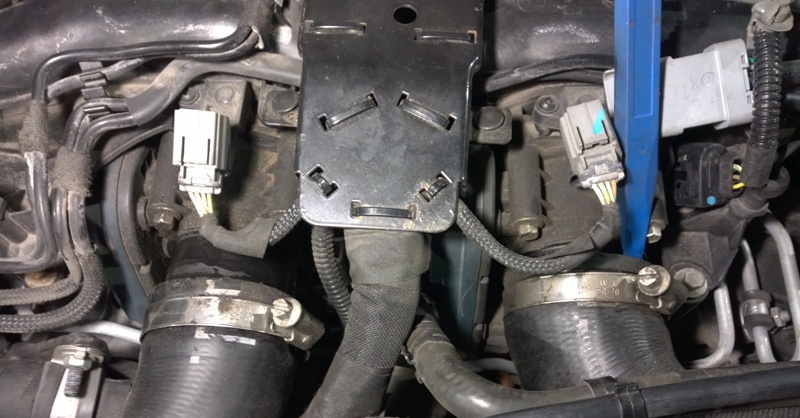
WIth all wires and connectors loose you can undo the engine cover mounting bracket.
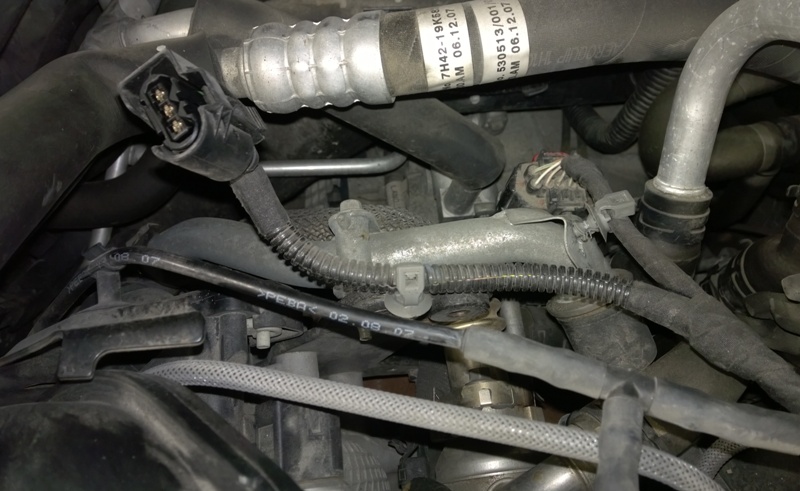
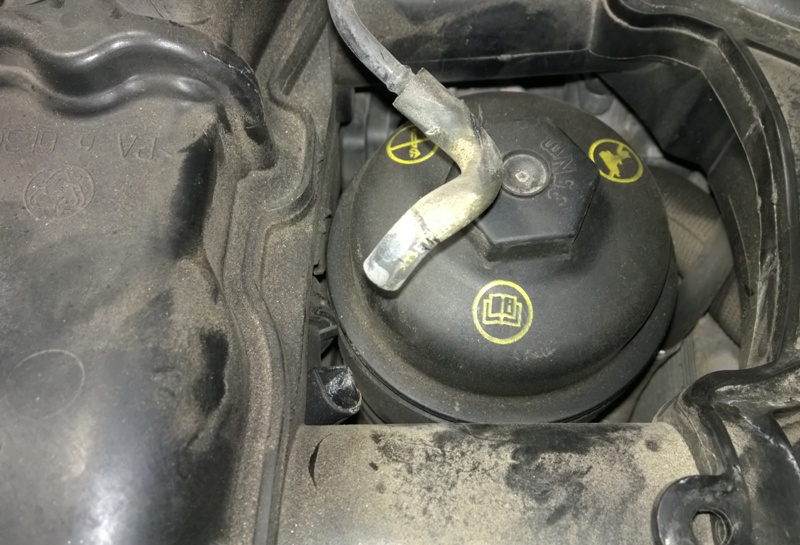
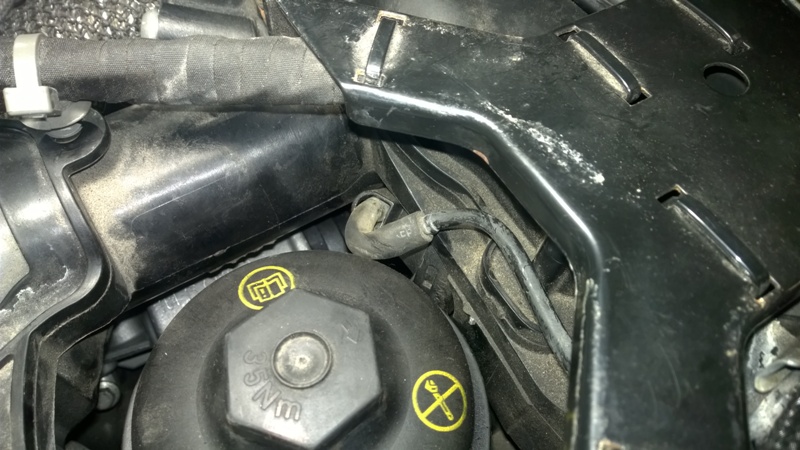
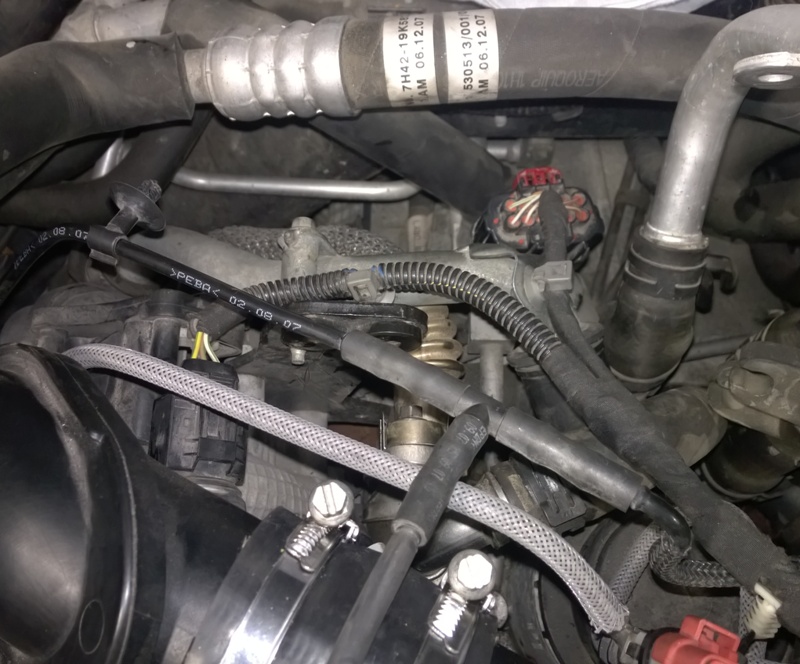
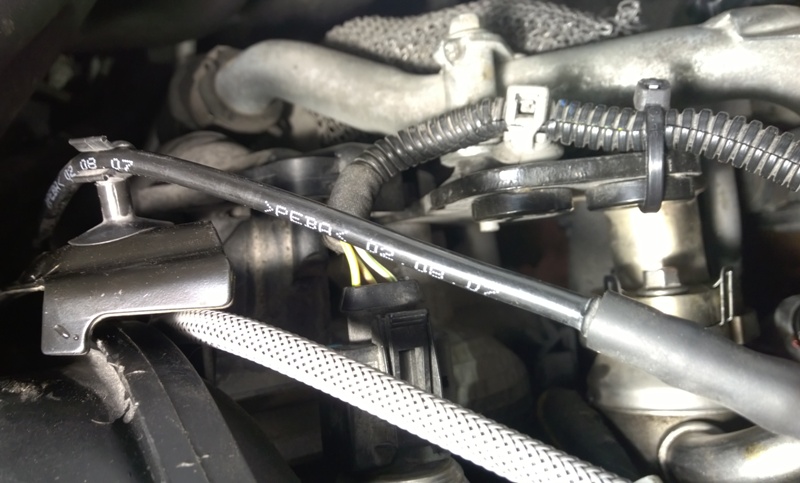
Then you can access and release the vacuum hoses.
Just give them a pull and the vacuum hoses will release.
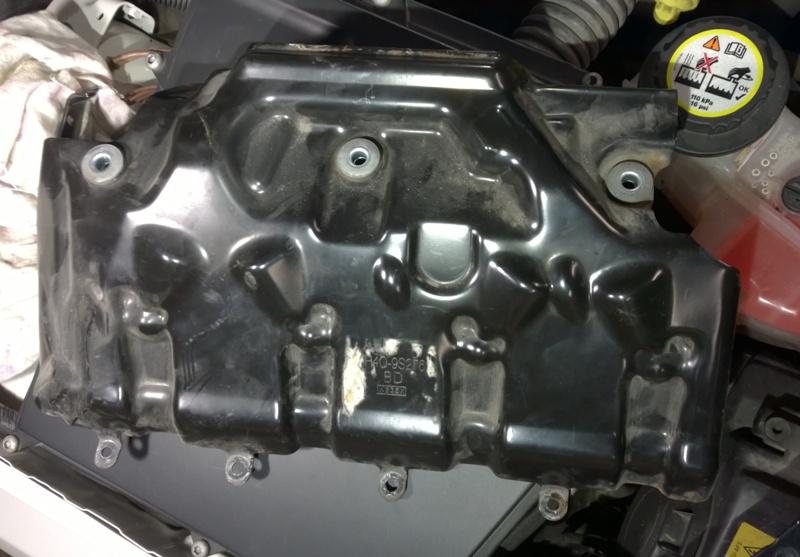
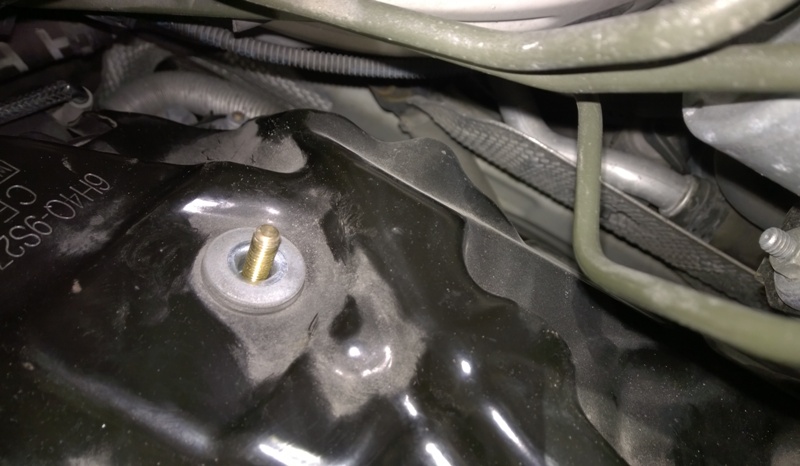
On the outer side of each head there is a protective plate. Hold in with some easy and some hard to reach nuts.
This is what it looks with the metal plate off.
One of the plates off.
With the plats off you can reach the injector connetors.
Which all has to come off to be able to release the harness.
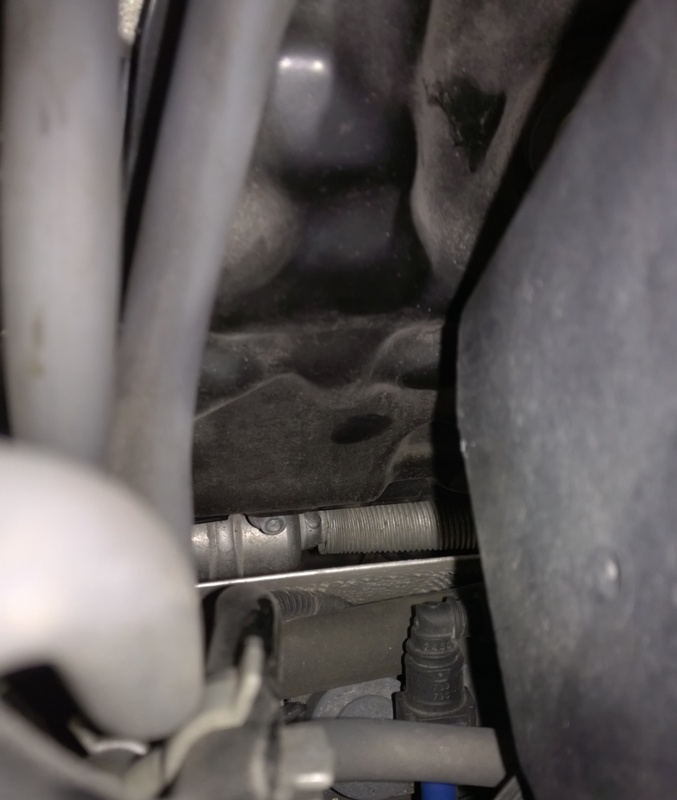
Its very tight on the left side, even hard to see the small nuts deep down there.
One of the top nuts removed and another down in the corner just visible.
Another just about visible deep down.
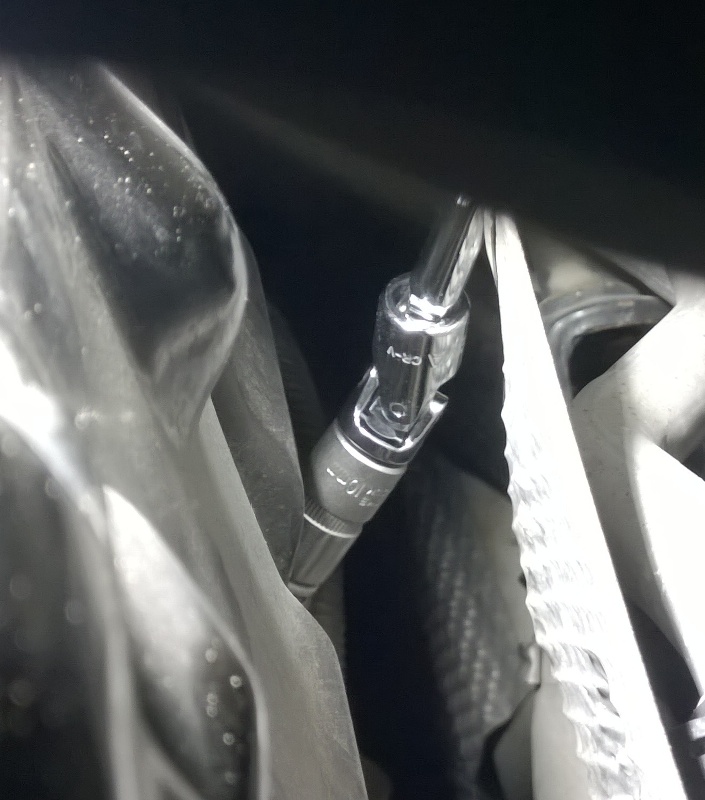
I attacked these nuts with 1/4" ratchet tools.
And with several extensions. You can see the socked if you follow the line of the extension.
Anther nut, from another "access hole".
Be patient and they will all come off, and with a good pull you get the protective plates off.
Follow the wiring back and release all tie downs.
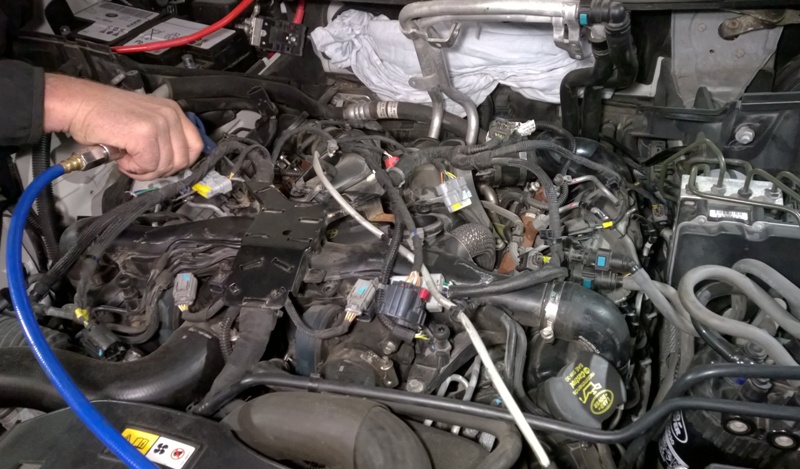
It was quite some grime in here, I put some protective cloth in the air openings and cleaned it up with compressed air. Thought this was the time, before opening any of the manifold or exhaust pipes.
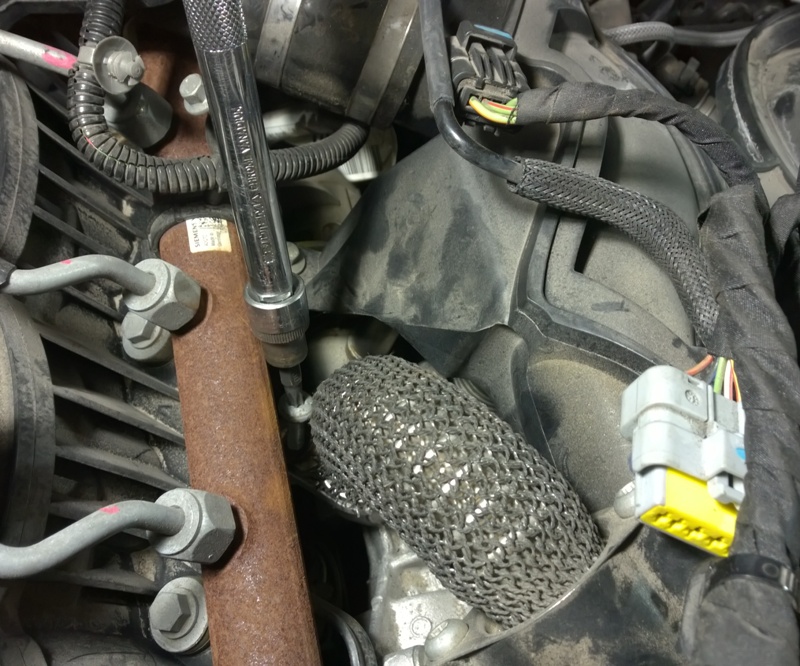
Next I unscrewed the EGR outlet tubes, 4 torx bolts.
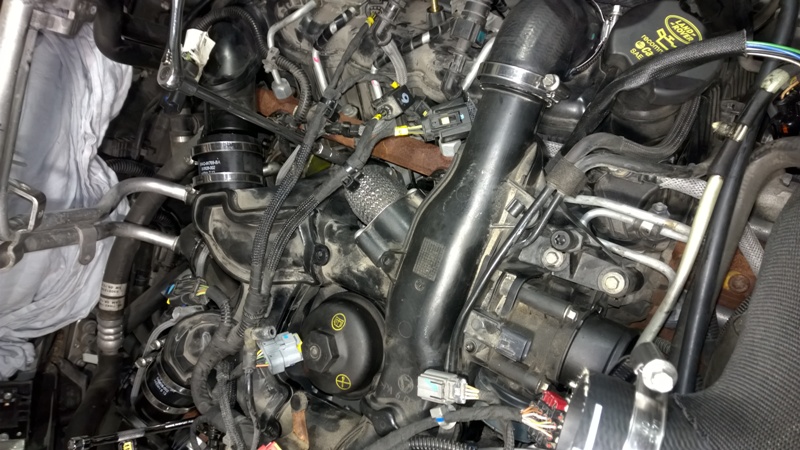
Loosen the clips of the rear manifold hoses, 4 clips.
Repositioned the hoses towards the manifold.
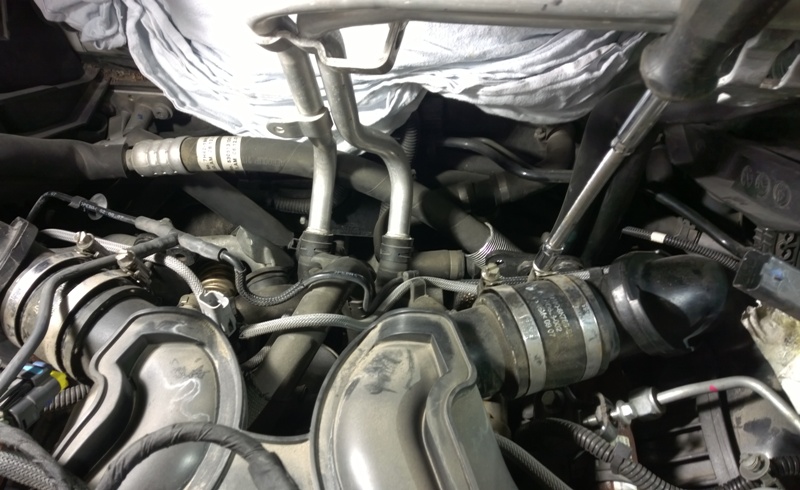
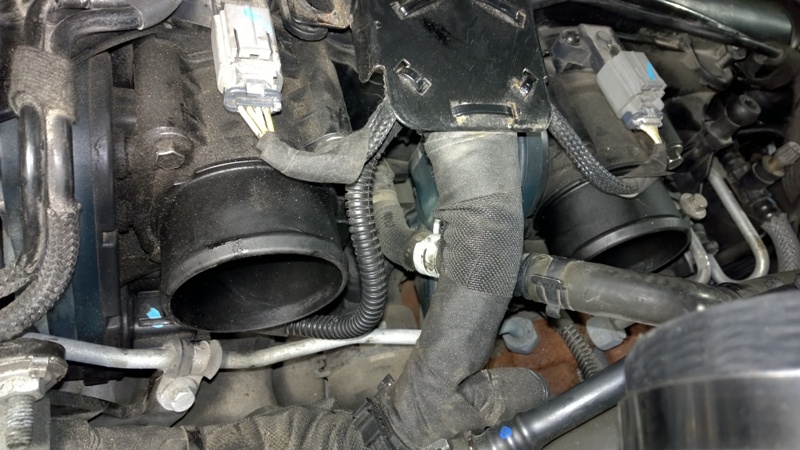
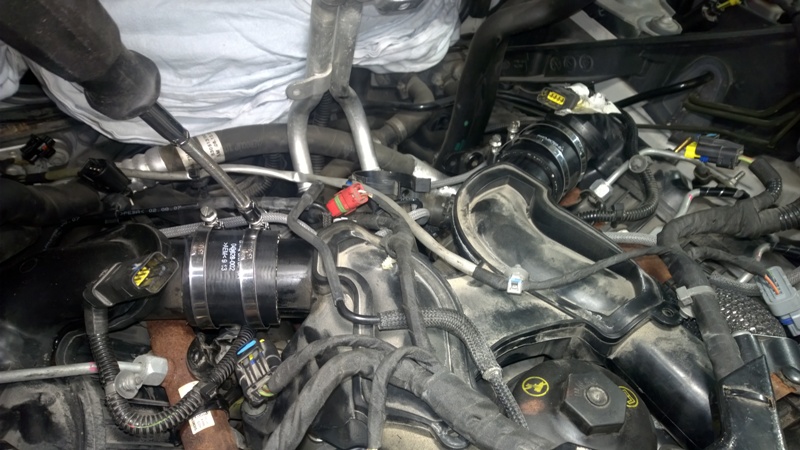
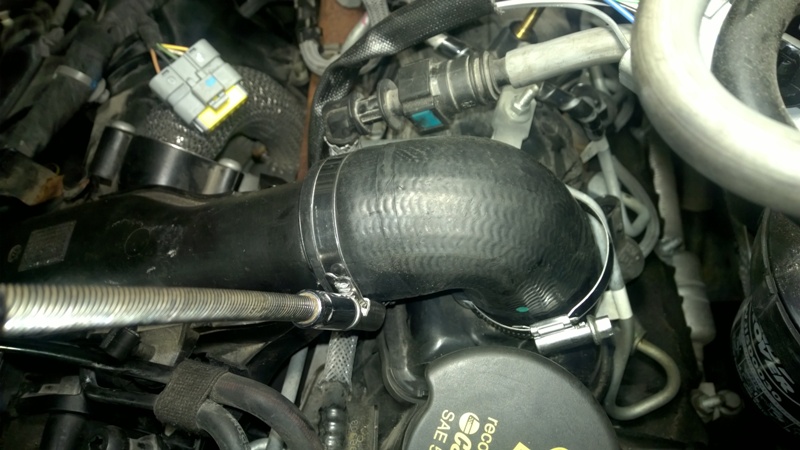
Unscrewed and released the hoses to the air cooler as well as the MAPT connectors.
Release the clips on the 90* bent hoses.
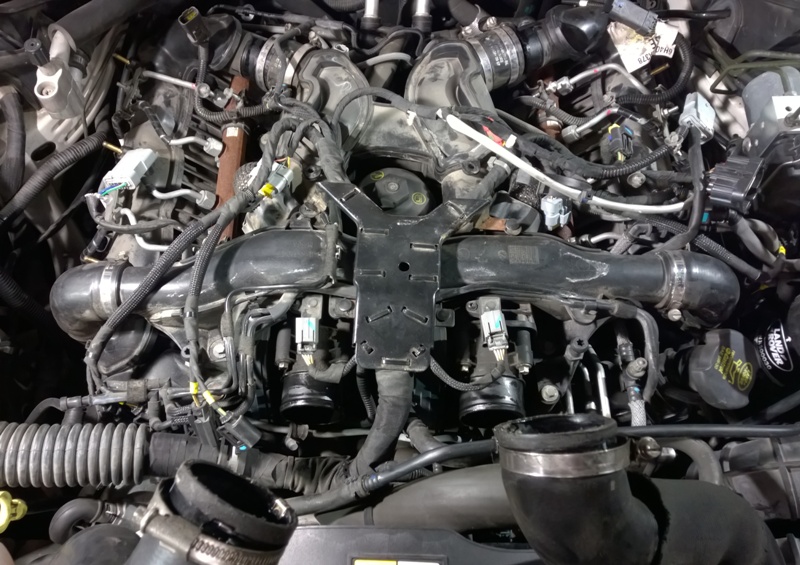
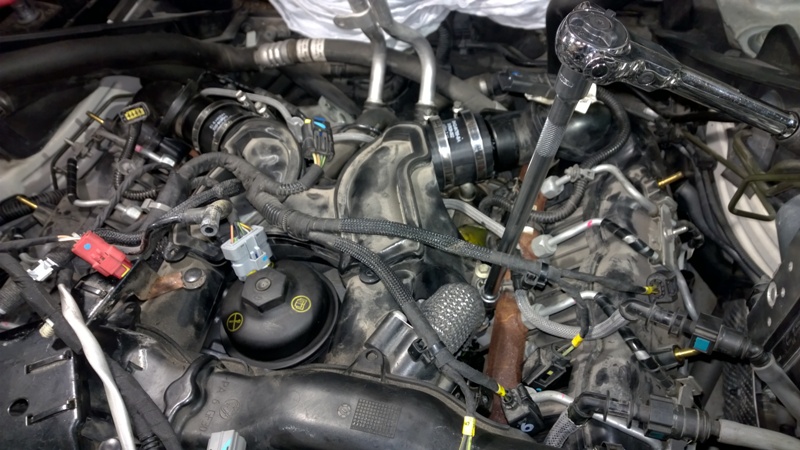
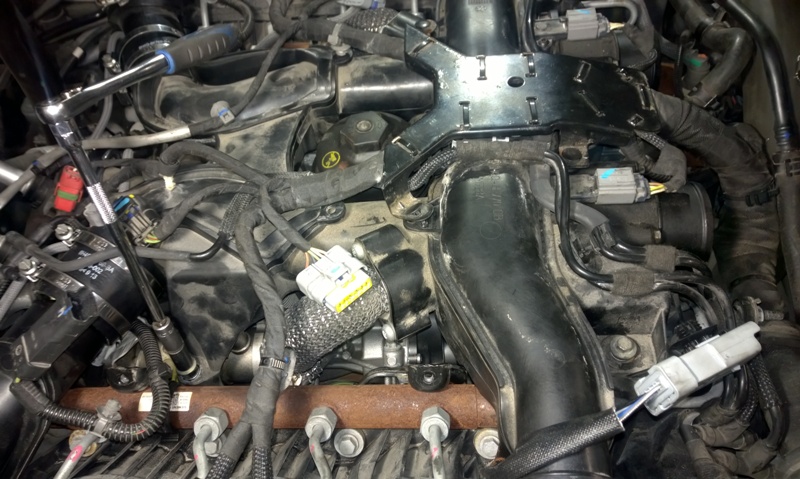
Unscrew the 6 bolts fastening the manifold.
The manifold is now loose and ready to be lifted off, exept of 2 connectors.
Which are connected to throttle body and can be released when it's lifted up a little bit.
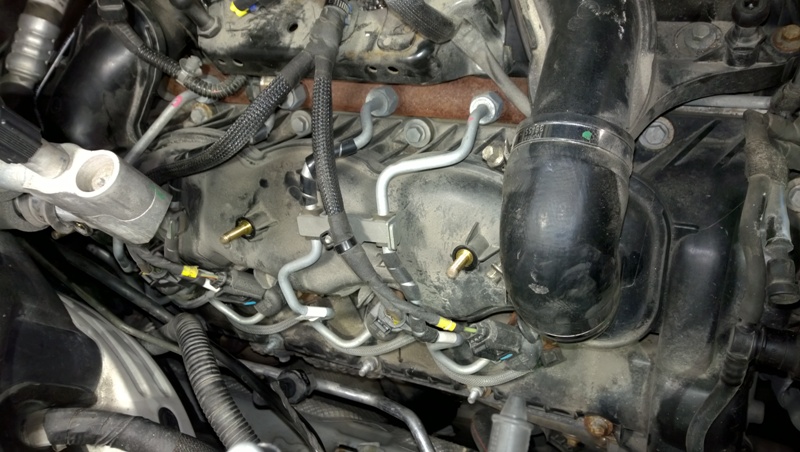
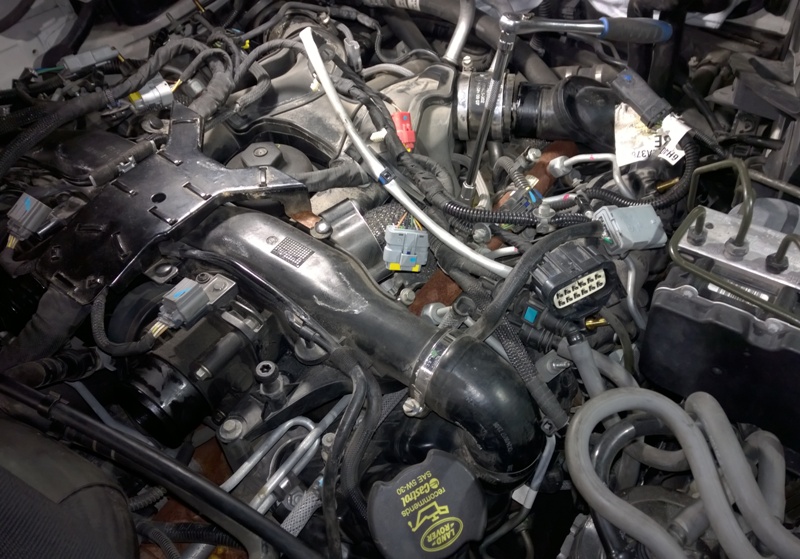
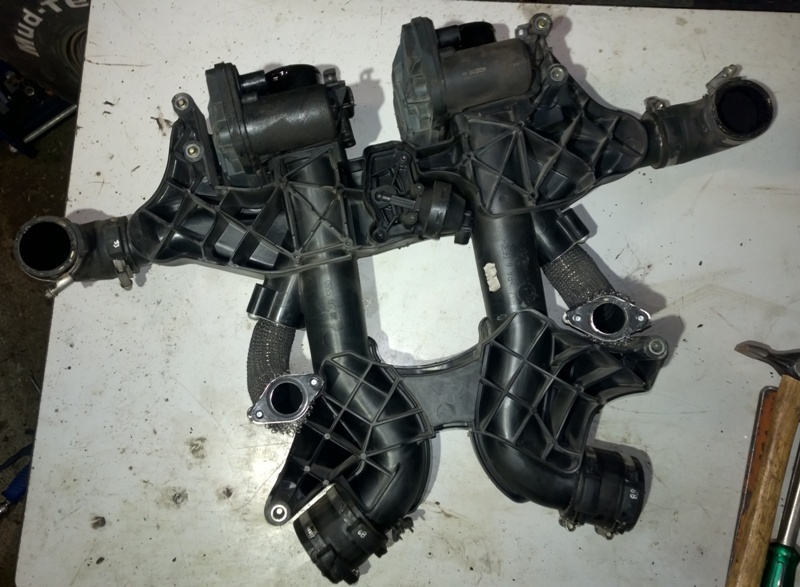
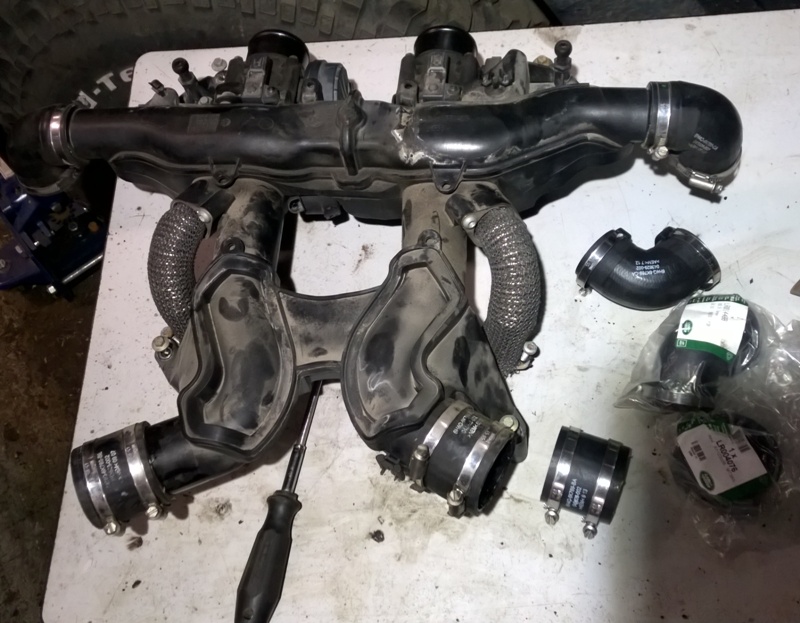
Now the intake manifold can be lifted off and put aside.
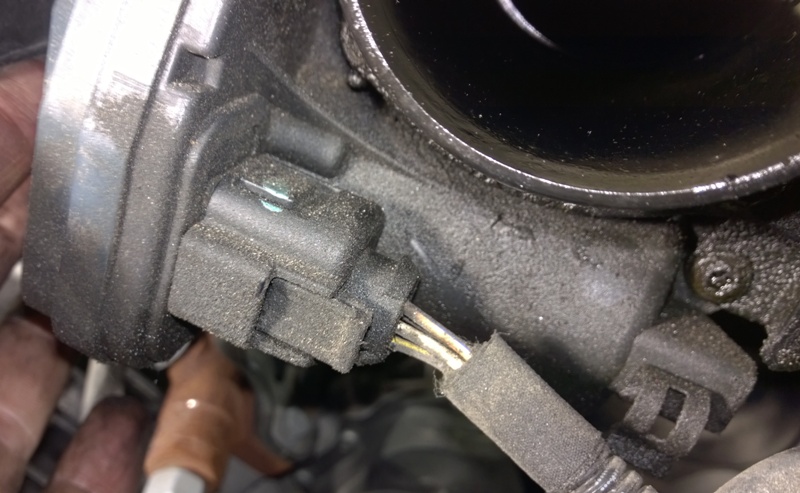
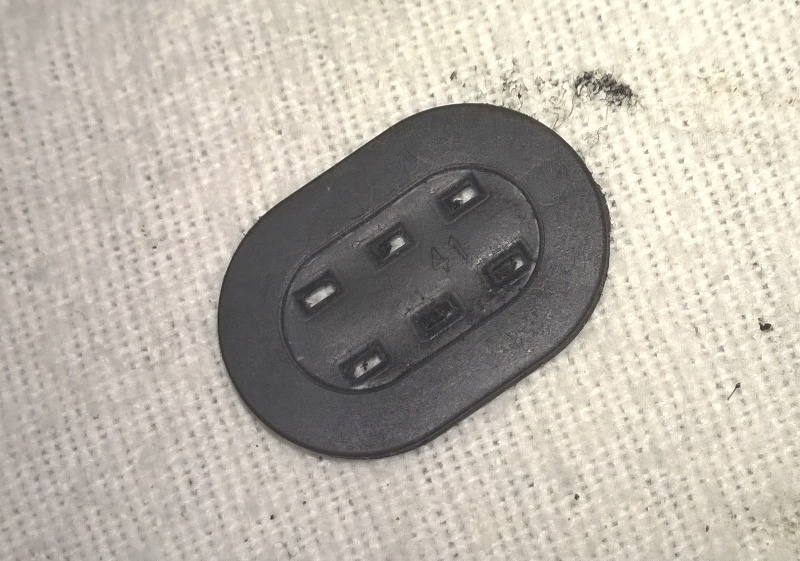
When I lifted it off I saw this little fellow falling down on the engine.
But I could soon see it was missing from one of the throttle body connectors.
And could push it back to its home.
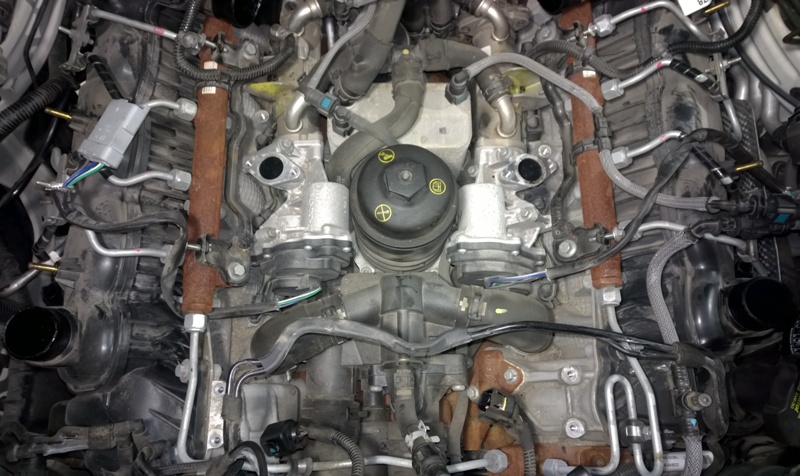
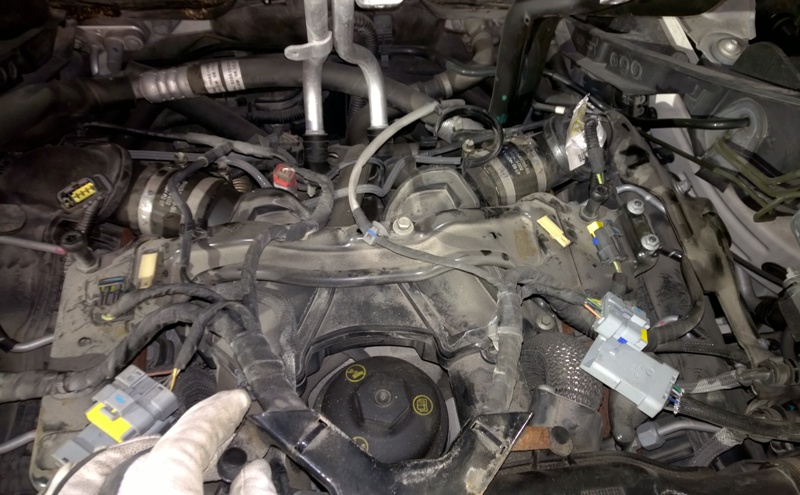
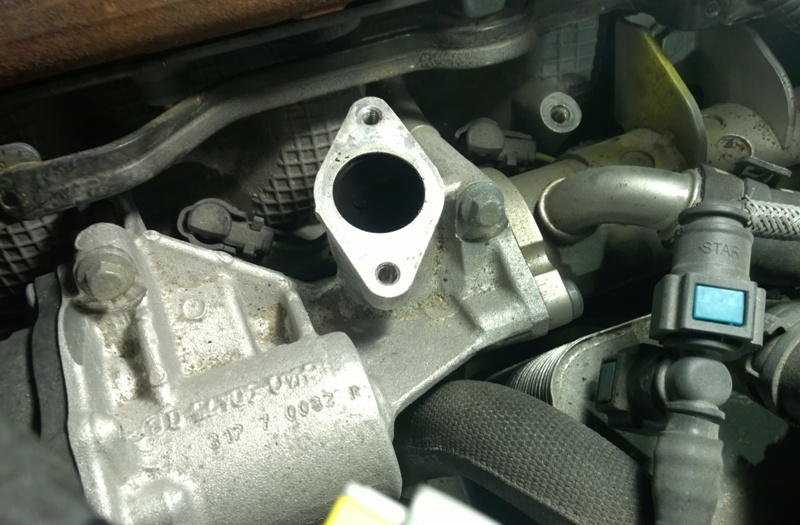
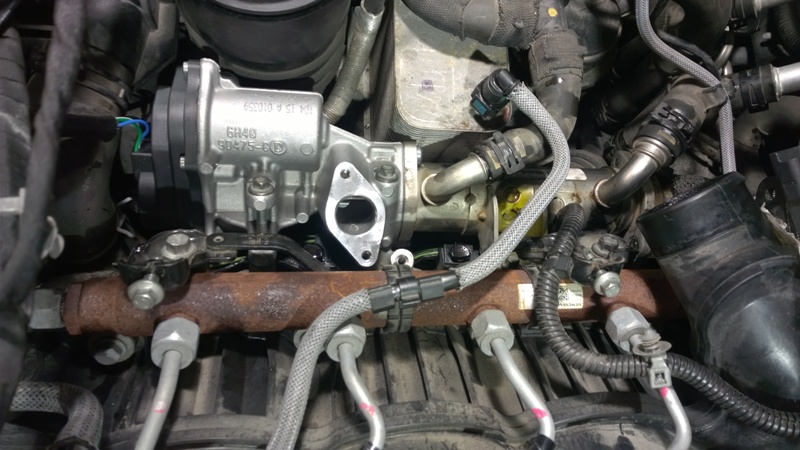
Now we're almost half way through and finally you can see the actual EGR valve assemblies. It's time to take a cup of tea and see where you have got to so far. Supporter and maintainer of EDF - Mrs Edfors' shopping cart. Last edited by Edfors on 15th May 2017 6:49pm. Edited 2 times in total |
||||||||||||||||||||||||||||||||||||||||||||||||||||||||||||||||||||||||||||||||||||||||||||||||||||||||
|


| Dean Member Since: 23 Mar 2014 Location: Glasgow Posts: 51  
|
Wow, brilliant write up. Keep going please. It is all very exciting. 2006 FFRR TDV8 Vogue
|
||
|

| Edfors Member Since: 26 Oct 2012 Location: Uppsala Posts: 168
|
Thanks, here comes the second and last part.
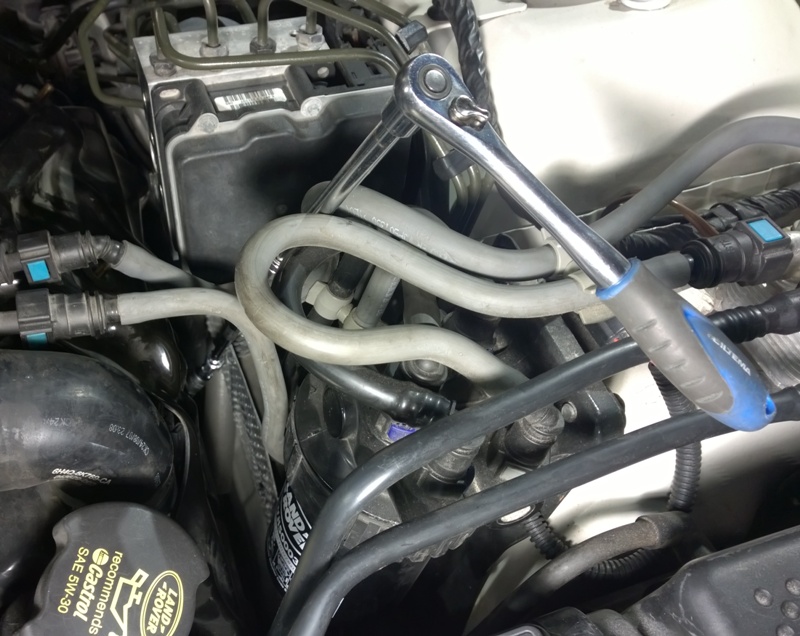
Removing the fuel rail support bracket. Two bolts on each bracket.
Easy to lift off.
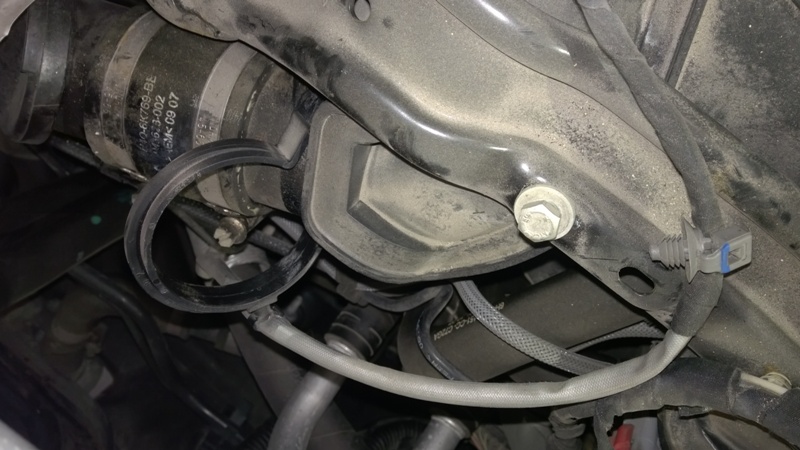
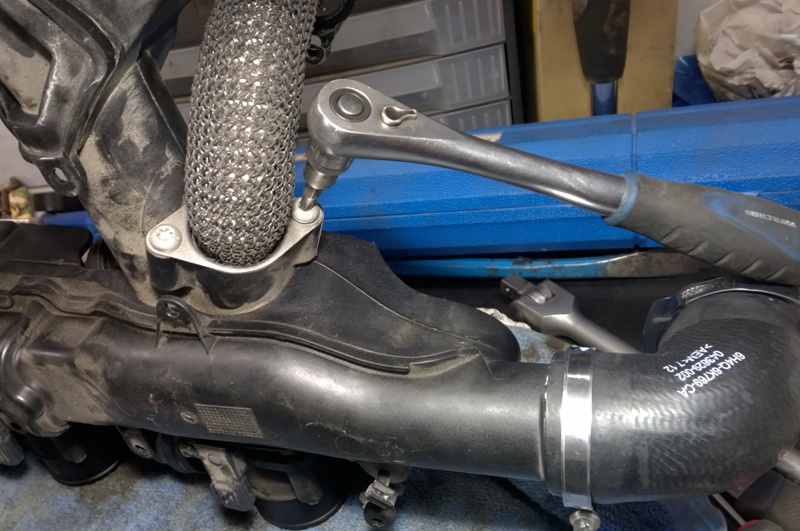
Release the exhaust inlet pipe, two bolts, this is the upper.
and socket on the lower.
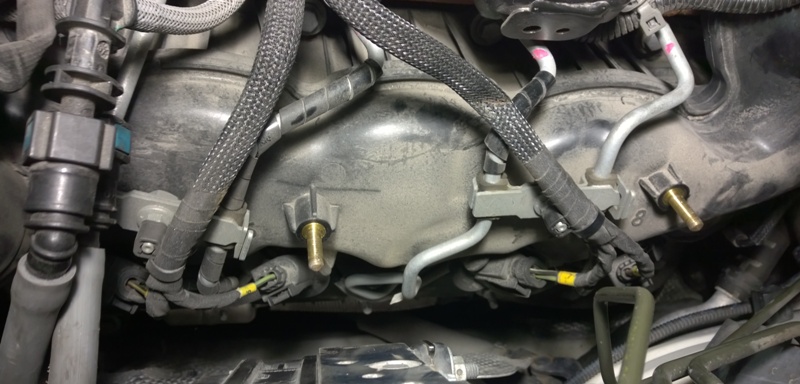
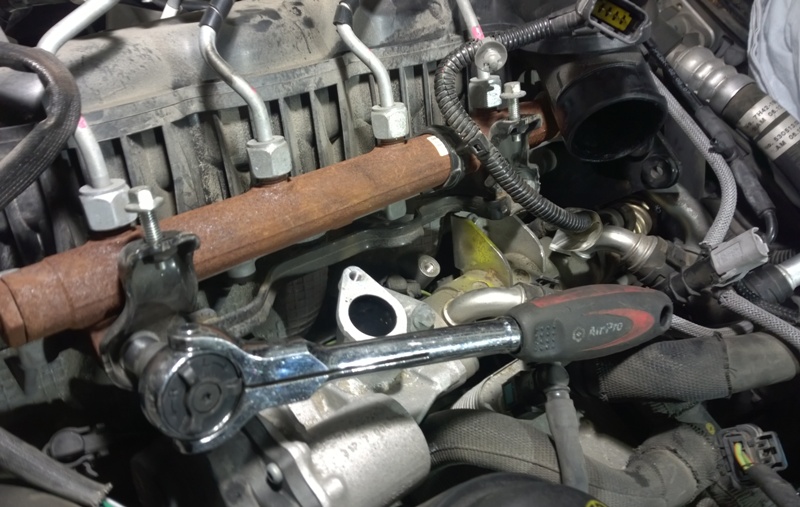
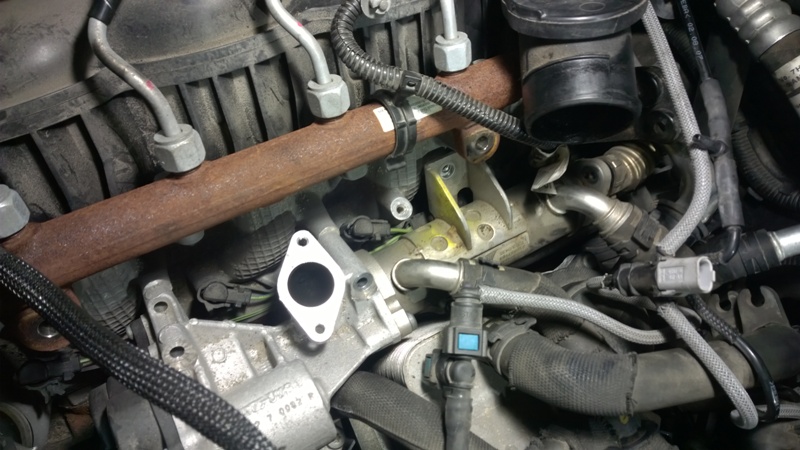
Release 4 bolts holdning the EGR assembly. Two seen here.
Now the assembly is free, except water hoses.
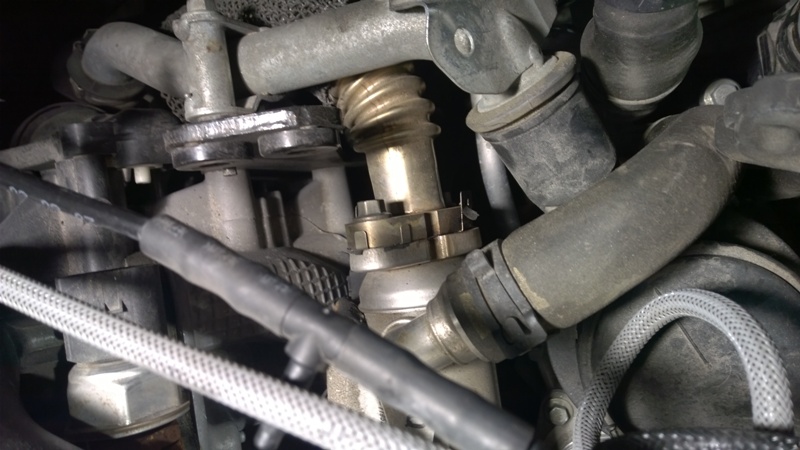
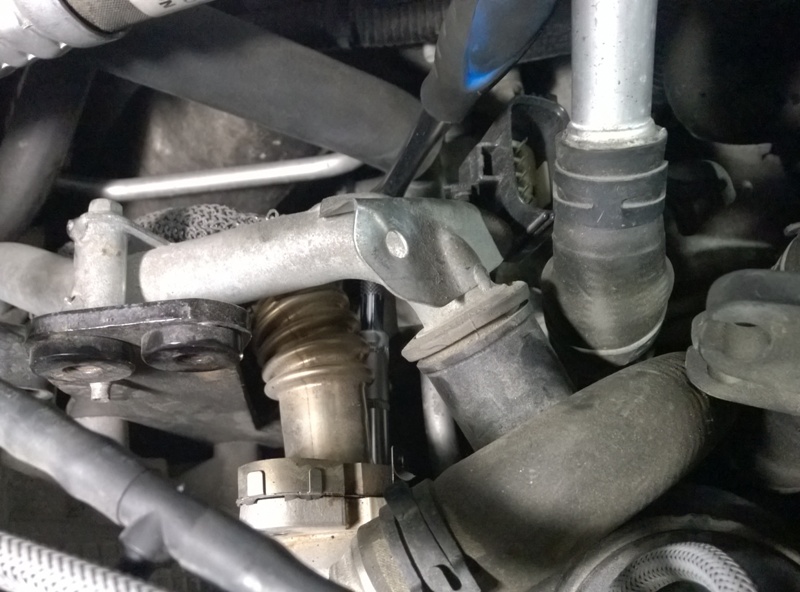
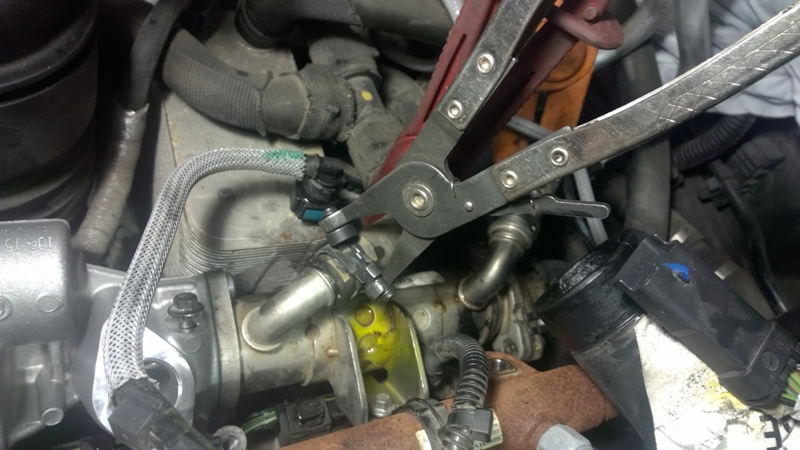
Clamps on both water pipes to the exhaust cooler. And loosen the hose clips.
Pulling off the hoses. I did one side at the time, thus two clamps is enough and gives a minimal water loss.
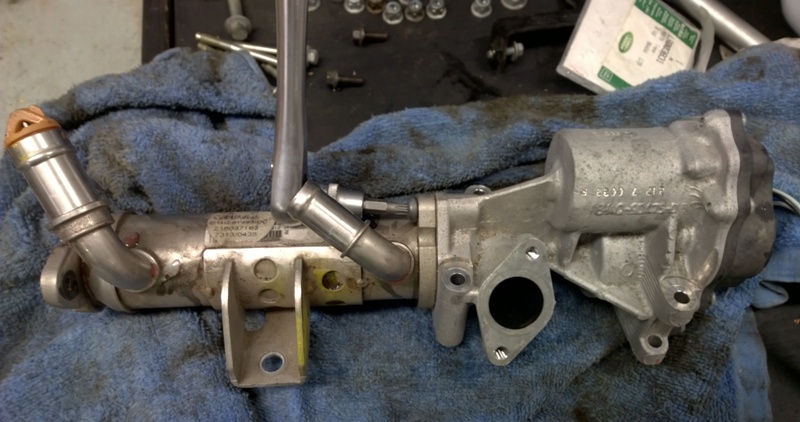
EGR assembly, release the exhaust cooler with torx bolts.
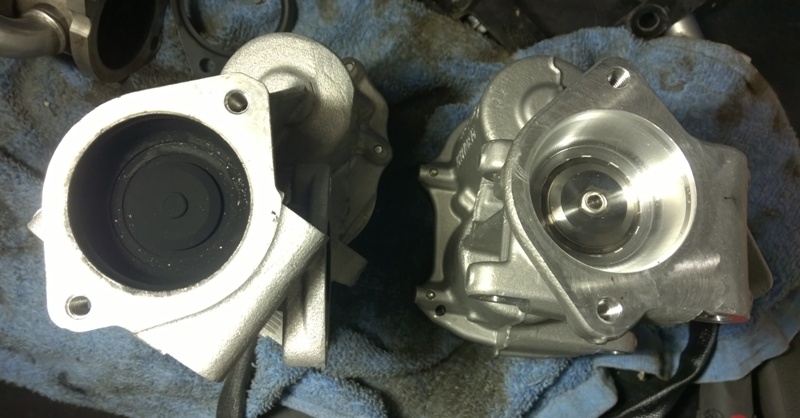
Old and new EGR valve.
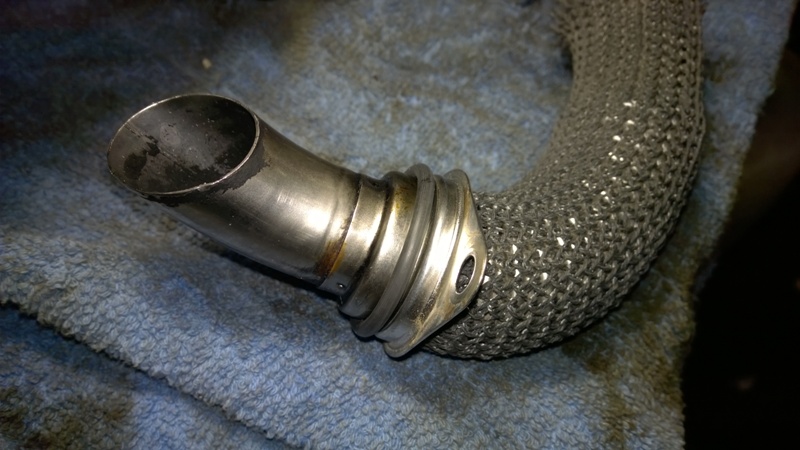
New gasket on the EGR inlet pipe.
EGR with new gasket towards the cooler, both ends and back for reassembly. 10 Nm on most bolts.
Tightening it back down.
And the fuel rail bracket back in place as well. This should be done with 23 Nm.
Both EGR's replaced.
With the EGR secured I replaced both air cooler hoses, both old and new in this photo.
And then turned to the inlet manifold and replaced the four short air hoses.
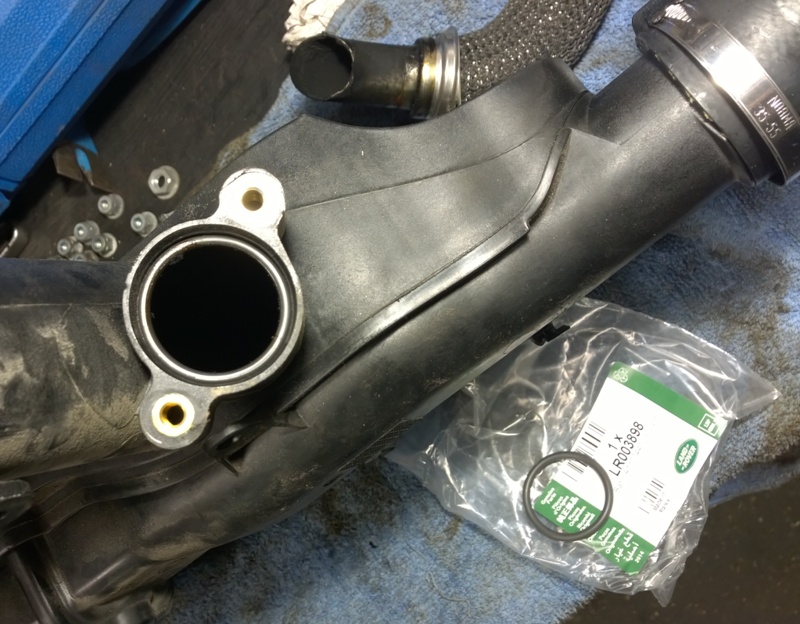
Undo the EGR pipes.
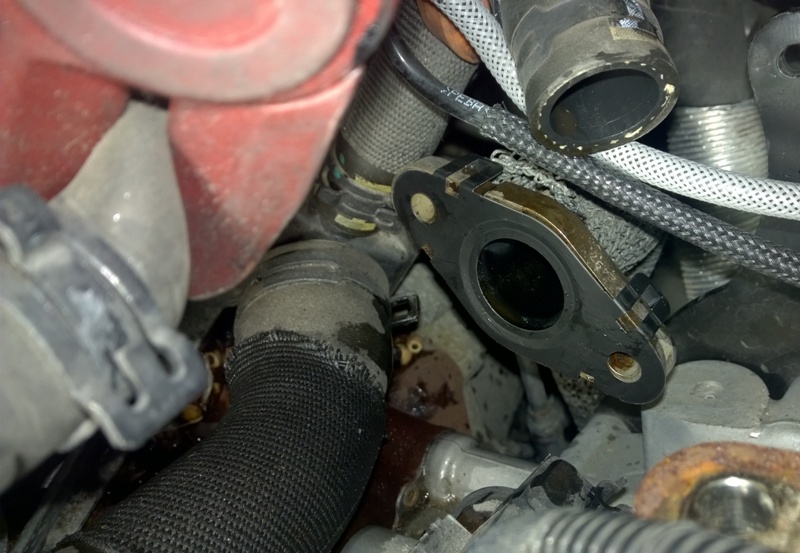
In there you see a O-ring, remove this.
Old O-ring was hard and full of soot.
Place new O-ring on the EGR outlet pipe.
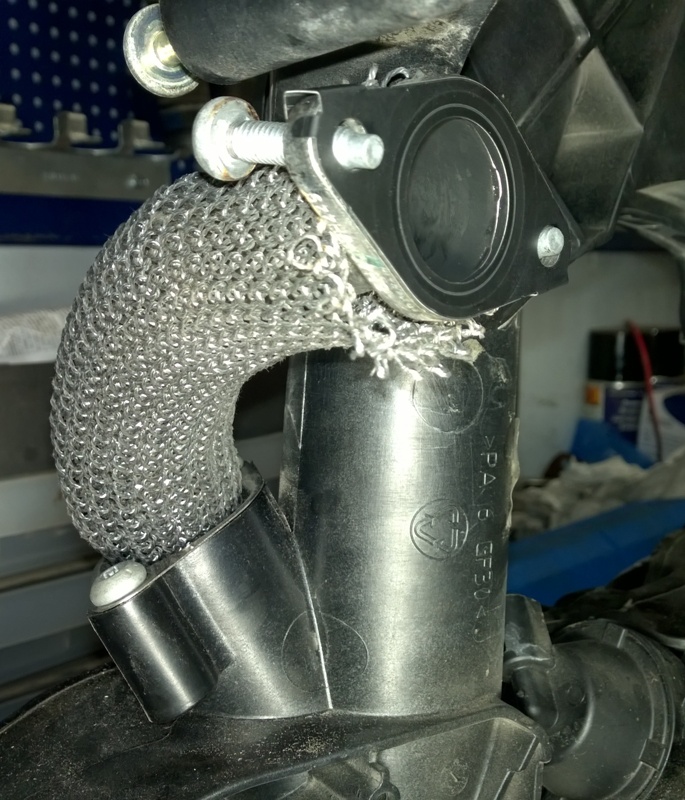
Reassembly and fit new gasket on the EGR valve side.
Double check the engine side and see all brakets and screws are back and lift the pipes and harness aside to make clear for putting bach the inlet manifold.
Inlet manifold ready to go back.
Be brave, put it back and tighten up all the screws.
Don't forget any of the throttle connectors.
And fit all the bolts.
Contine with the harness, connectors and harness bracket.
Don't forget the vacuum pipes.
And the engine cover bracket.
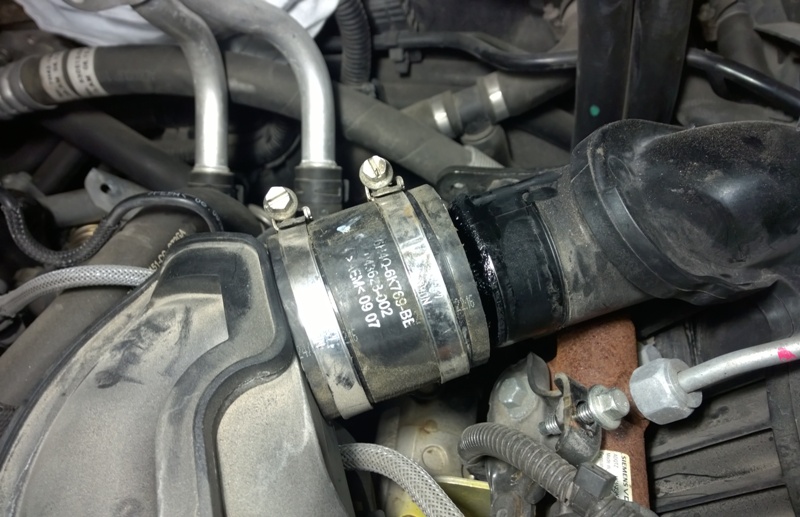
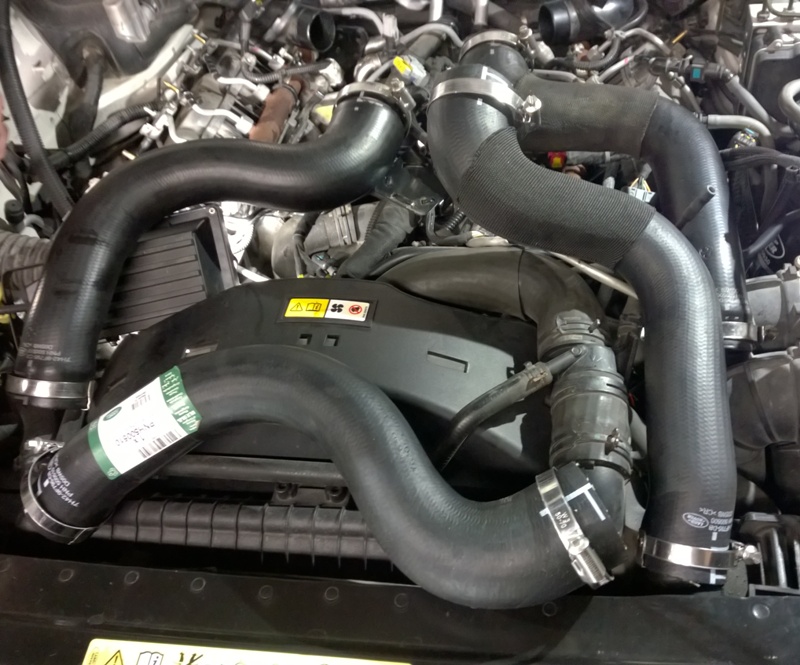
Reposition and tighten the inlet hoses.
There are 6 of them.
Including the front cooler one's. The genuine LR one's have all new hose clips already correct positioned on them.
Put back all tie downs.
It's loads of wires and cables, so pictures help getting it all back in the same positions, which goes over and under each other.
Crank position is still down there, easier to connect first and then press in the tie downs.
Continue with the injector and EGR connectors.
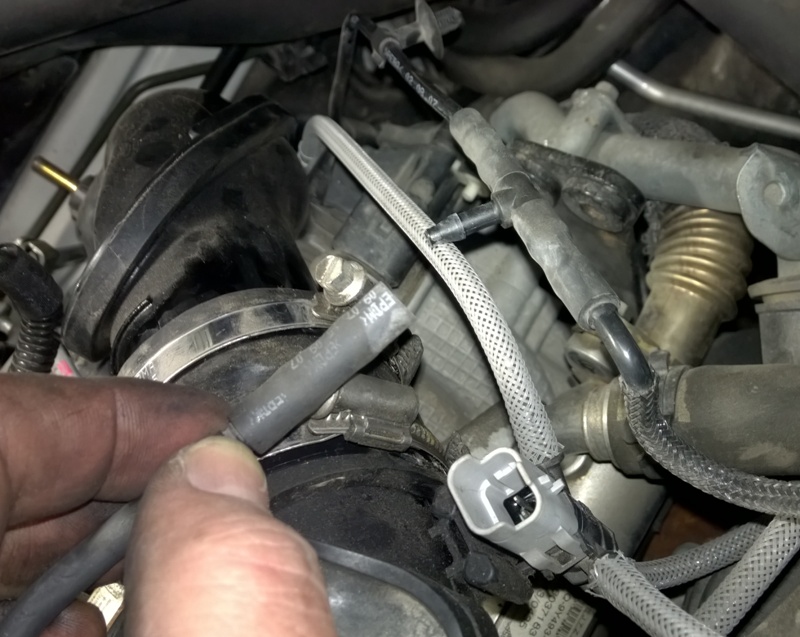
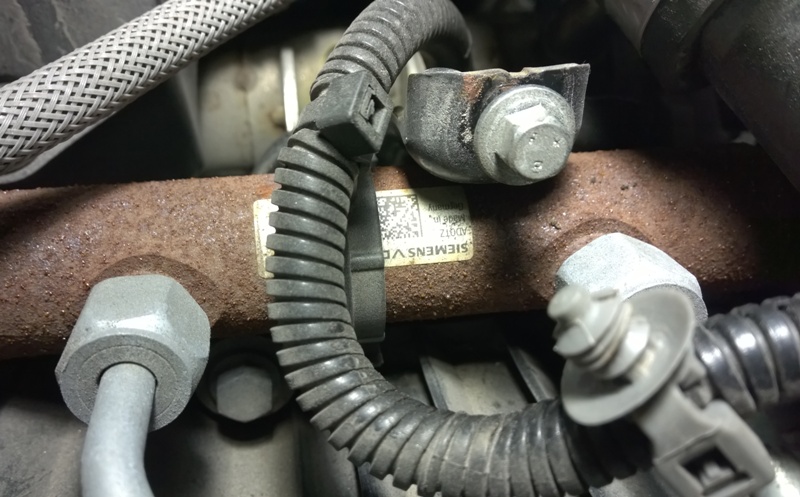
These fuel pipes don't have to be opened, just pressed carefully at the side.
Getting the side metal shields back in place and getting the nuts on there, be careful not loosen any, I put a small drop of grease on the socket to hold it on there while getting it onto the stud.
It's possible to get them all back, bit it's very tight.
And a good small torch helps, because it can be dark down there as well, you see two top nuts and the socket for a third deep down.
Some brackets and hose fasteners to go back as well.
With all connectors and the harness back on, it's time for the coolant hoses to go back down.
And on the coolant hoses there is another cable fastened.
The CPS cable goes here.
All the nuts for the shields are now back.
Remove the cloth from the plenum chamber openings.
Putting the plenum chamber back.
Tigheten it back with A/C bracket and install the rubber hood seal.
Engine cover back, battery cable reconnected, always negative off first and on last. And return hood from service position.
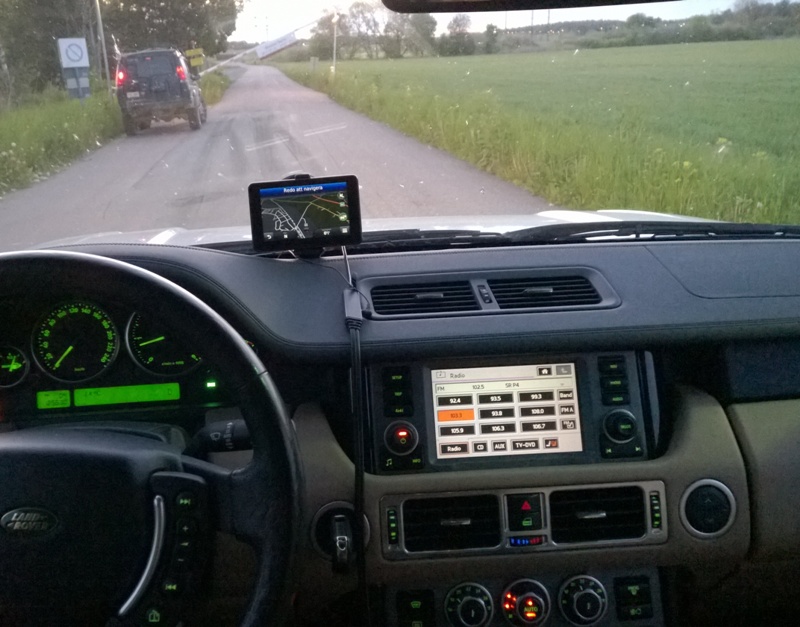
Ready to enjoy again I didn't have anything to clear fault codes so I didn't do this, but would be a good idea if you have a diagnostic tool. Supporter and maintainer of EDF - Mrs Edfors' shopping cart. |
||||||||||||||||||||||||||||||||||||||||||||||||||||||||||||||||||||||||||||||||||||||||||||||||||||||||
|


| PaulB Member Since: 17 Jul 2011 Location: Hampton Posts: 877 
|
Great write up.
|
||
|
| alanm_3 Member Since: 19 Feb 2011 Location: my House, unless I’m not at home, in which case I’m somewhere else. Posts: 6761
|
You have no idea how much time this might save me in the not too distant future!
|
||
|
| SKOT Member Since: 24 Oct 2012 Location: Milton Keynes Posts: 792  
|
Fascinating. Much respect to you |
||
|

| Haylands Member Since: 04 Mar 2014 Location: East Yorkshire Posts: 8518
|
Excellent write up, makes me wish I had a diesel just so I could change them..... |
||
|
| stan Site Moderator Member Since: 13 Jul 2010 Location: a moderate moderated moderator moderating moderately in moderation Posts: 35620 
|
excellent.. |
||
|
| Mr Tee Member Since: 13 Dec 2010 Location: Near Wackyjim Posts: 2681 
|
Wow, incredible write up, you have just confirmed why a good Indy is crucial for us more mechanically challenged members ! |
||
|
| mjdronfield Member Since: 04 Nov 2011 Location: Derbyshire Posts: 7904 
|
And I was thinking that if I got a tdv8 I could just replace them with a blanking kit and have them mapped out. |
||
|
| dhallworth Member Since: 10 Oct 2011 Location: Glasgow Posts: 3184 
|
What a cracking write up. |
||
|
| Scottyav Member Since: 11 Feb 2013 Location: Cannock Staffordshire Posts: 1204 
|
Or have them mapped out like me just last week |
||
|
| PaulB Member Since: 17 Jul 2011 Location: Hampton Posts: 877
|
Who did it Scott?
|
||
|
| Scottyav Member Since: 11 Feb 2013 Location: Cannock Staffordshire Posts: 1204
|
theres a firm in droitwich and they do a few pretty good tbh for � 150 |
||
|

|
|
| All times are GMT + 1 Hour |
< Previous Topic | Next Topic > |
Posting Rules
|
Site Copyright © 2006-2025 Futuranet Ltd & Martin Lewis
![]()
