| TD6 not starting (fuel pre-supply pump) | |
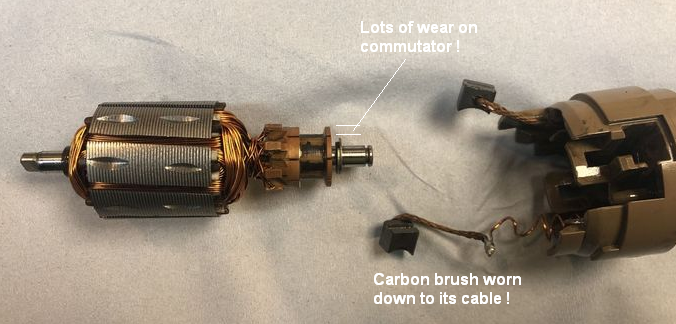
On a few occasions over the past 3 months my 2003 TD6 would not start, then it would.  Just recently the 'Roadside Assist' mechanic suggested it was worn brushes in the 12 year old fuel pump; when he removed the access cover and hit the pump body (with an adjustable spanner) while the key was in the run position the pump could be heard to start running and the engine then started immediately, as normal. Just recently the 'Roadside Assist' mechanic suggested it was worn brushes in the 12 year old fuel pump; when he removed the access cover and hit the pump body (with an adjustable spanner) while the key was in the run position the pump could be heard to start running and the engine then started immediately, as normal.
So it is time to fix or replace the pump. Meanwhile the access cover stays off and a screw driver (with a large, heavy handle) has become my pump starter. Examination of the pump in place showed it to be a sealed unit in a rubber sleeve, so fixing is out of the question, a new unit is required.
A little investigation found a HUGE range of prices for essentially the same pump. At the top end is a Pierburg 7.28217.00 for AU$650 with both a Land Rover stamp and a BMW punch mark on it, next a Pierburg 7.28217.00 with a BMW punch mark, then a genuine Pierburg 7.28217.00, Pierburg with different (but equivalent) ID numbers, Pierburg generic (with no numbers punched onto the body) and finally some chinese copies for less than 10% of the Land Rover price - AU$60. I ordered a Pierburg generic unit on ebay (DIESEL PUMP BMW 3 5 318 320 330 520 525 530 X5 3.0 D XD TD CD E39 E46 E90) for AU$95 (46GBP) after making sure it had the correct nipple sizes and electrical socket. Delivery took 7 days.
The pump is under the left rear seat with access from beneath the vehicle. Replacement is surprisingly easy, so long as you can get sufficient access underneath the left side of the vehicle. I used 2 x tall vehicle stands, 1 under each suspension arm on the left side giving ~600mm clearance.
Doing it -
Chock the right side wheels and lift the left side of the vehicle onto stands
Remove the 2 x m10 screws holding on the plastic access panel, remove the panel and set aside
Remove 2 x phililps screws from the outer plastic sleeve holder, set the screws aside
Detach the old pump (with inner rubber sleeve) from the round plastic sleeve holder
Disconnect the 2 pin electrical plug
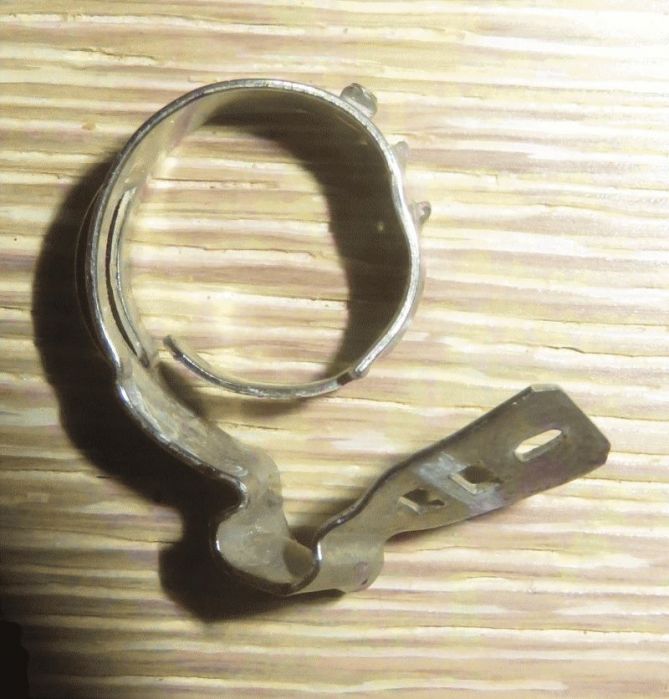
Release the 'one time use' clamp bands from the fuel lines at each end of the pump (expand/snap/open with a flat screw driver)
Slide expanded bands along the fuel lines past the nipple barb or completely remove any snapped open bands
Twist each fuel line connection to break the grim seal (may require pliers), then remove and immediately plug each fuel line.
Remove any remaining old bands
* Remove the inner rubber sleeve from the old pump, set the pump aside
* Fit the inner rubber sleeve to the new pump
* Remove the protective covers from the inlet and outlet nipples on the new pump
Position the pump ready to install
Fit the new pump into the plastic sleeve holder and clamp with 2 x phililps screws
Slip a new clamp band over each fuel line
Remove each fuel line plug in turn and quickly push the tubes fully onto the new pump
Position and tighten the clamp bands
Connect the 2 pin electrical plug
Replace and screw up the plastic access panel
Lower and un-chock the vehicle
Test start
Parts -
Fuel Pump
2 x clamp rings
Tools -
Car stands or ramp
M10 socket or spanner
Phillips screw driver
Flat screw driver - ~5mm wide
Pliers
Tray (to catch leaking fuel)
Fuel line plugs (I used 6mm bolts with clean rag covers, wooden golf tees work too)
Suitable driver for the new clamp rings (I used a 5mm socket)
Optional - Battery Drill/Driver + 50mm extension for sockets and phillips driver
Hints -
The power plug has a release tab that must be pressed
The pump outlet tube is brittle plastic - do NOT bend
The 'one time use' clamp bands have an overlapping joint of 3 formed pins through 3 holes on one side, this can be levered open with a flat screw driver
 | | Click image to enlarge |
* Removing and replacing the rubber sleeve requires both elbows extended, this is not easy to do while underneath the vehicle, so I suggest taking a break and doing this standing up
Due to venting and routing requirements the pump outlet points towards the rear of the vehicle!
For a Range Rover repair this is unusual; under AU$100 and under 30 minutes! 
Overall an easy job, and, knowing that a thump on the failing pump will get it going, a not too urgent fix up as well.
Last edited by bgennette on 8th Jan 2016 5:25am. Edited 1 time in total
|


![]()


