| Super Charger bearings and coupler | |
Eaton m112
Mine starten to get noisy at 240k km.
There was a lot of play in the coupler that I could feel at the pulley.
So hopefully this was the only problem, just the coupler. Yeh sweet dreams!
Last week I took the SC of, not a to difficult job but time consuming.
And there is no need to take the coolant cross-over pipe of or any ather
coolant hose.
take of;
- engine cover, air intake pipe and the alu air intake. Just hose clamps.
- the main coolant fan, remember anti clockwise!!!
- release the SC beld
- take of the rubbers between the SC and the aircoolers and take of the
pressure manifold.
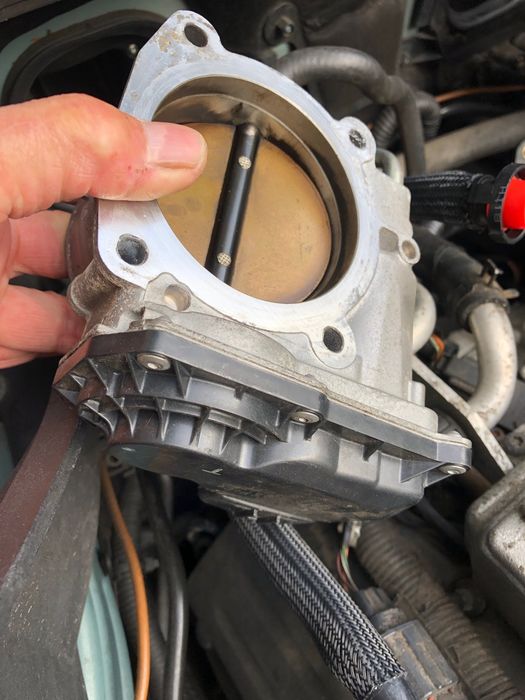
- than the trottlebody, 4 bolds
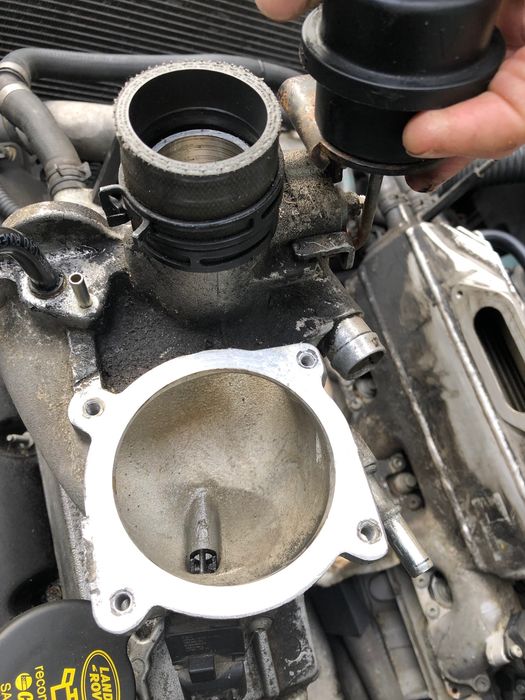
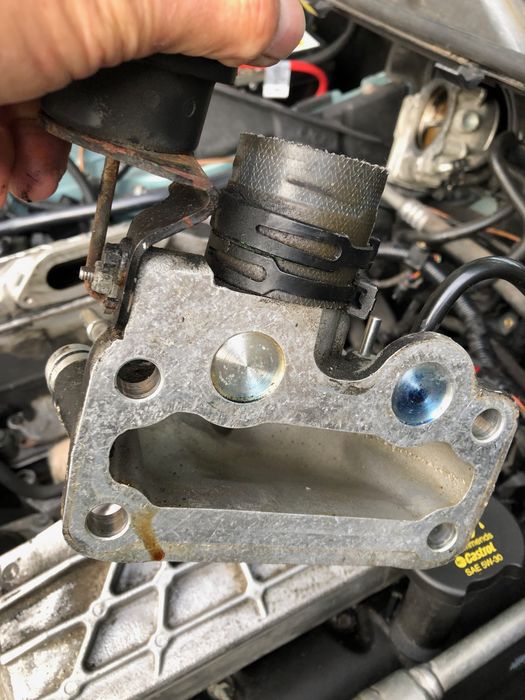
- after that the elbow, thats a little thight and a challenge. 4 bold T40
the bracket under the elbow, thats simple
- take of a few vacuum lines, if you are there you see witch ones
- than, at last, you can take out the 3 bolds holding the SC
- than if you hold the aft of the SC high, you can wiggel the SC out and the
pulley wil just pass underneath the cross-over.
here are a few pic's to show you whats involved
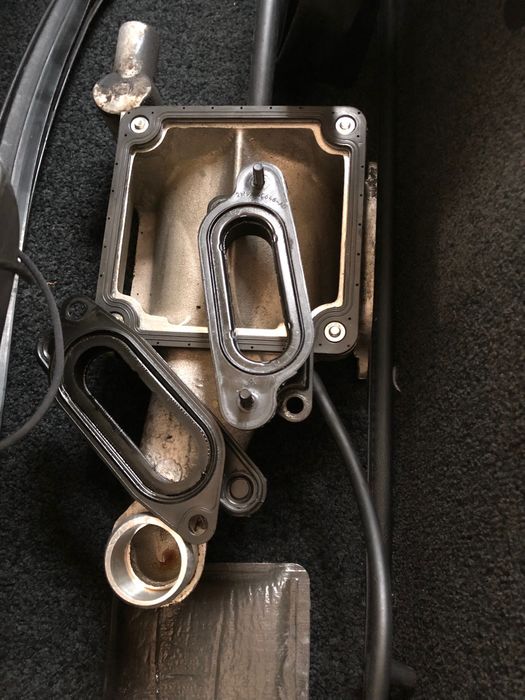
first the pressure manifold and the rubber connections
 | | Click image to enlarge |
than the trottlebody
 | | Click image to enlarge |
air intake manifold
 | | Click image to enlarge |
 | | Click image to enlarge |
than you can check you 2 cooland hose that run under your SC
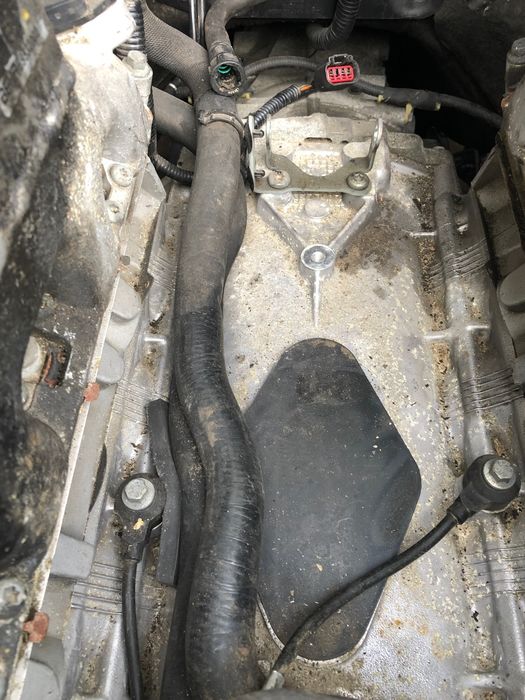 | | Click image to enlarge |
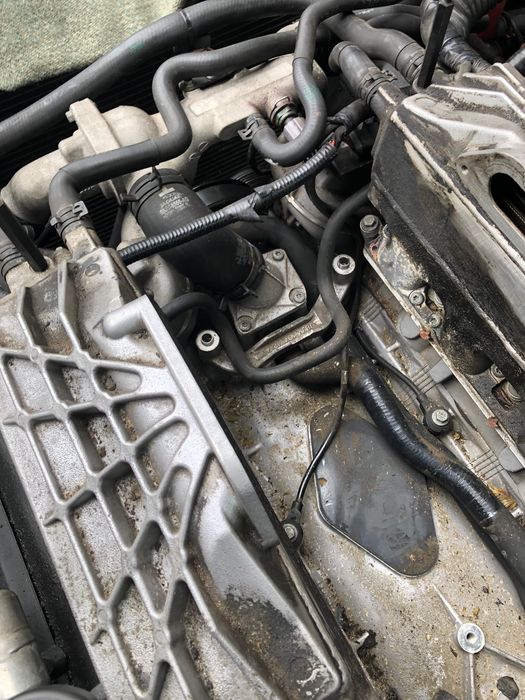 | | Click image to enlarge |
When the SC is on the bench, let the oil out via the plug and take of the snout. Inspect the
coupler, mine was very worn, and check the bearings for play. Mine bearings were oke
except for the needle bearings in the back.
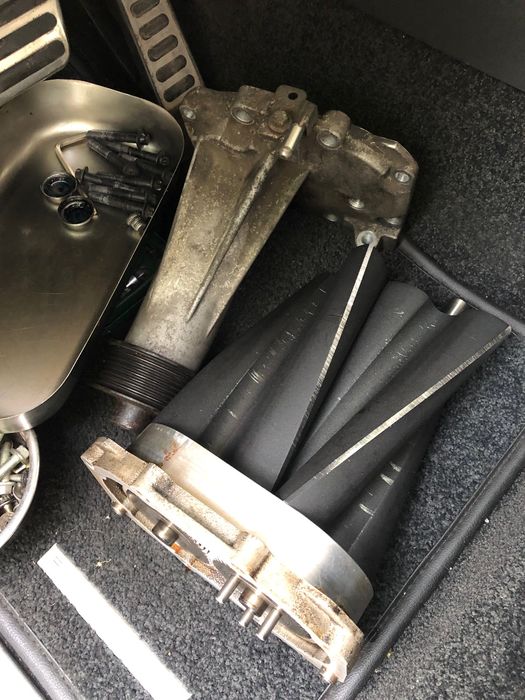 | | Click image to enlarge |
the original coupler
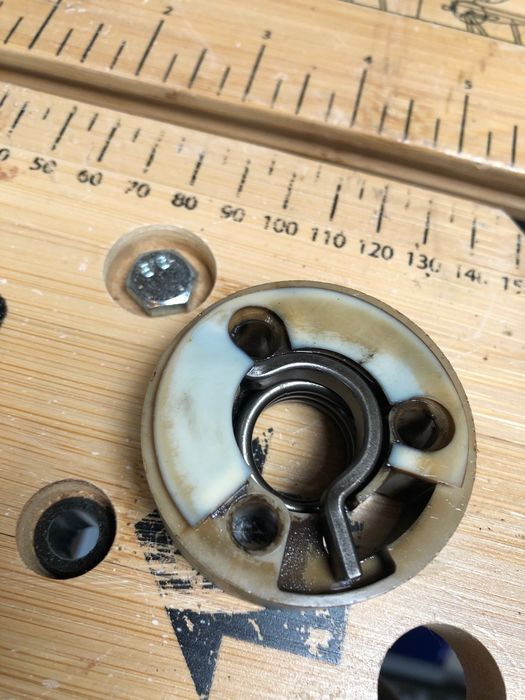 | | Click image to enlarge |
Because I could feel some play in the 2 lob spindles I took the aft part
also of to get to the needle bearings.
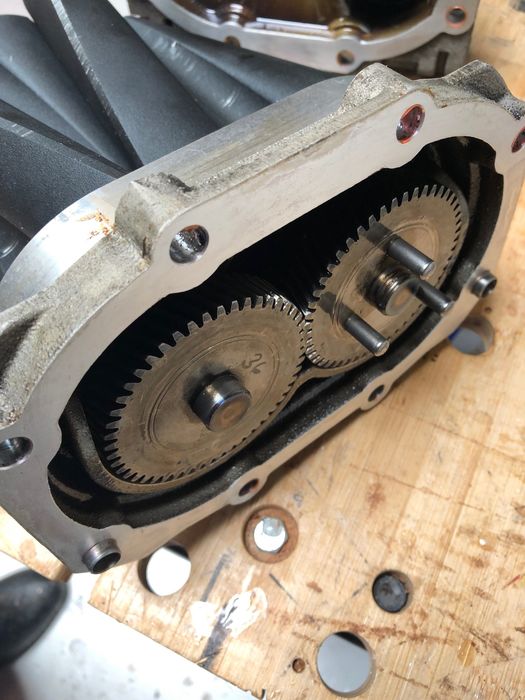 | | Click image to enlarge |
By the way, this is the new coupler
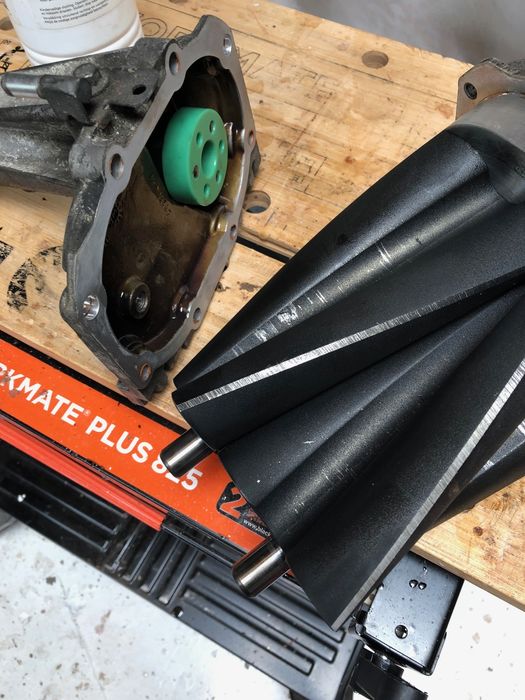 | | Click image to enlarge |
And you can see some damage on the lobs due to the worn needle bearings.
This is one of the two needle bearings and her cap. You can tap the caps of
simple from inside out/
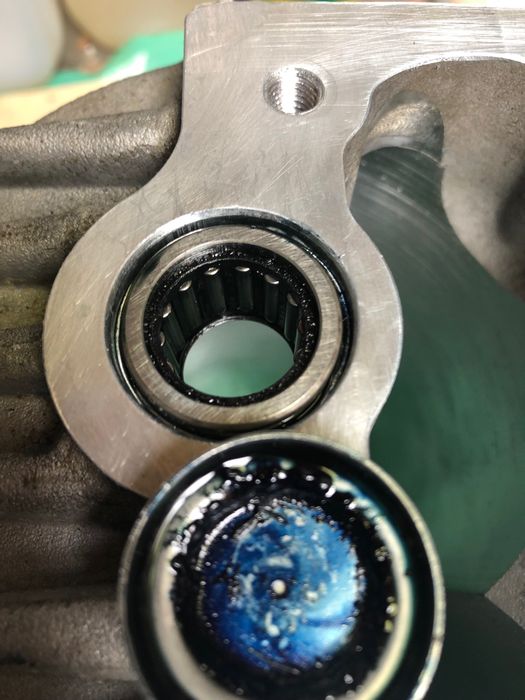 | | Click image to enlarge |
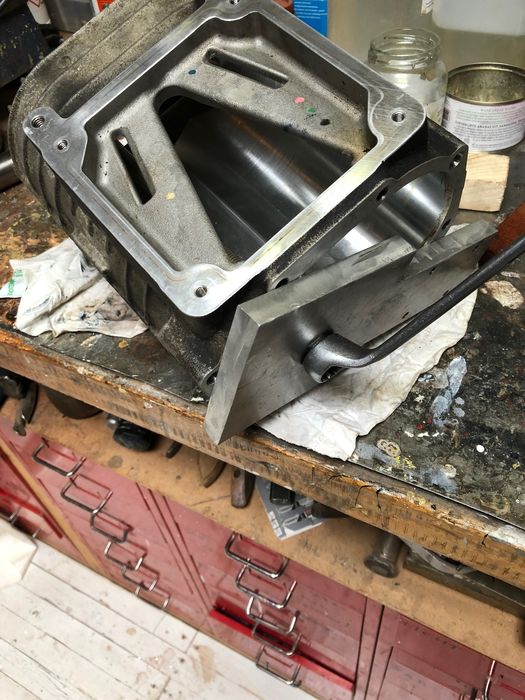
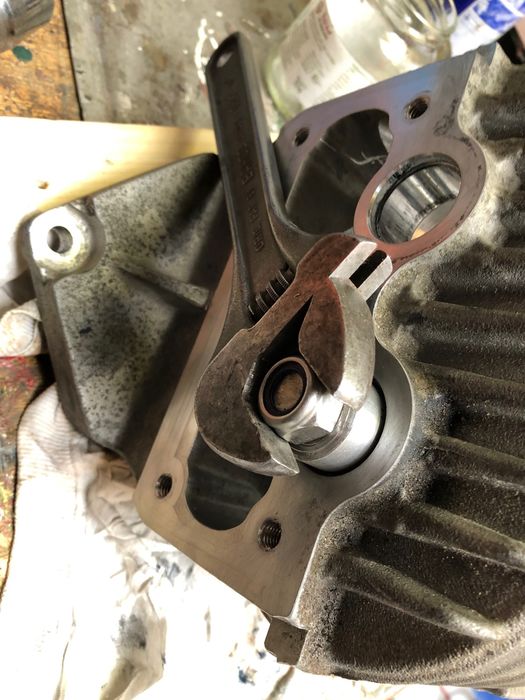
Then pull out the bearings, I do not have a press, so I did it with a
treaded rod and nuts. Like this.
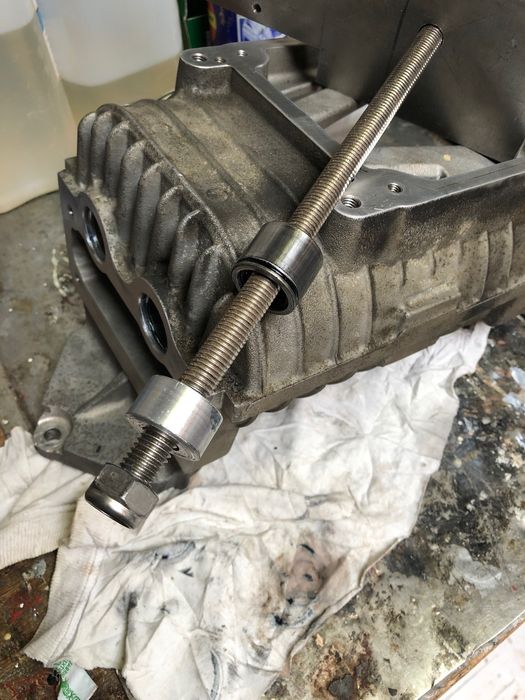 | | Click image to enlarge |
 | | Click image to enlarge |
 | | Click image to enlarge |
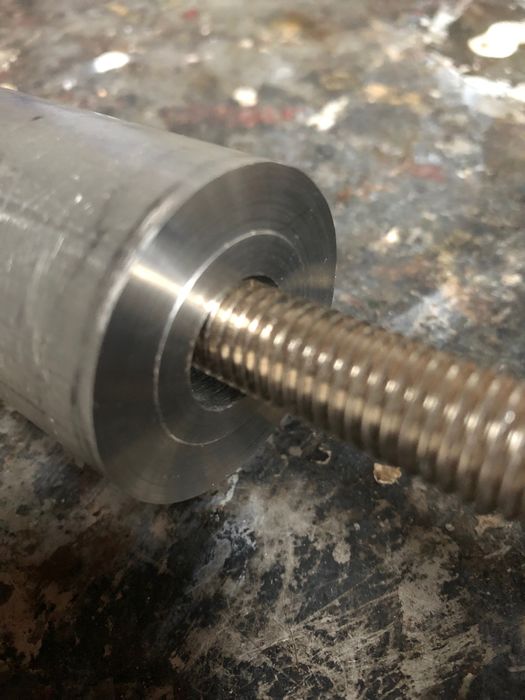
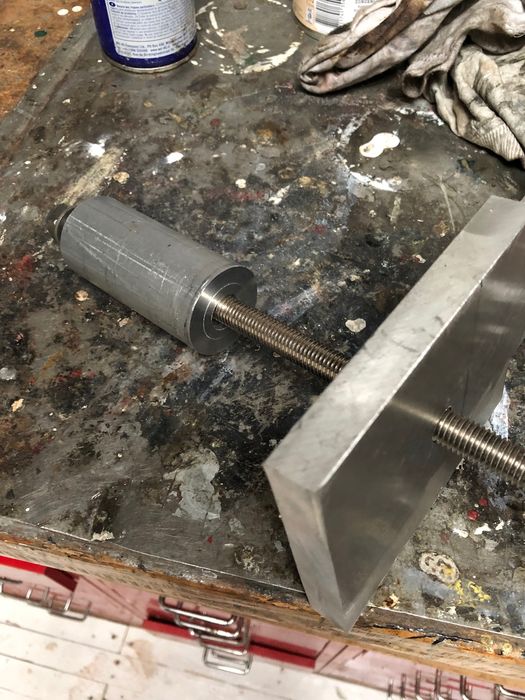
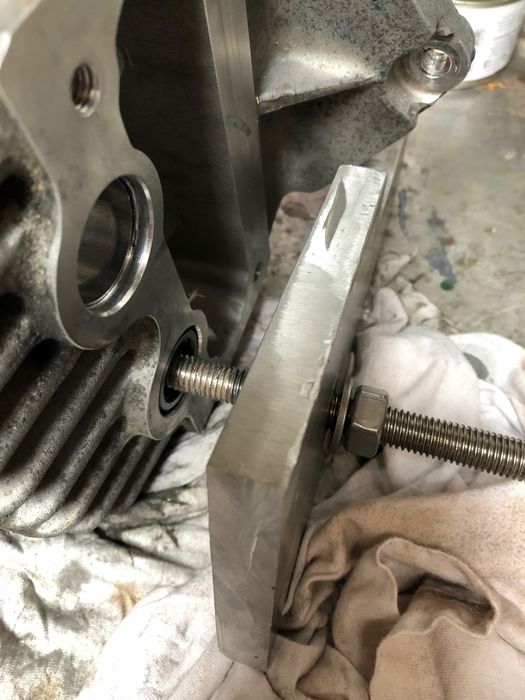
Than, when the are out, I make a giude to pull te new bearings in please, also with the
threaded rods, and pull them just 0,1 mm under the SC house on the inside.
 | | Click image to enlarge |
 | | Click image to enlarge |
 | | Click image to enlarge |
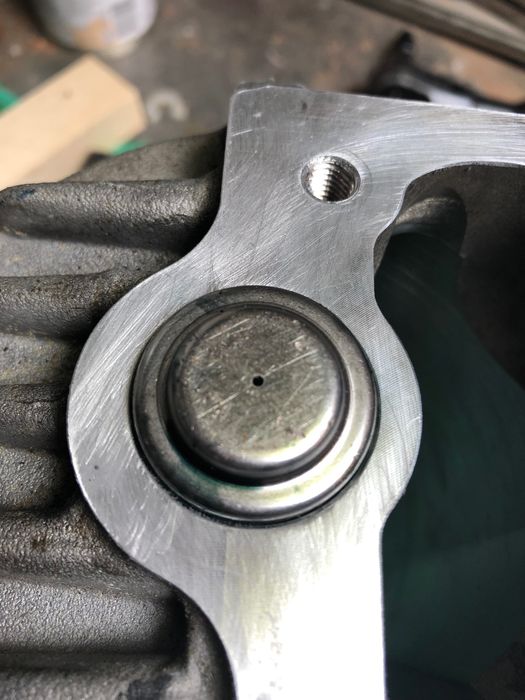
Tap the caps back over the bearings on the aft.
 | | Click image to enlarge |
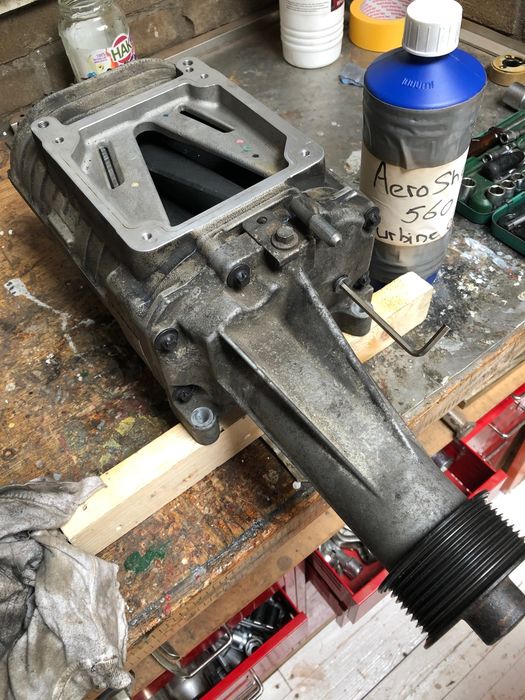
Put the SC back together, and your done.
Using a very little silicon gasket on the surfaces between the part of the SC.
 | | Click image to enlarge |
Dont fotget to put the oil back, and tommount the SC back on the engine. Job done.
all the spelling faults...............you know
Last edited by Piet on 16th Jun 2021 6:21am. Edited 1 time in total
|


![]()


