 | Home > In Car Electronics (L322) > LCD instrument cluster repair |
 
|
|
|
| doclees Member Since: 25 Jun 2015 Location: PA Posts: 672  
|
Thanks Mistercorn, that's what I want to hear. Mine is getting bad. Must be the heat. Got to do it soon. Was yours through Akspeedo and did you need to drill? |
||
|
| jakebullet64 Member Since: 28 May 2014 Location: Wolverhampton Posts: 259  
|
Well mine was back from cartronix yesterday and fitted this am, it's great.
|
||
|
| doclees Member Since: 25 Jun 2015 Location: PA Posts: 672  
|
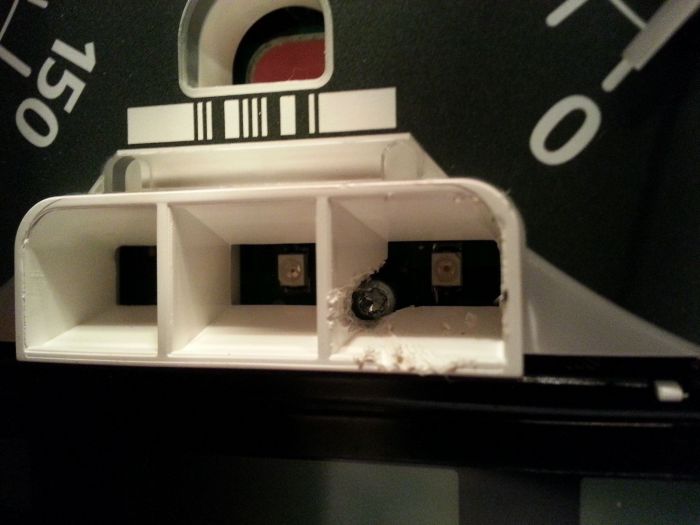
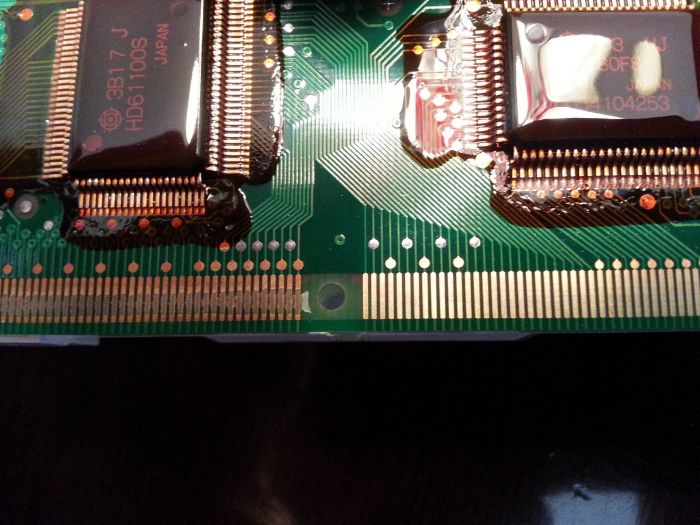
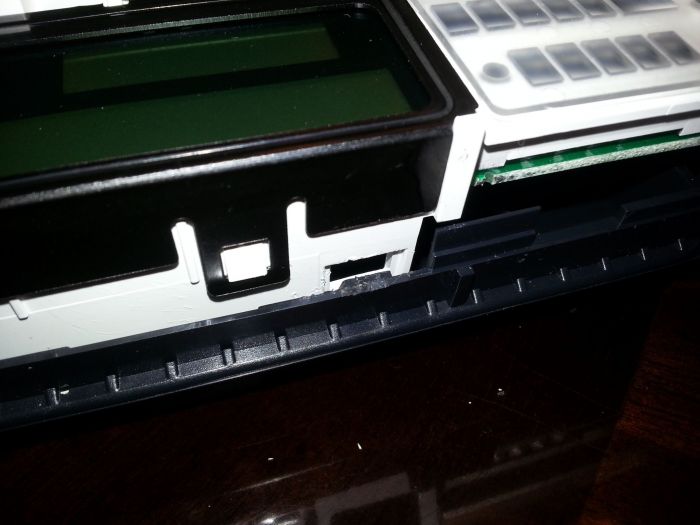
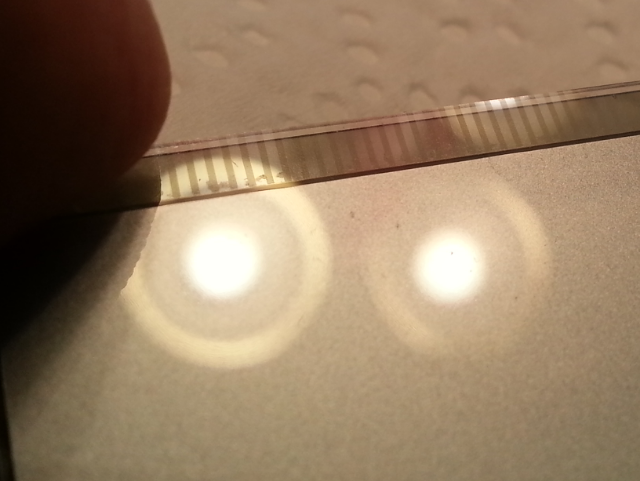
In doing more internet research I've got a fairly clear idea of the problem and the fix. To answer my own question as to cleaning and reseating the cable it has been done. The old cable tends to lose some of its conducting material to the old glue. This necessities one to position the old cable a bit higher. Doesn't seem to be worth it. I'll get a new cable. The second problem is with the silicon pieces on the LCD bar. They compress and age over time making them thinner. Their thickness. Is needed to help make proper ribbon cable contact. Paper spacers have been used behind the silicon to restore the needed contact pressure. The last issue of concern is the drill method to get to the retaining screws without removing the gauge needles. If they are in identical or near identical position as on the x5 I don't see an issue. As I see it you are drilling through the plastic face with no circuit board parts. Just set a stop on your drill bit so you can't drill past the thickness of the plastic face. No worries to the circuit board below. Am I missing something? |
||
|
| doclees Member Since: 25 Jun 2015 Location: PA Posts: 672  
|
Just an update. Got my ribbon cable from akspeedo. About 1 week from UK to PA USA. It includes a drill template and pass codes for instructions. I'll take pics of the procedure. May take a week for me to get to it. |
||
|
| Welshdragon Member Since: 20 Jan 2012 Location: here and there...but not where I should be Posts: 1901  
|
|
||
|
| wayneg Member Since: 05 Jun 2013 Location: South Fremantle, Australia ( ex London ) Posts: 806  
|
I have recently replaced the ribbon cable with one from AKSPEEDO. With the cable comes links to website instructions with passwords to access, also paper templates to drill holes to expose screws. This saves removing the dial needles which can do damage. I chose to drill the holes as you peel back the clock faces a little, drill the holes then once replaced the faces cover the holes. The process although time consuming was relativly pain free with a perfect result. I would not have tried with the heat bonded types. 100% perfect readout when finised.
|
||
|
| doclees Member Since: 25 Jun 2015 Location: PA Posts: 672  
|
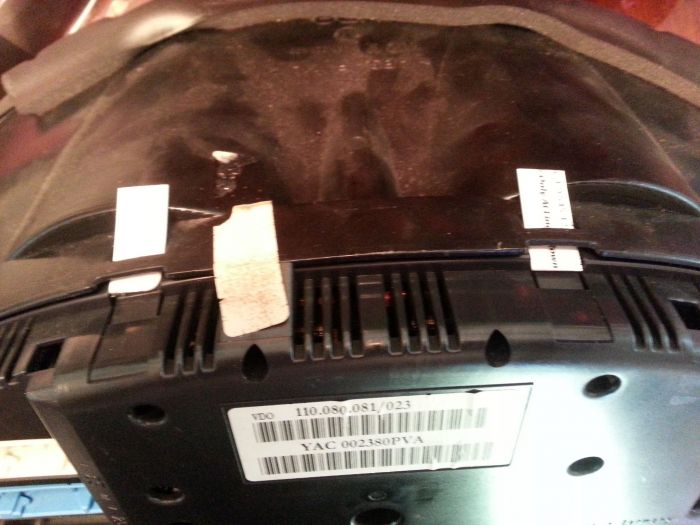
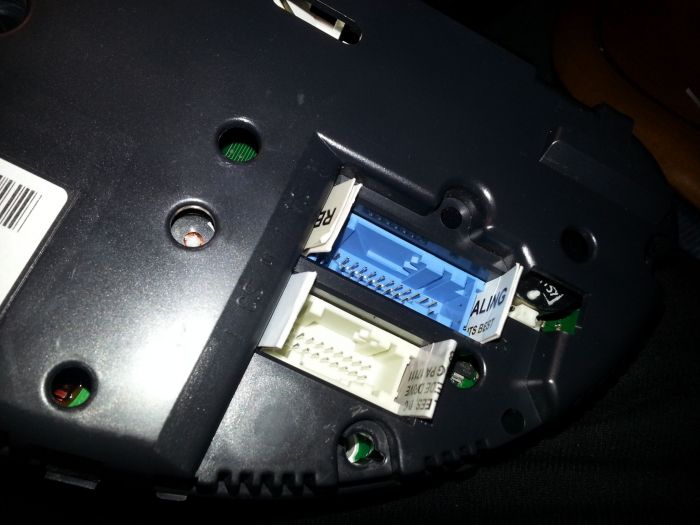
Just finished the ribbon cable replacement. I will post some pictures later but I have some pointers.
|
||||||||||||
|
 
|
|
| All times are GMT + 1 Hour |
< Previous Topic | Next Topic > |
Posting Rules
|
Site Copyright © 2006-2025 Futuranet Ltd & Martin Lewis
![]()

