| How to - 2009 - 2012 TPMS Retrofit | |
I don't think I've seen anybody do this before as most people disable TPMS rather then retrofitting it!
I decided that I was going to retrofit TPMS to my 2012 5.0 Supercharged Autobiography. The main reason being that I've had a blow out in the past from a tyre that slowly deflated whilst towing.
Parts you will need:
4 x Initiators - RRE000010
4 x TPMS Valves - LR070840 (I bought nearly new take offs to save needing to activate brand new ones)
1 x Interior Radio Receiver - LR044370
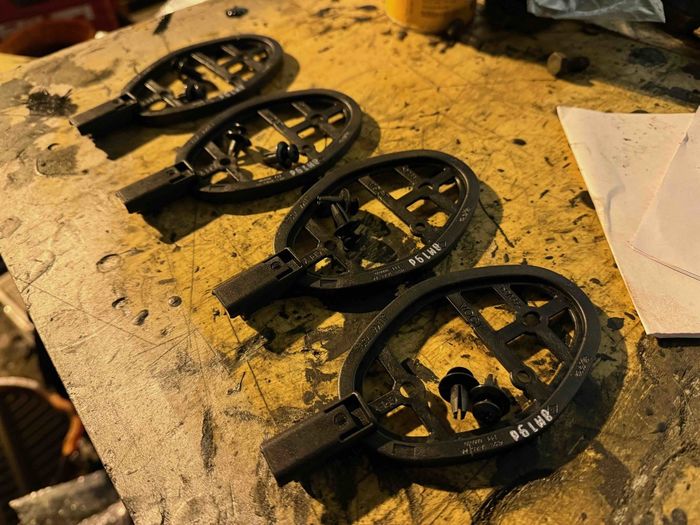
8 x Plastic Scrivets - LR005541
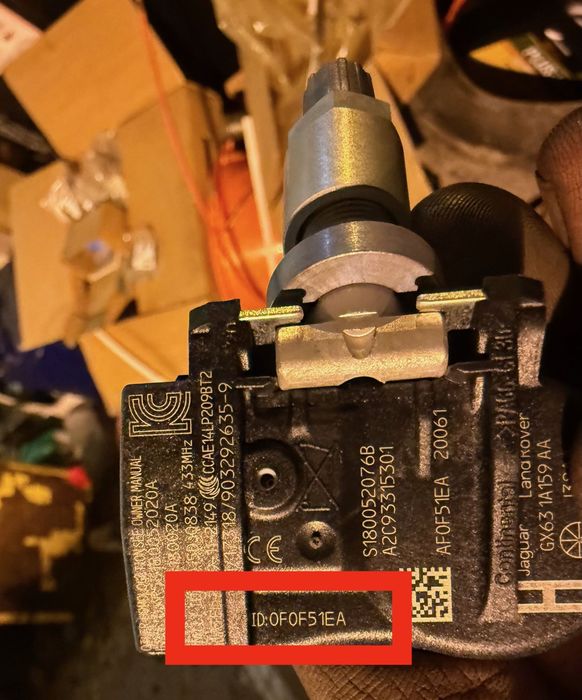
First off you need to fit the TPMS valves into the wheels. Make sure you take clear photographs of them as you'll need the ID number off them if they aren't picked up by the car automatically.
 | | Click image to enlarge |
I'm fortunate enough that we've got a tyre machine and wheel balancer in the workshop at home so I was able to fit the sensor and balance the wheels myself.
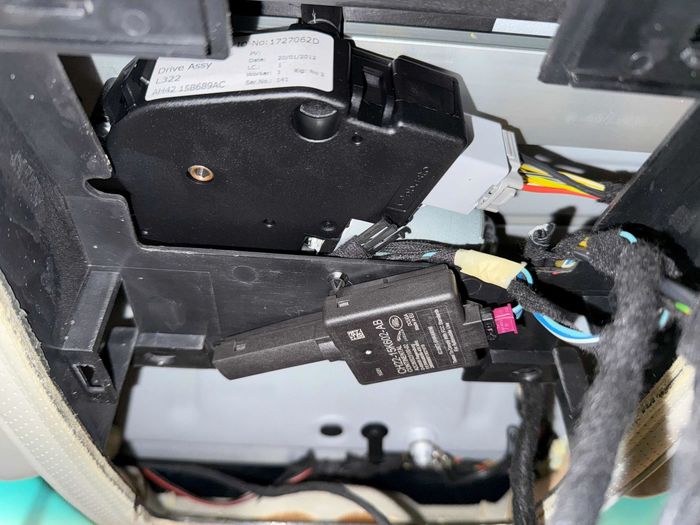
Next up I fitted the interior radio receiver. I believe this picks up the TPMS sensor that's fitted to the spare wheel which I've not yet fitted.
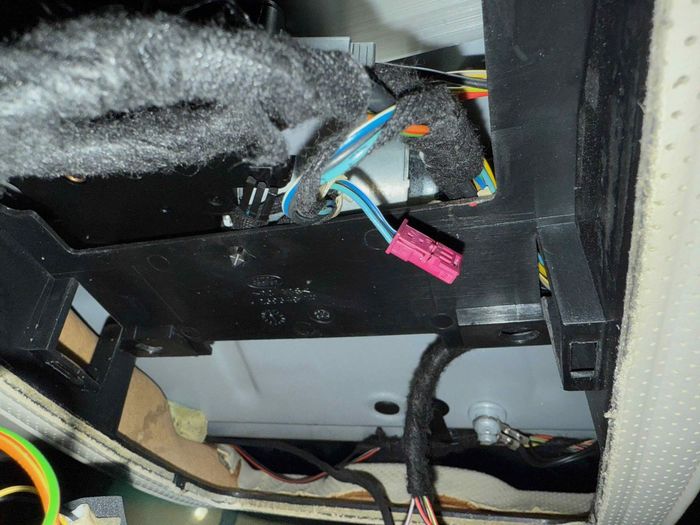
Removed the interior light fitting from the front of the car. This is done by opening the sunglasses holder and removing the 2 x 8mm bolts that hold it in. Once it's removed I found the pink/purple connector for the radio receiver hanging loose.
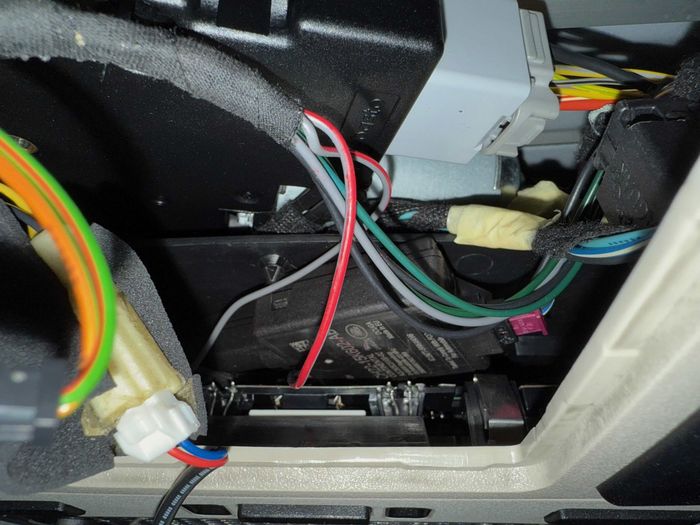
I plugged in the receiver and used some double sided tape to secure it to the roof.
You can then see the receiver through the light module once it was refitted.
Once that was in I started to fit the initiators in each wheel arch.
The rear arch ones were easy to do with the car on it's wheels from underneath.
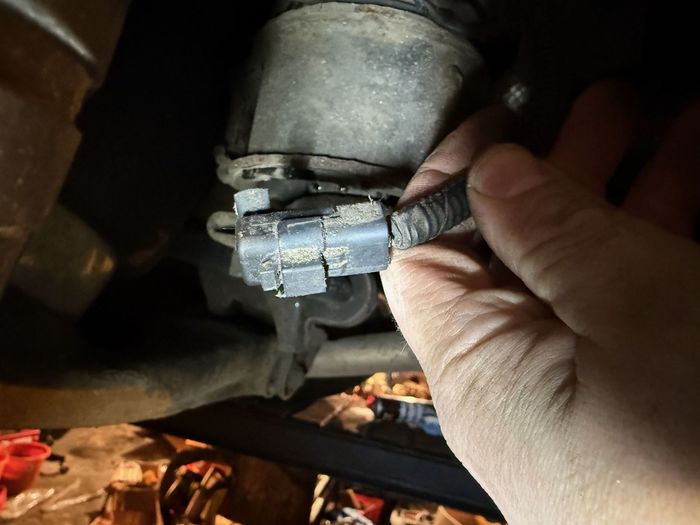
First step was to remove the plug and cap from the wheel arch liner where it's clipped.
Then remove the cap from the plug and set it to one side.
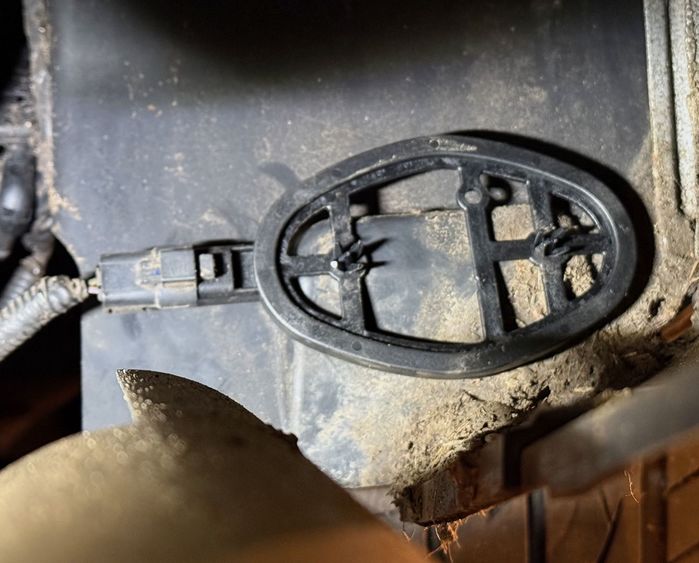
Then fit the initiator to the arch liner. I did that blind from the outside of the bumper. When I saw the dirt when taking the photograph I removed it, cleaned behind it and refitted it.
Once the sensor is fitted, this is all you can see from the wheel arch.
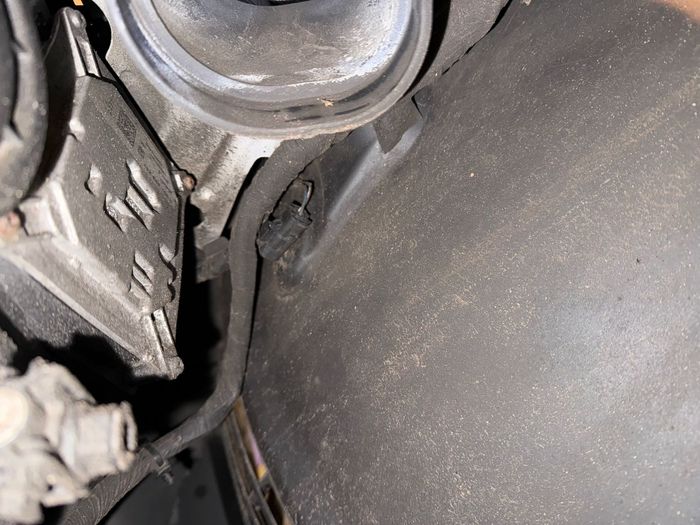
The front ones were a little more involved as it meant removing both air boxes to get to the plugs.
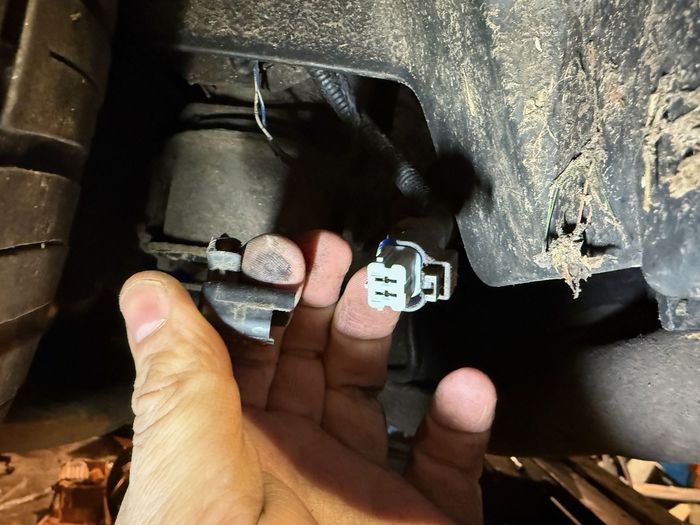
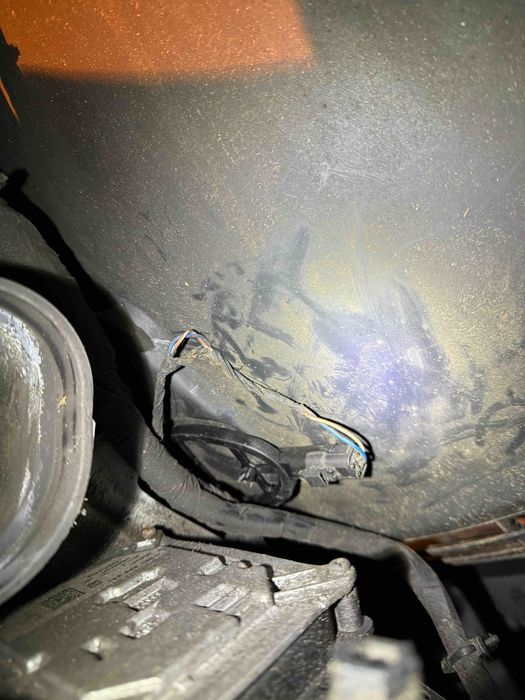
Once the air box was removed you can see the plug secured to the arch liner.
Front initiator fitted.
 | | Click image to enlarge |
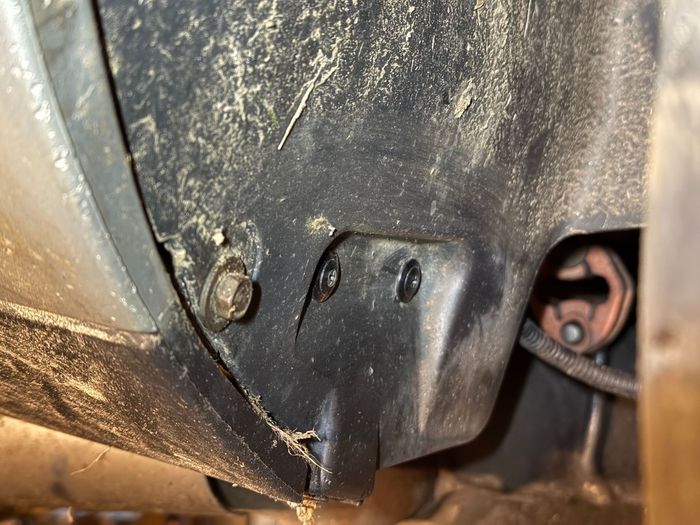
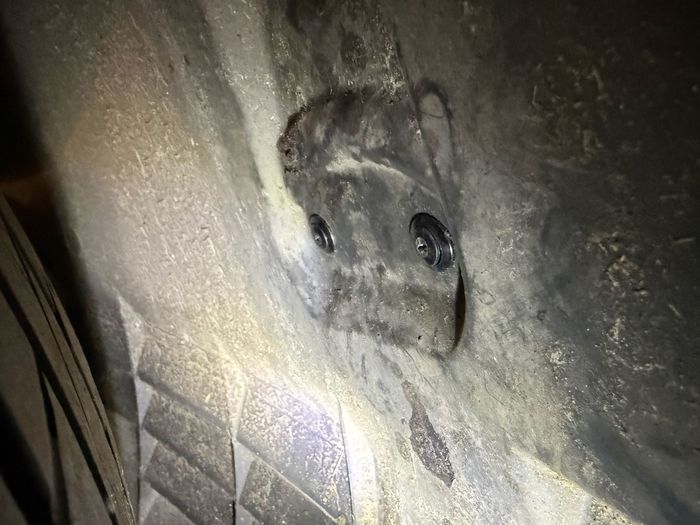
Front scrivets in wheel arch.
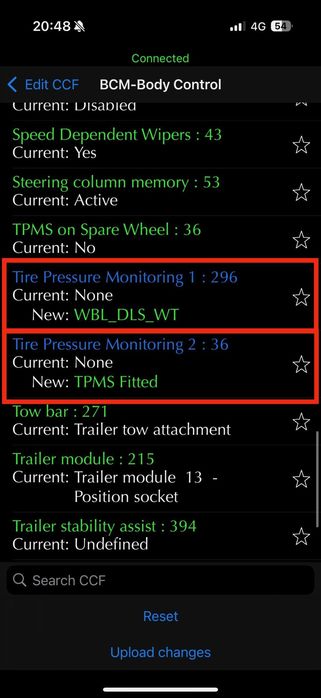
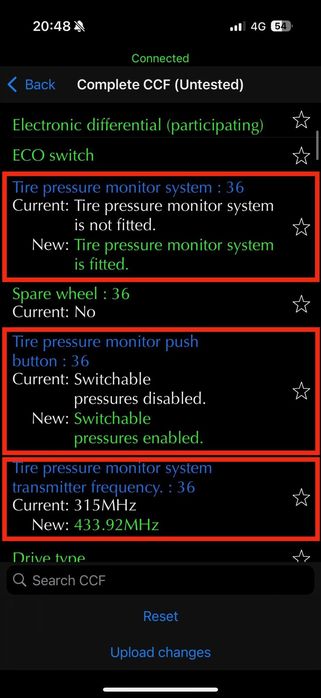
Once this is done you then need to edit the CCF. I did mine using an IID tool. This is what I changed and the settings that I used:
I've put a red box around the settings I changed.
First changes were in the BCM settings:
 | | Click image to enlarge |
Additional Changes:
 | | Click image to enlarge |
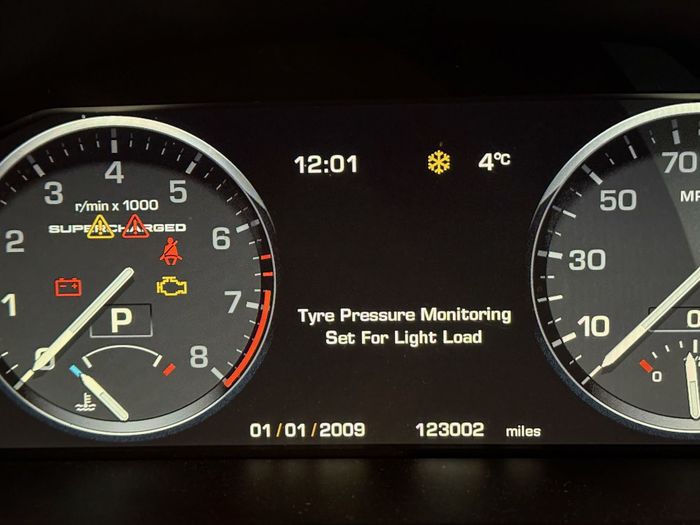
Once that was done I saw this when I switched the ignition on:
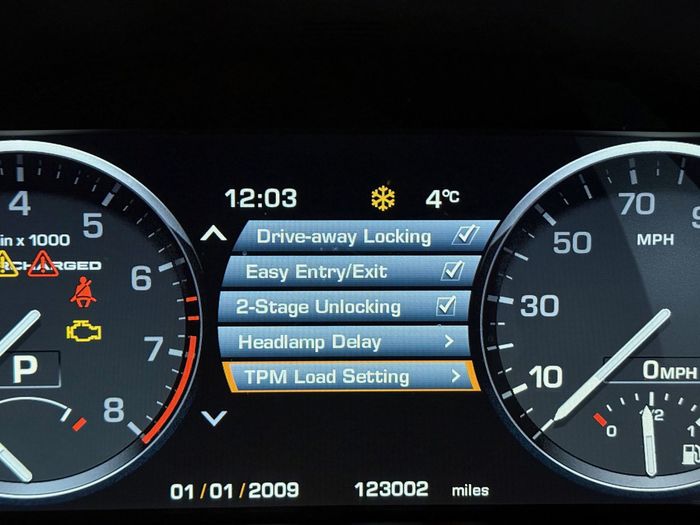
You now have an option to change it in the dash menu:
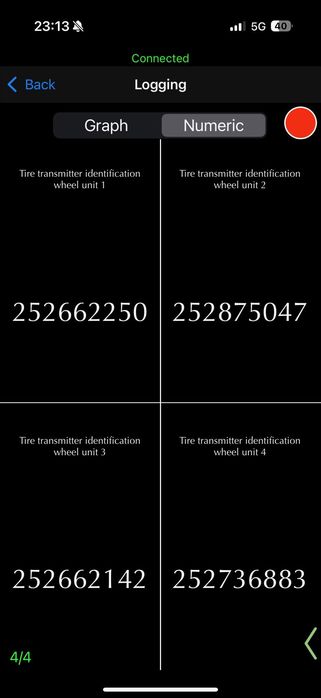
I then used the live values from the IID tool to interrogate the details for each wheel sensor. Initially they were all blank which was to be expected as the car hadn't been driven.
After a few miles, all of the codes were populated to the system seems to be working.
 | | Click image to enlarge |
I'll let one of the tyres down a bit and take it for a short drive to see if it alerts me of a low tyre pressure but at the moment I've got no reason to suspect it won't.
I hope this helps someone!
David. 2002 4.6 Vogue SE - Alveston Red with Lightstone Leather
2012 Range Rover 5.0 SC Autobiography in Indus Silver with Jet/Ivory Interior
2012 Range Rover 4.4 TDV8 Autobiography in Baltic Blue with Sand Interior
2013 Range Rover Sport SDV6 HSE Black Edition in Santorini Black with Ebony Interior
|


![]()


