Advertise on fullfatrr.com »

Home > Technical (L322) > Preparing to rebuild M62
Post Reply  Down to end
Page 2 of 2 <12
Print this entire topic · 
ohuntsman


Member Since: 21 Mar 2016
Location: Surrey
Posts: 337

United Kingdom 2002 Range Rover Vogue 4.4 V8 Zambezi Silver

OK, I need to check mine

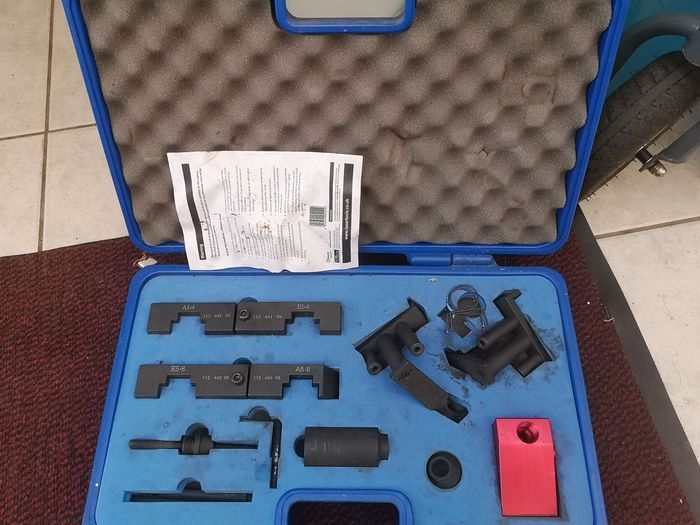
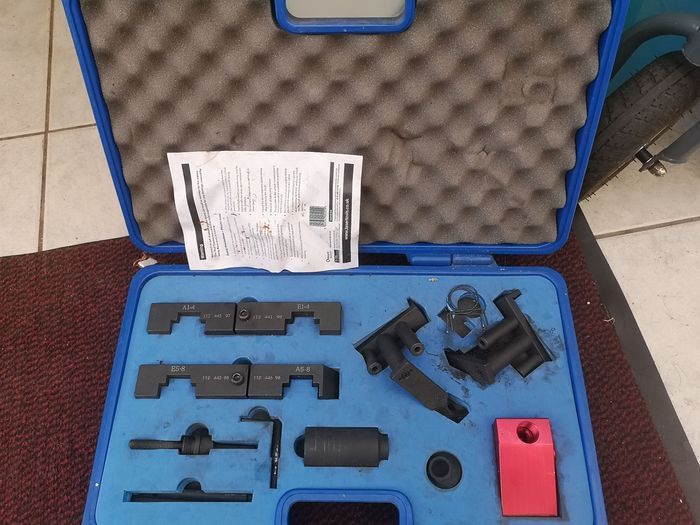
Which Vanos timing kit do you have? I ave a Chinese one but I am not confident on the robustness of it

Post #571001 26th Oct 2020 3:57pm
View user's profile Send private message View poster's gallery Reply with quote
Landyandy1765


Member Since: 25 Mar 2019
Location: bournemouth
Posts: 56

United Kingdom 2010 Range Rover Vogue SE TDV8 Baltic Blue


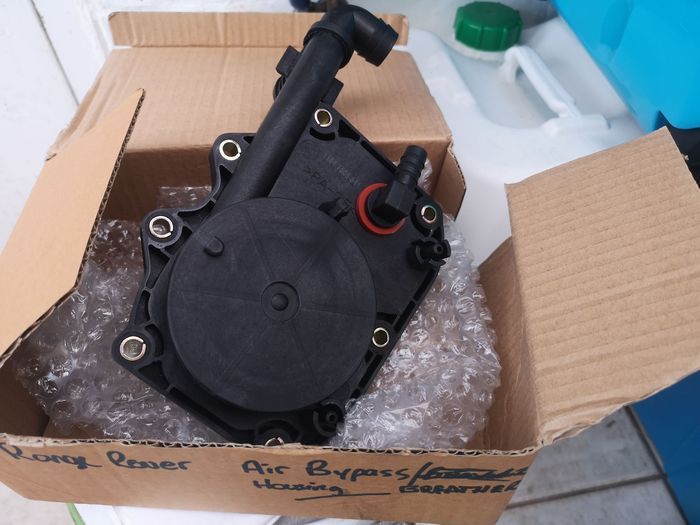
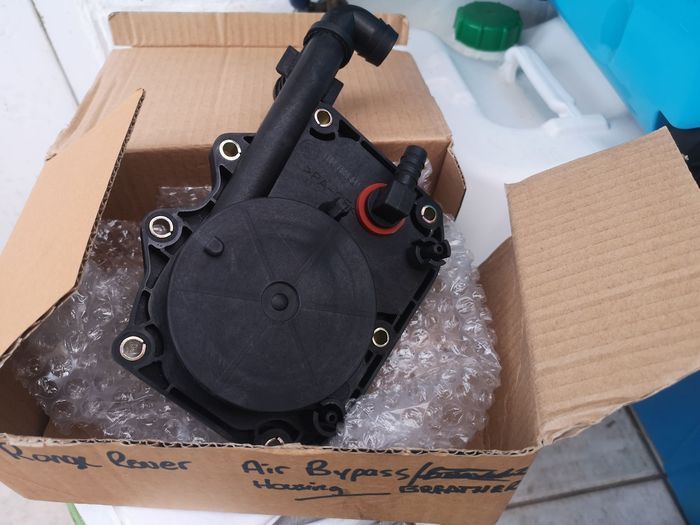
pcv and vanos timing kit .


Post #571014 26th Oct 2020 5:50pm
View user's profile Send private message View poster's gallery Reply with quote
kanikune


Member Since: 29 Oct 2017
Location: Teerijarvi
Posts: 28

Finland 2004 Range Rover Vogue 4.4 V8 Epsom Green

Okay, here's some updated on the motor redone.
To spoil it all from the get-go, 1000 km have been driven with the engine so far. No leaks nor mixed liquids Cool
All the outer motor parts were washed in a local paint shop before assembly.

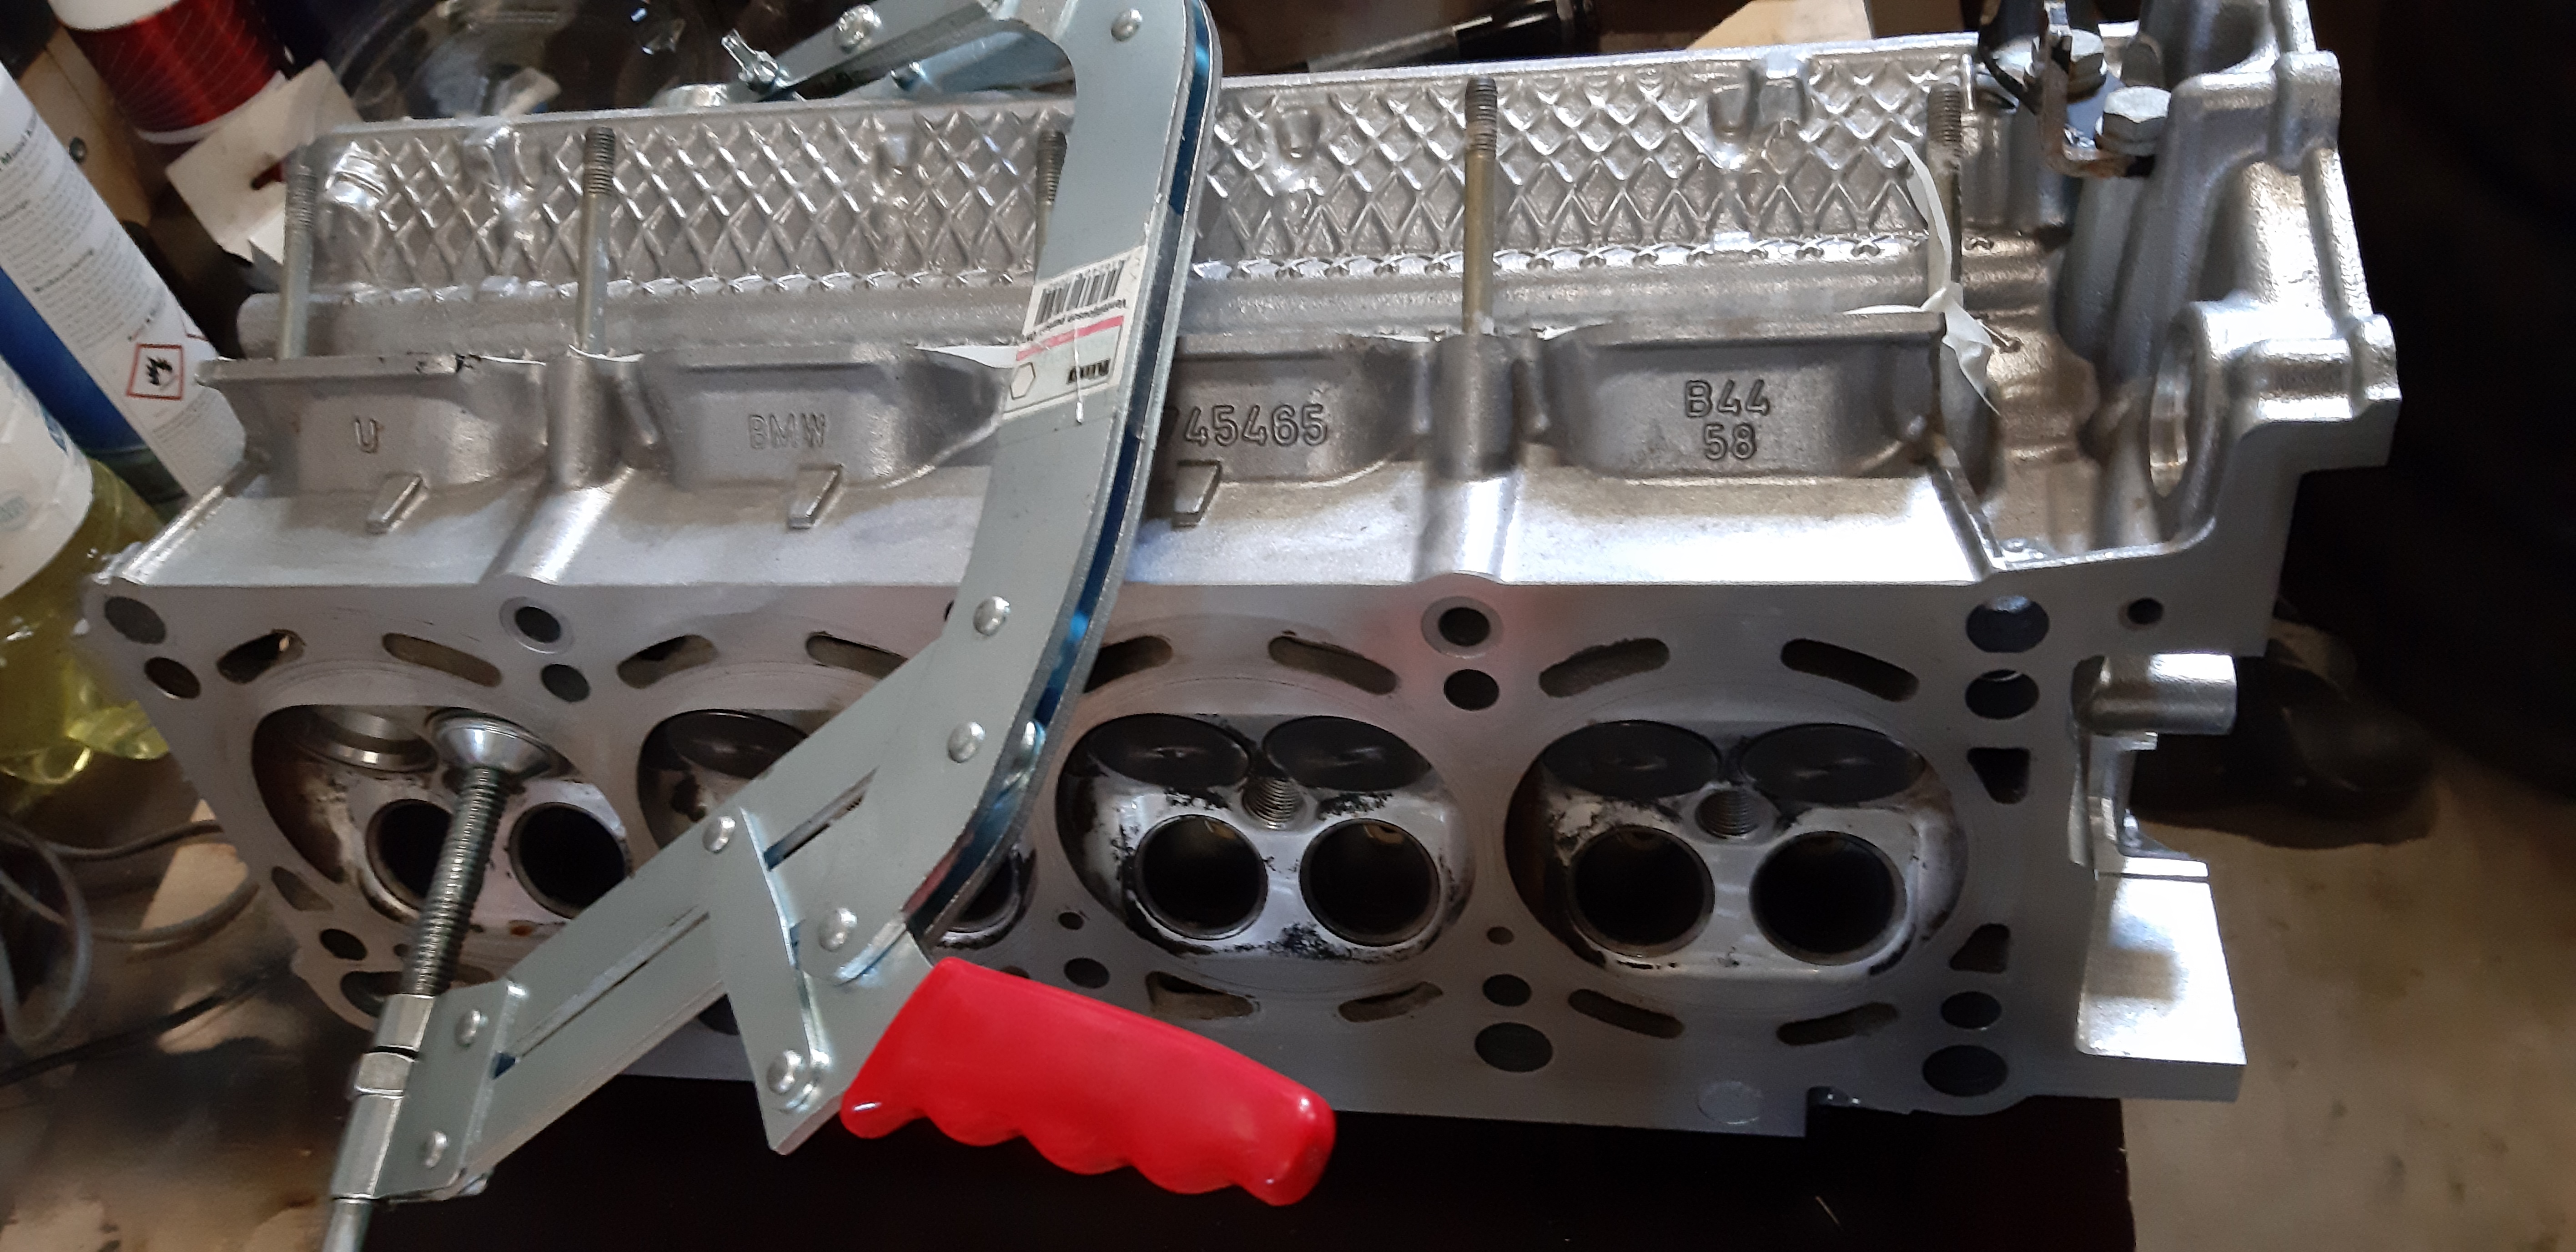
Here assembling the head

Click image to enlarge


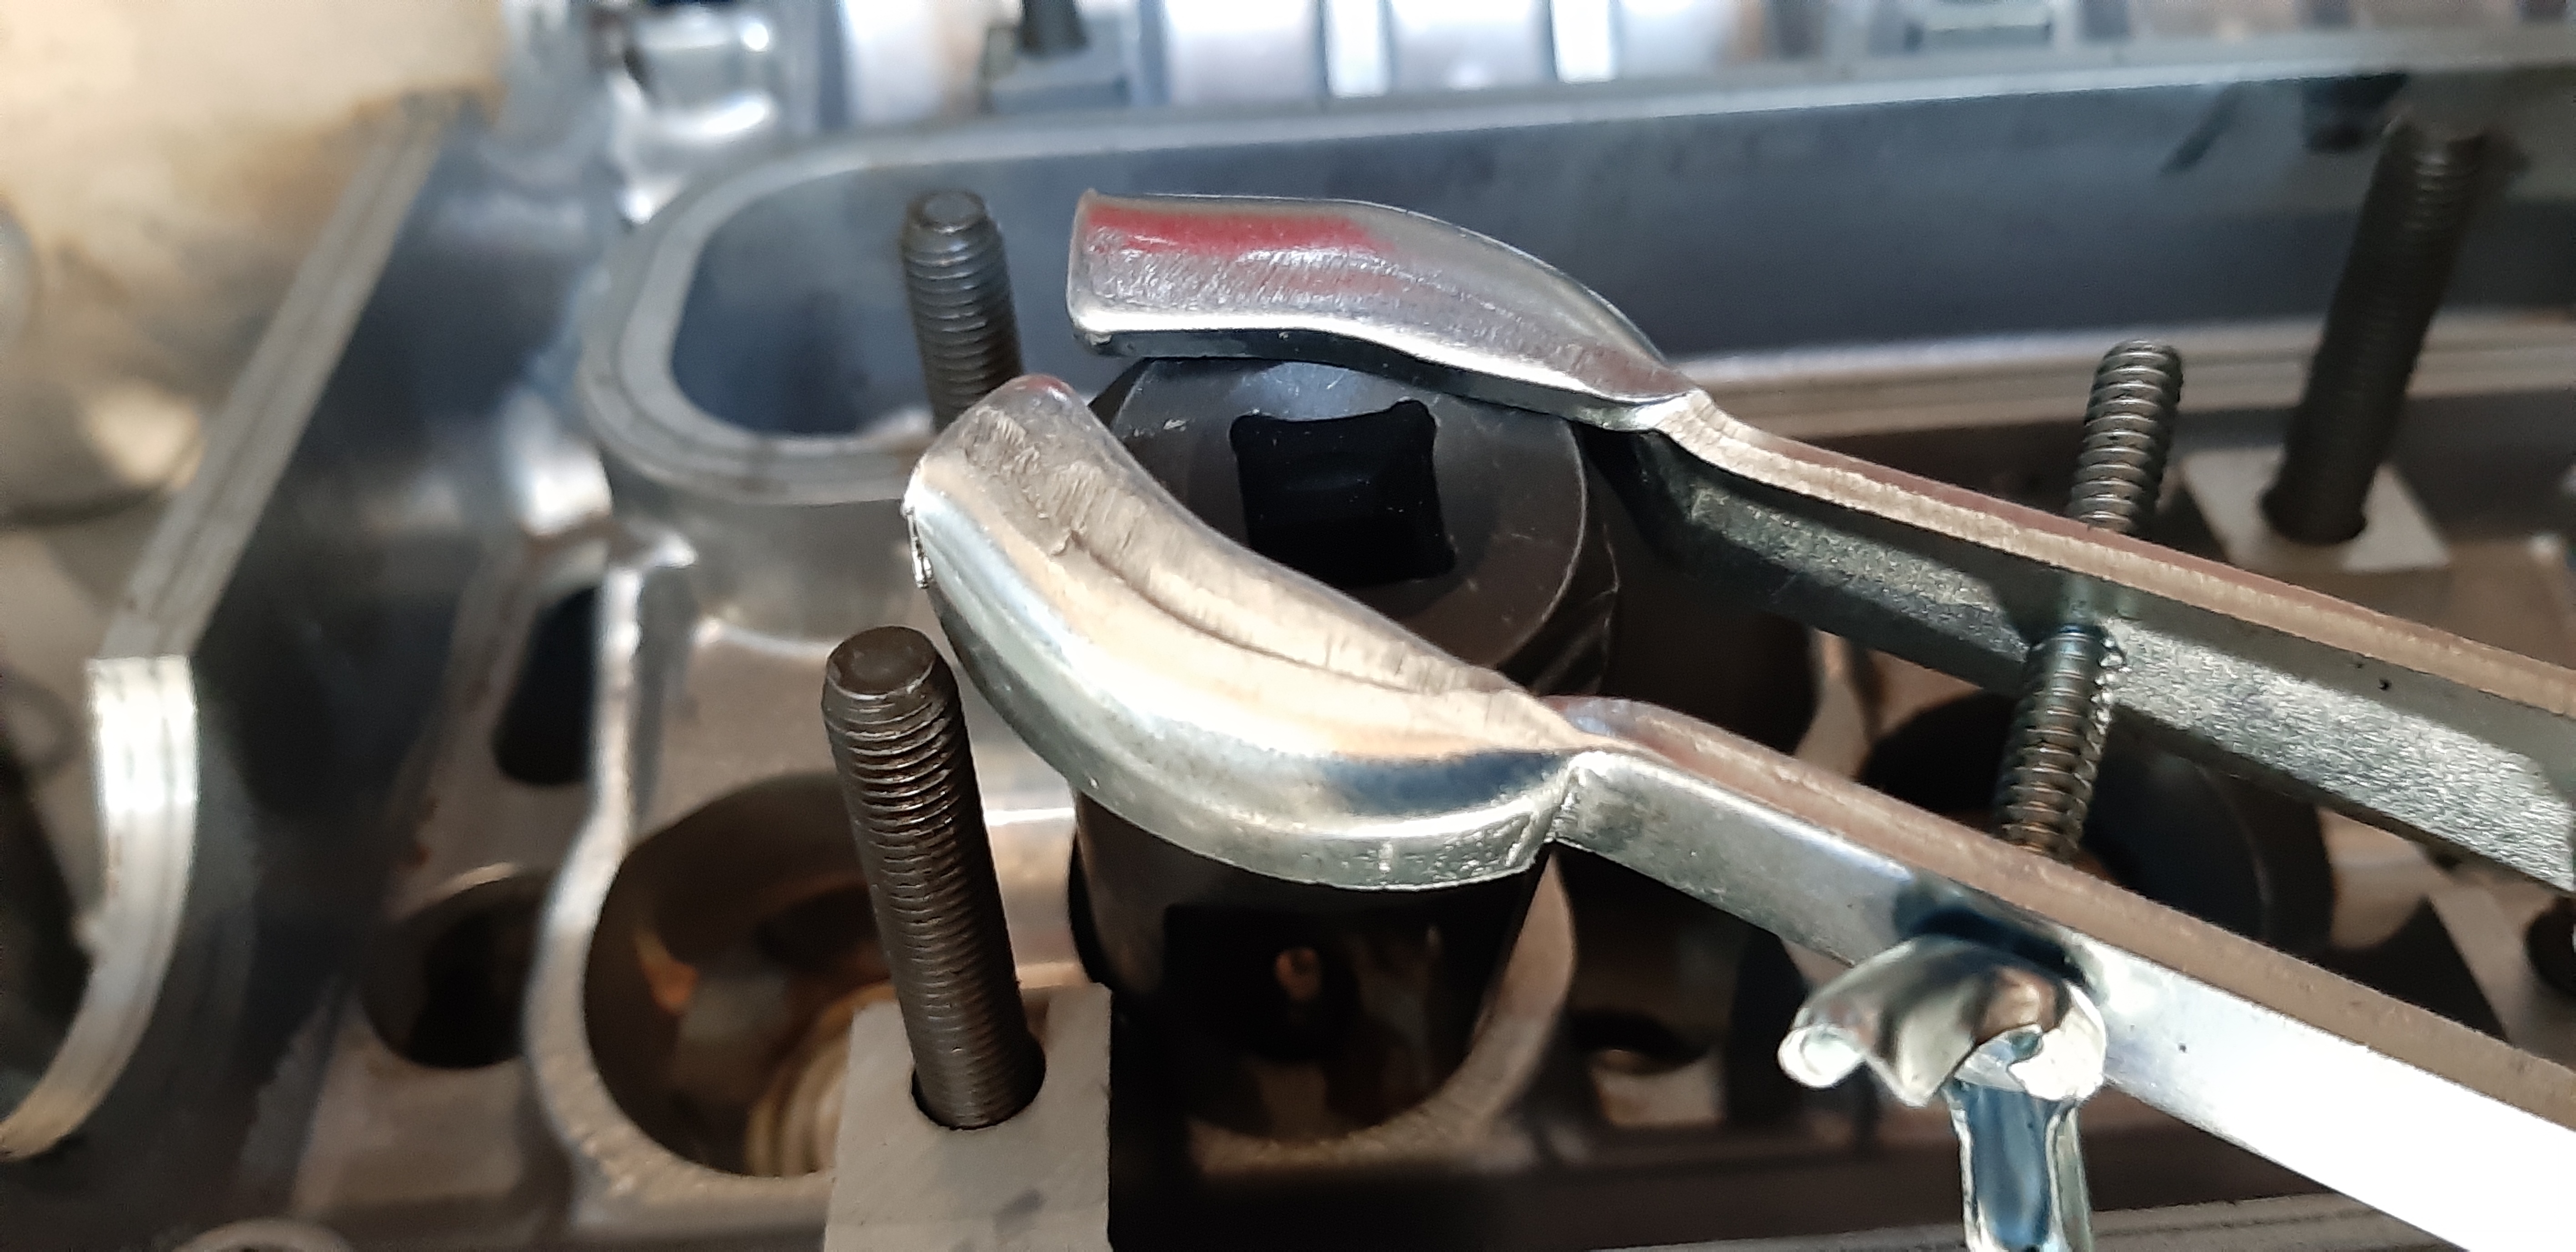
Lambda socket was good help with the valves.
Click image to enlarge


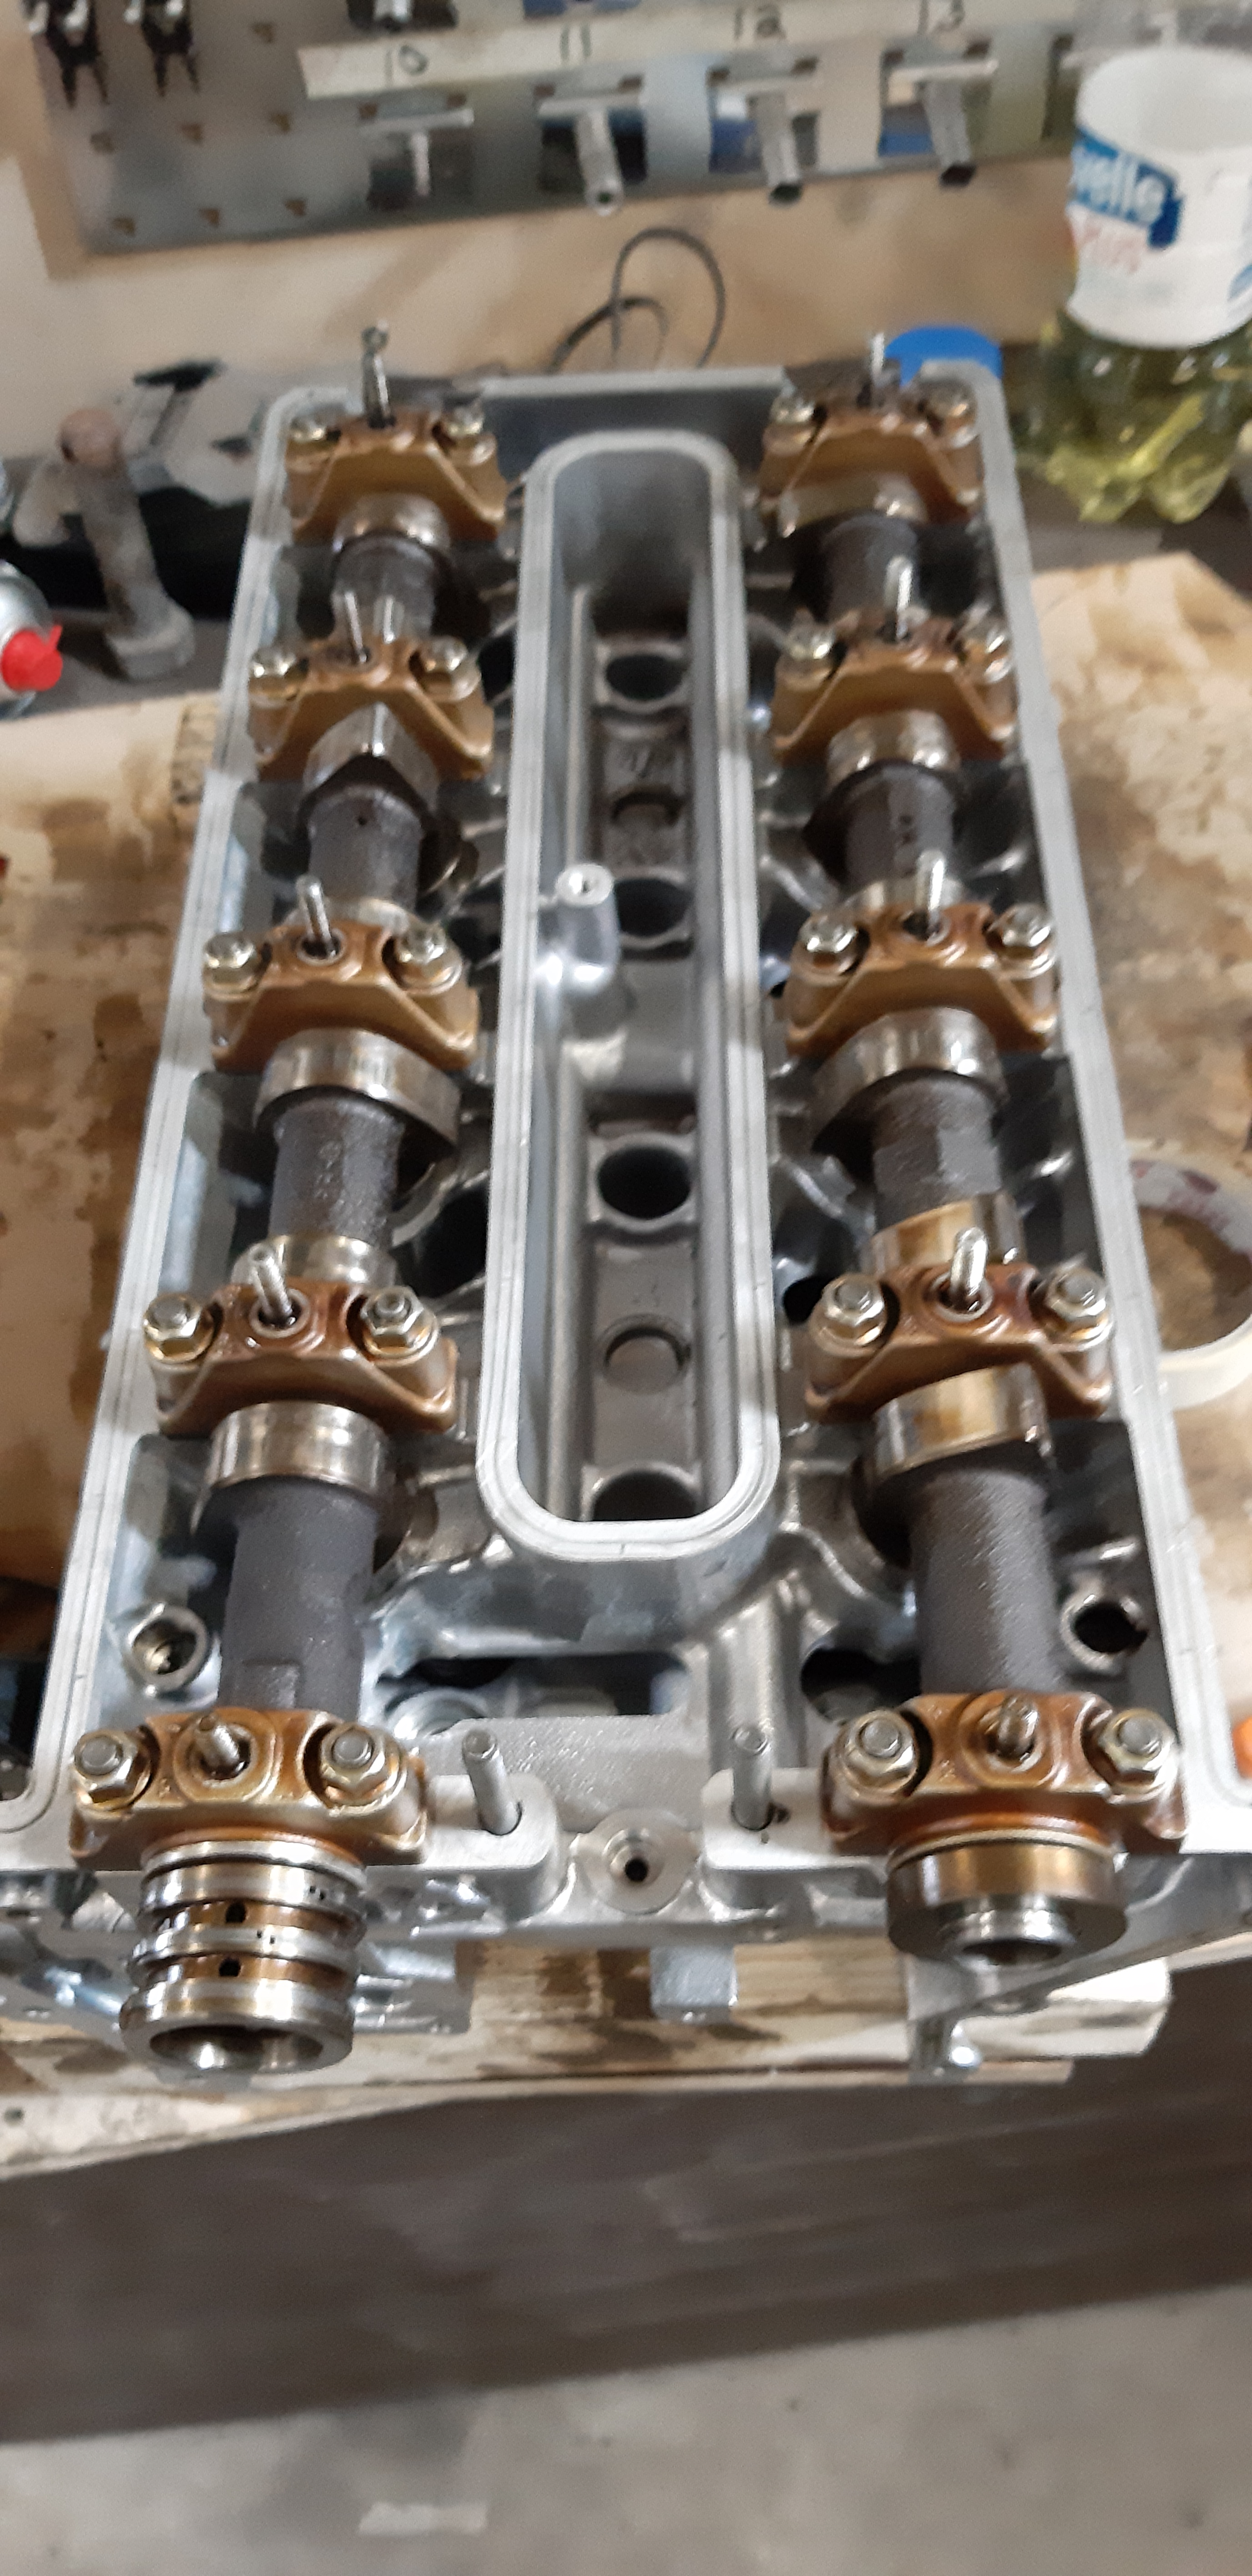
Head ready.
Click image to enlarge


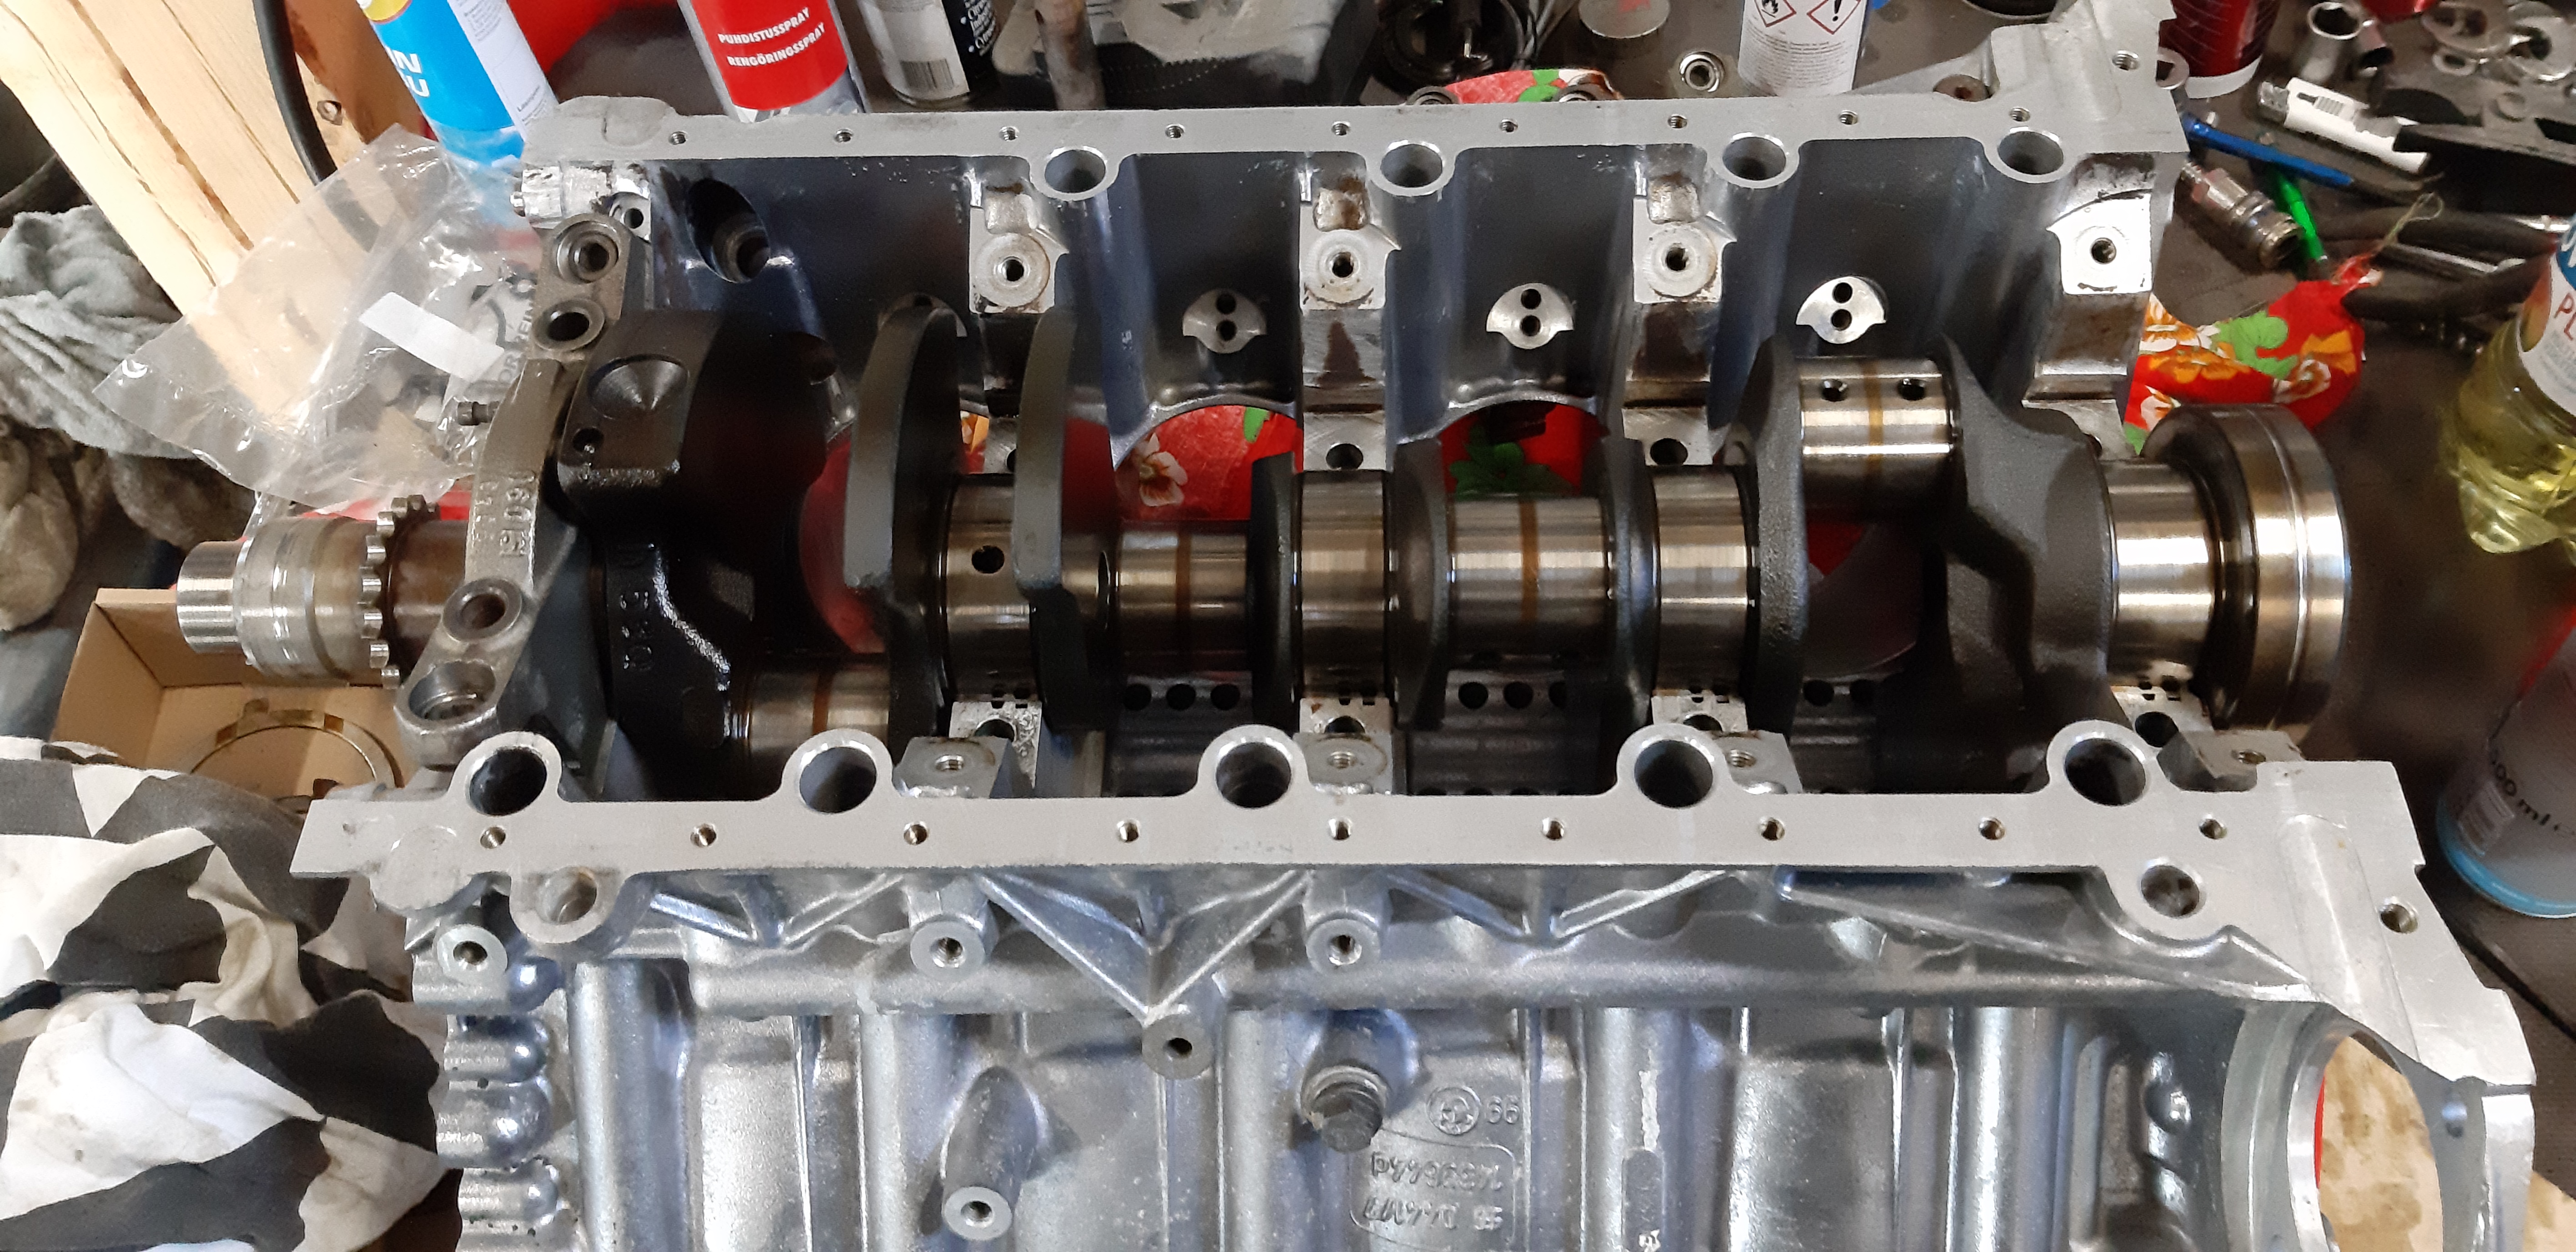
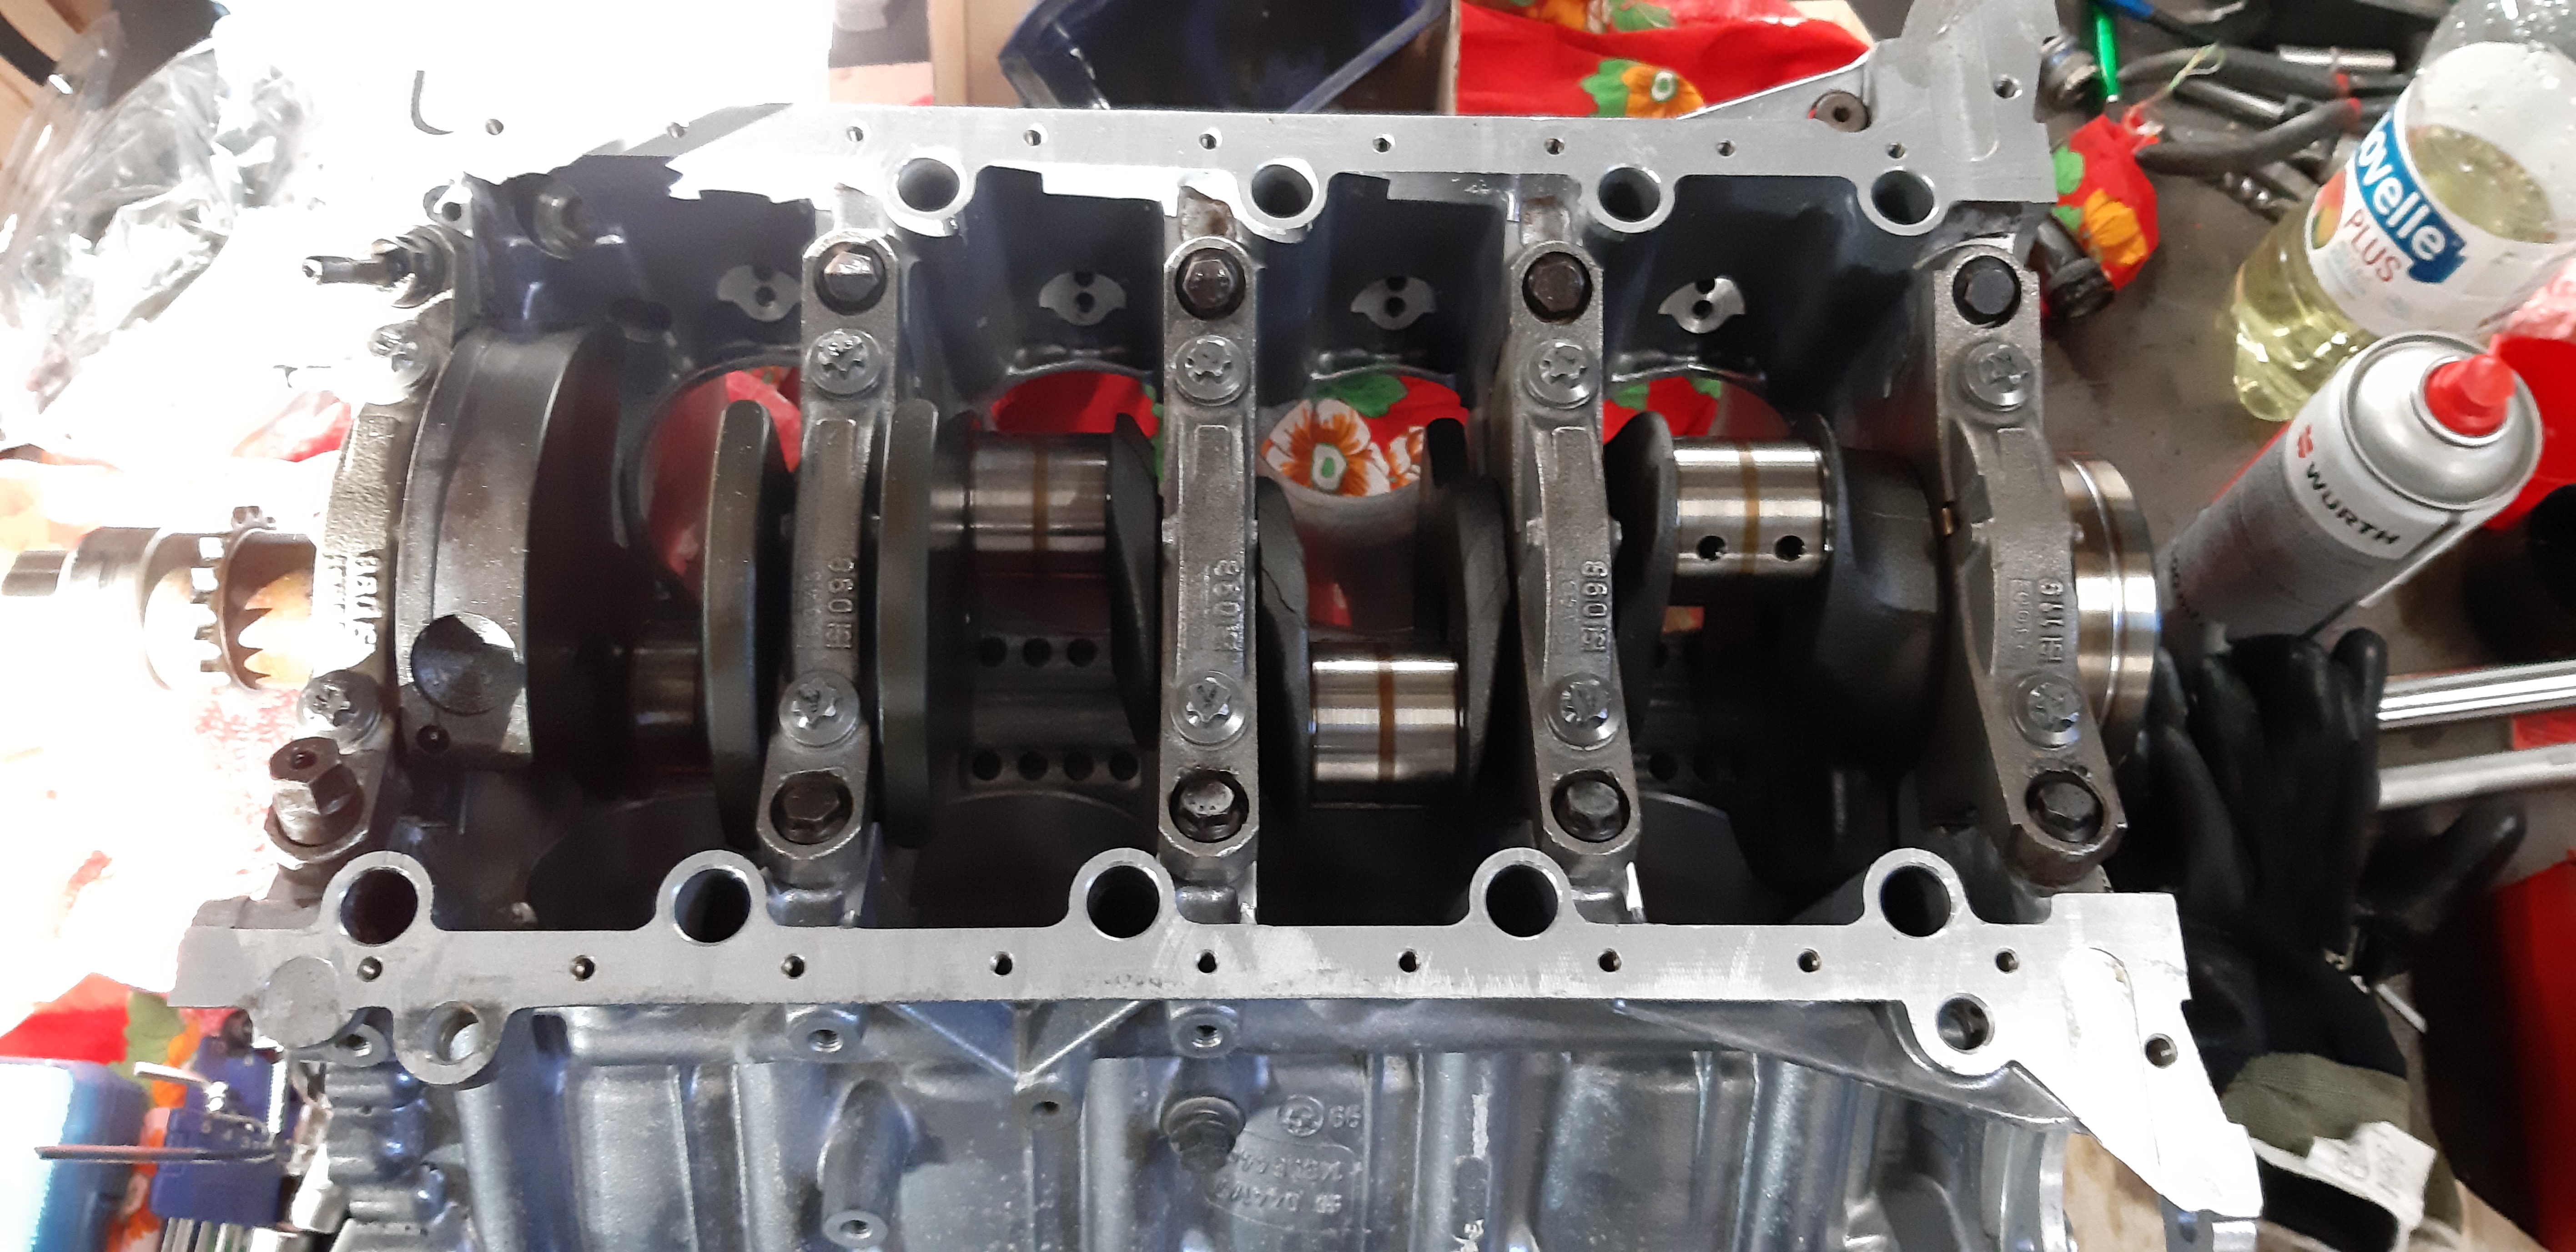
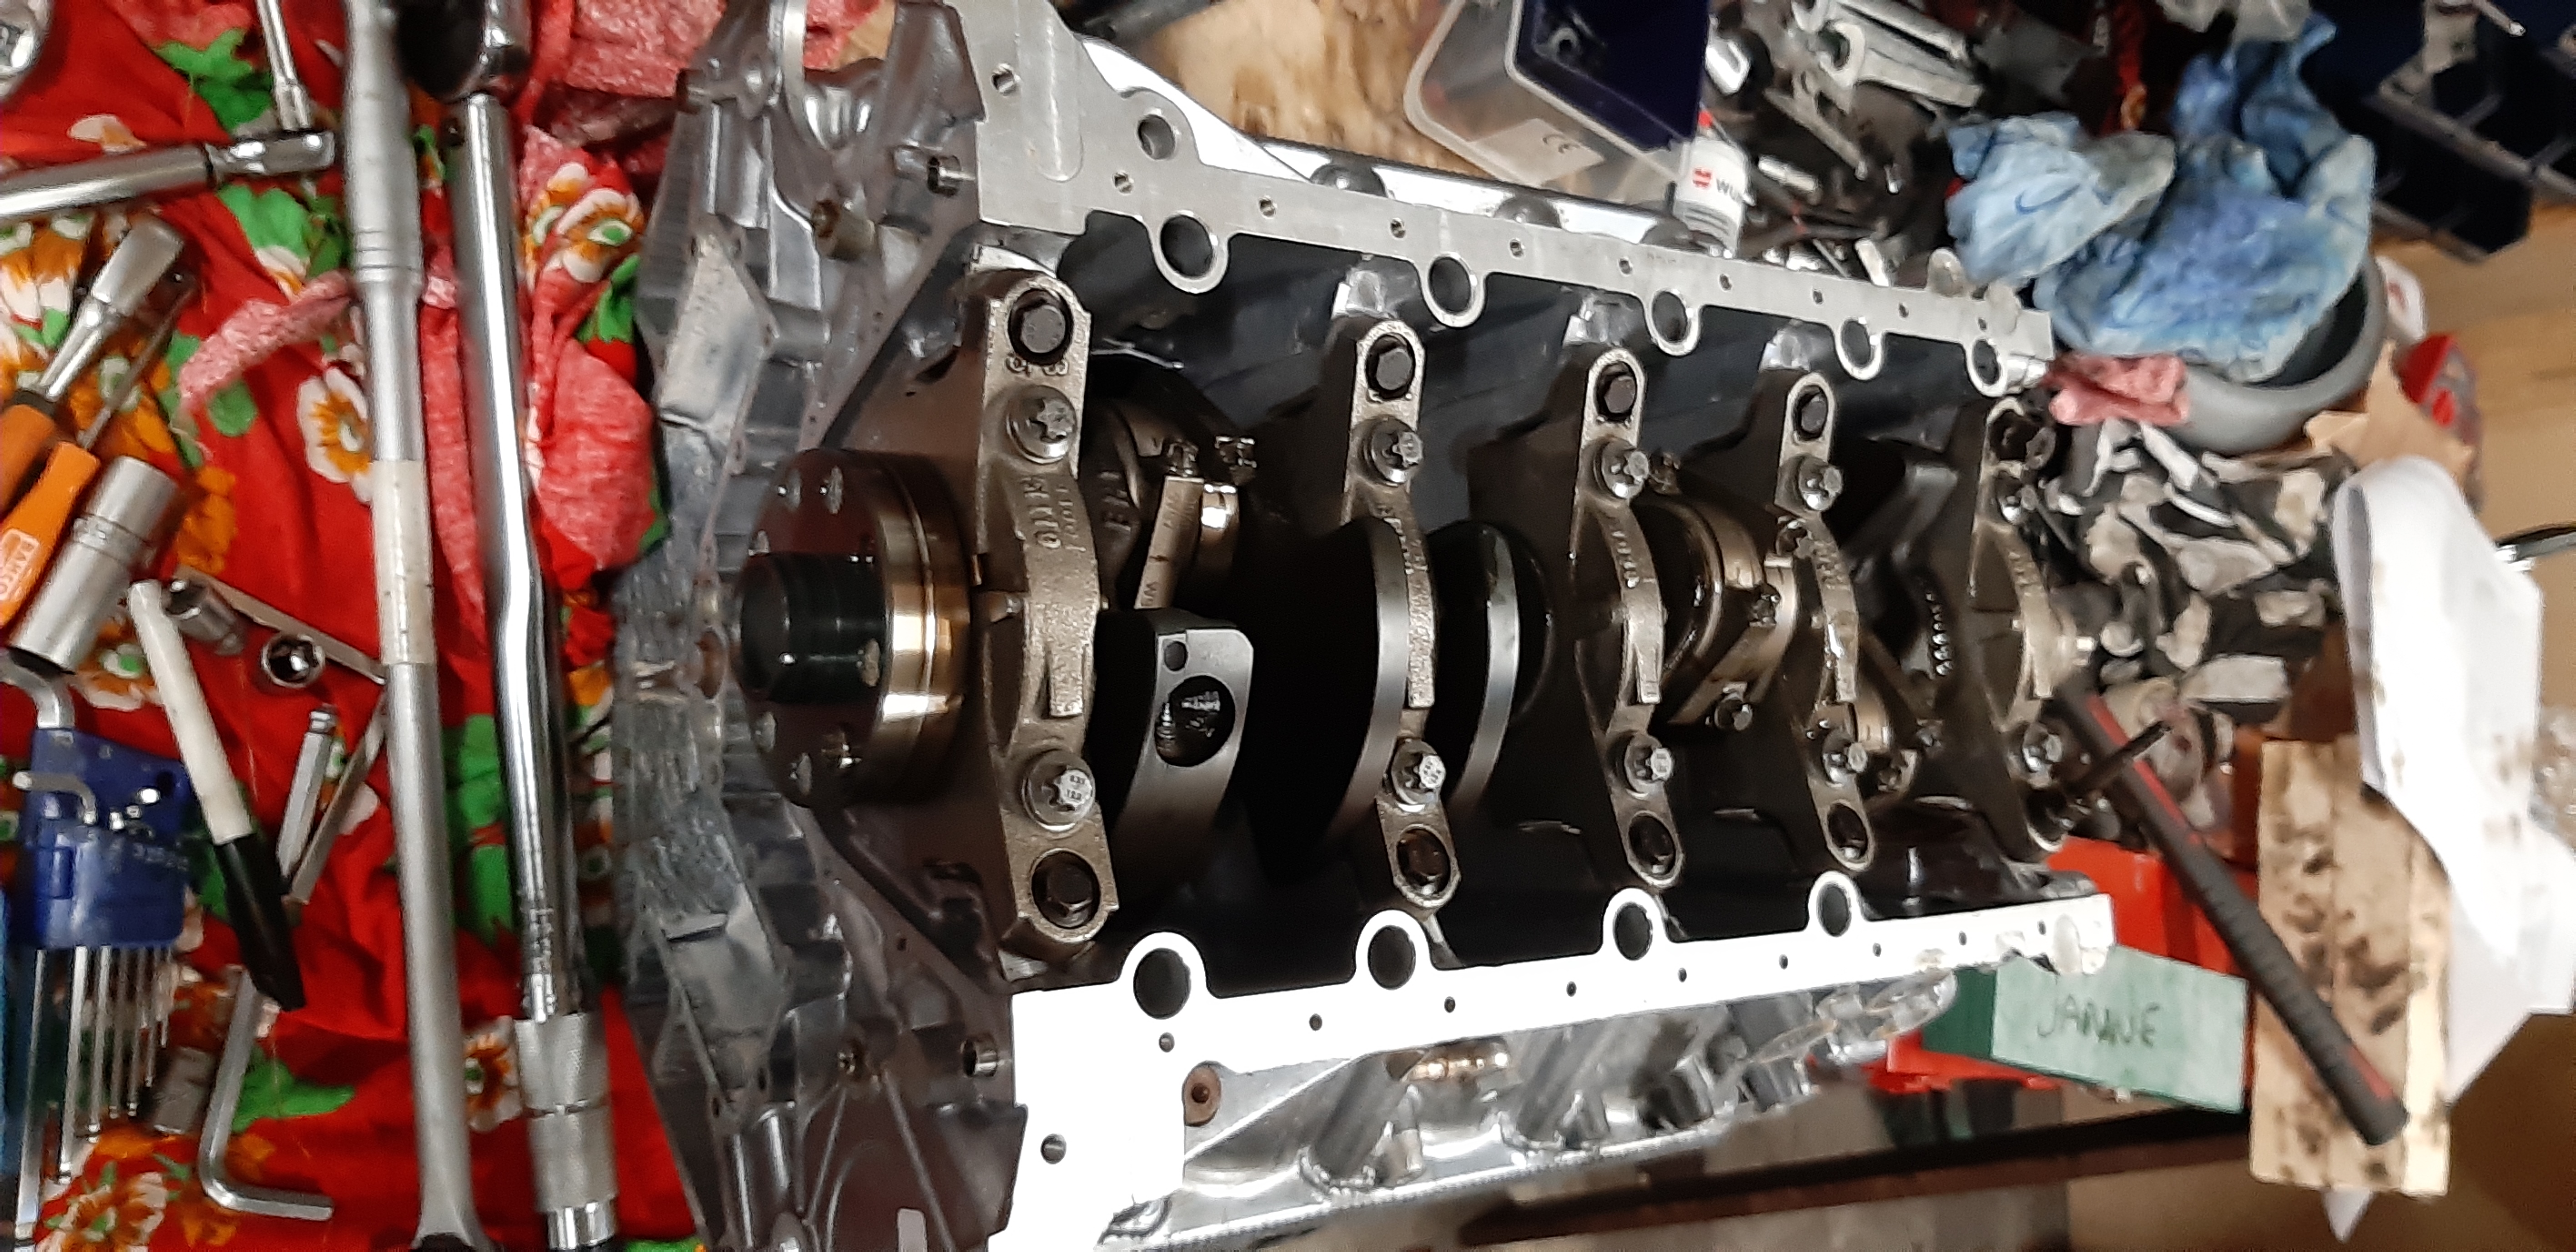
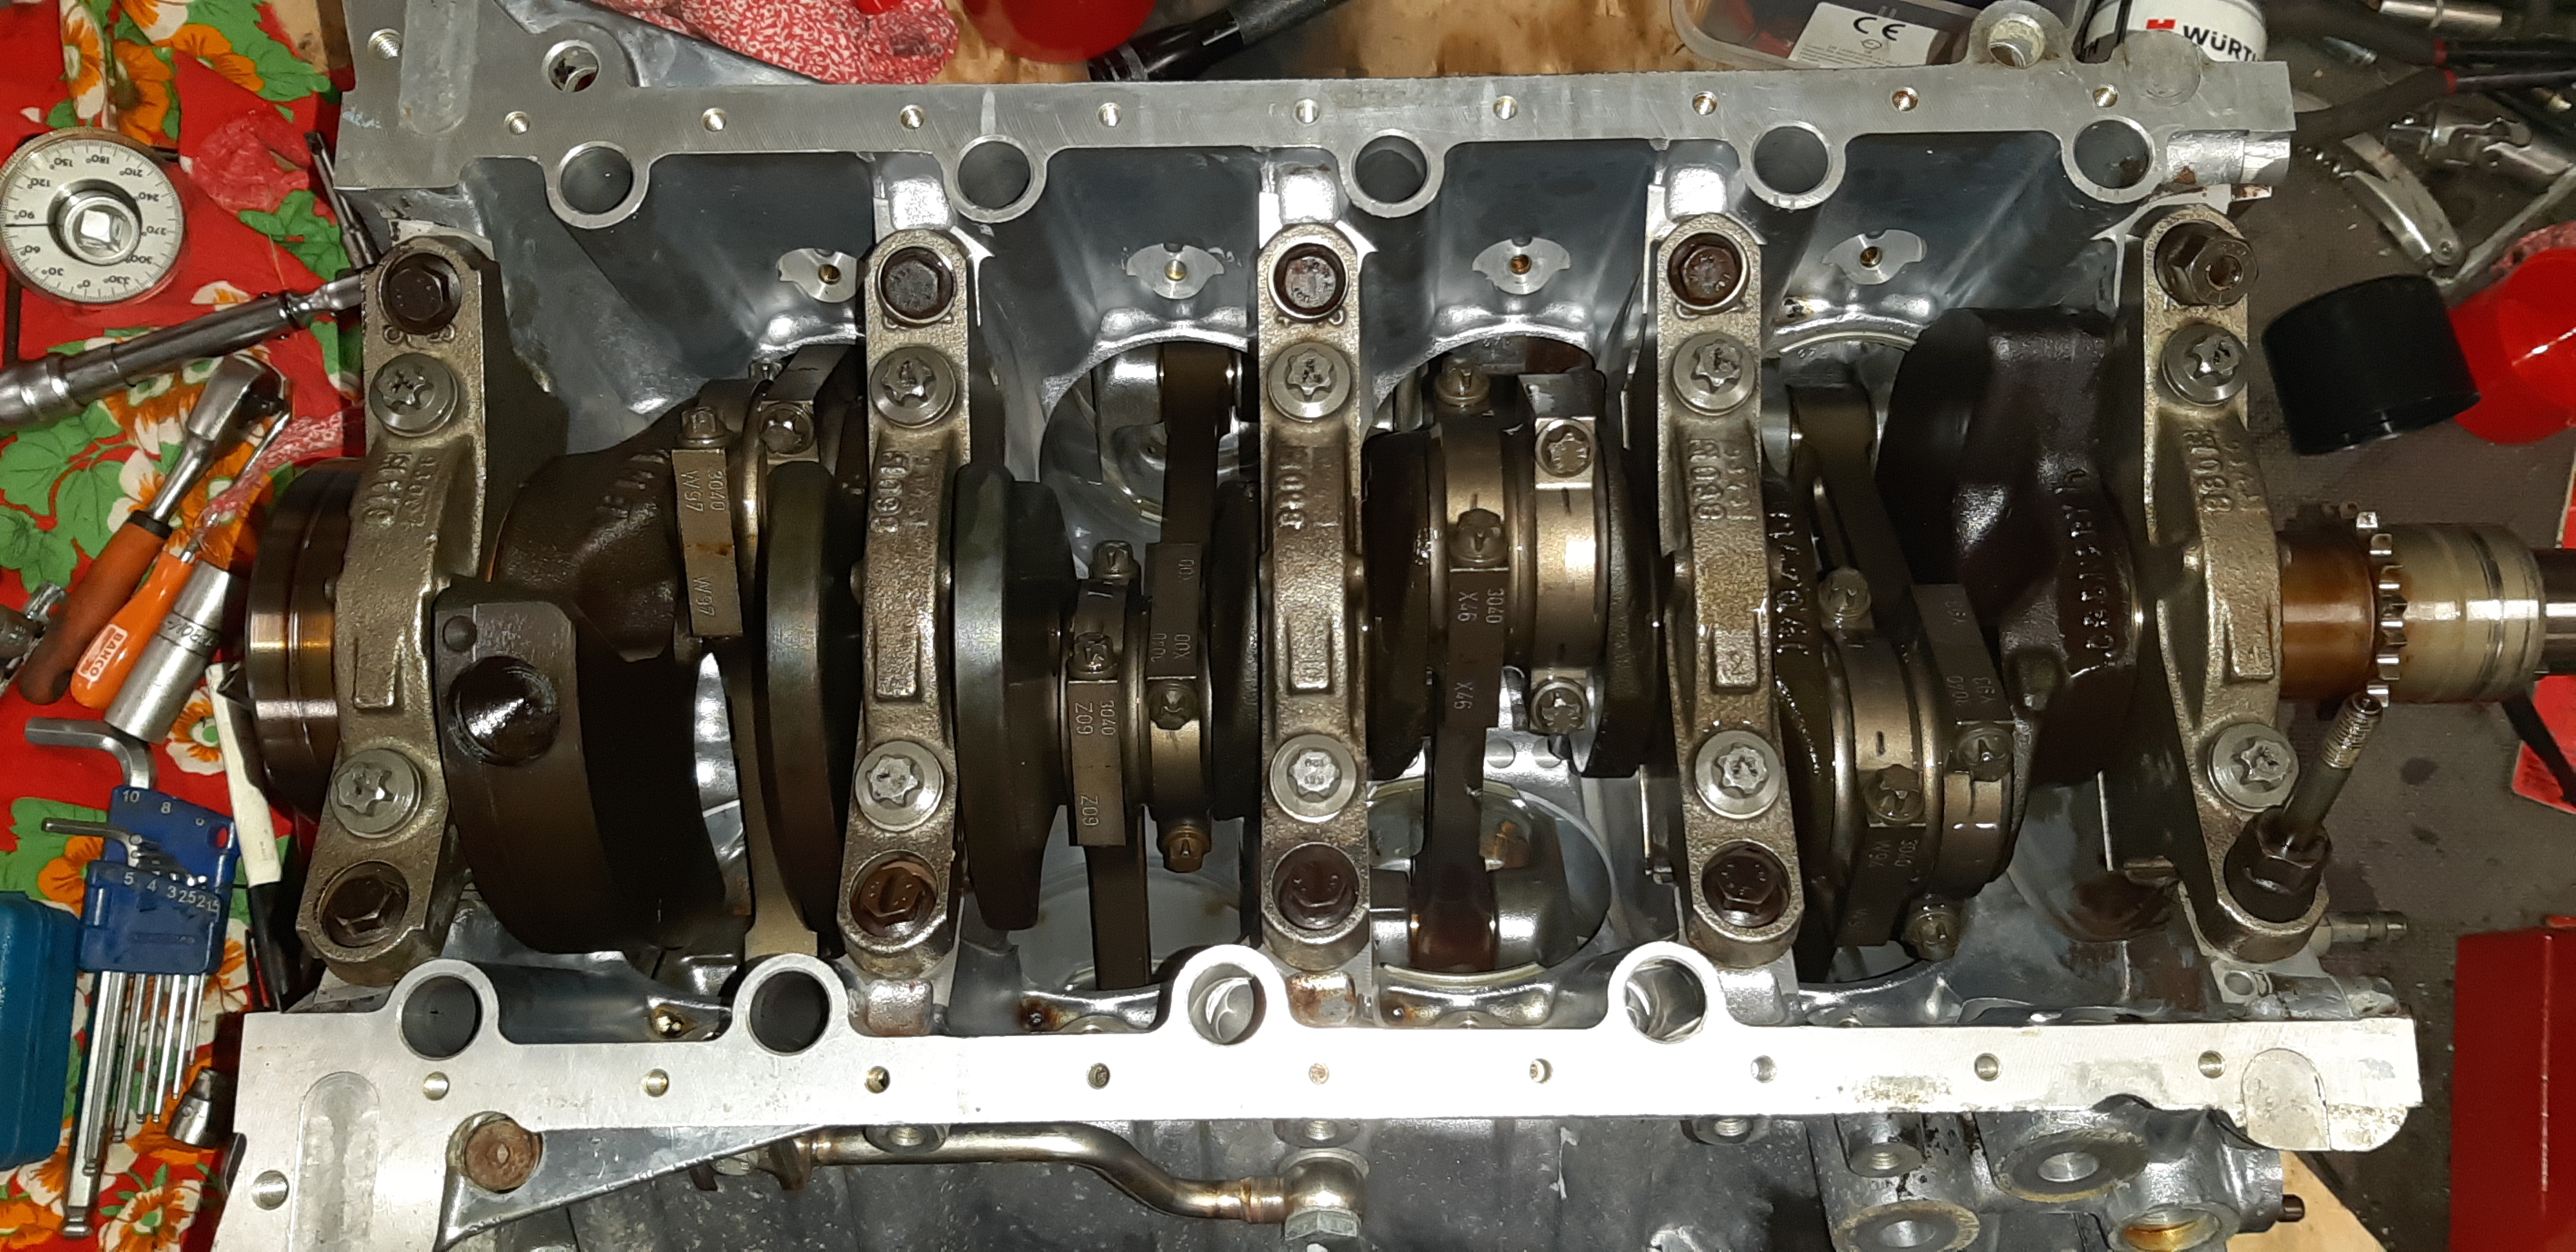
Crank assembled.
Click image to enlarge


I used the old bearings, they were like new. Note, N62 bolts fit crank bearing bolts. Much easier to find.
Click image to enlarge


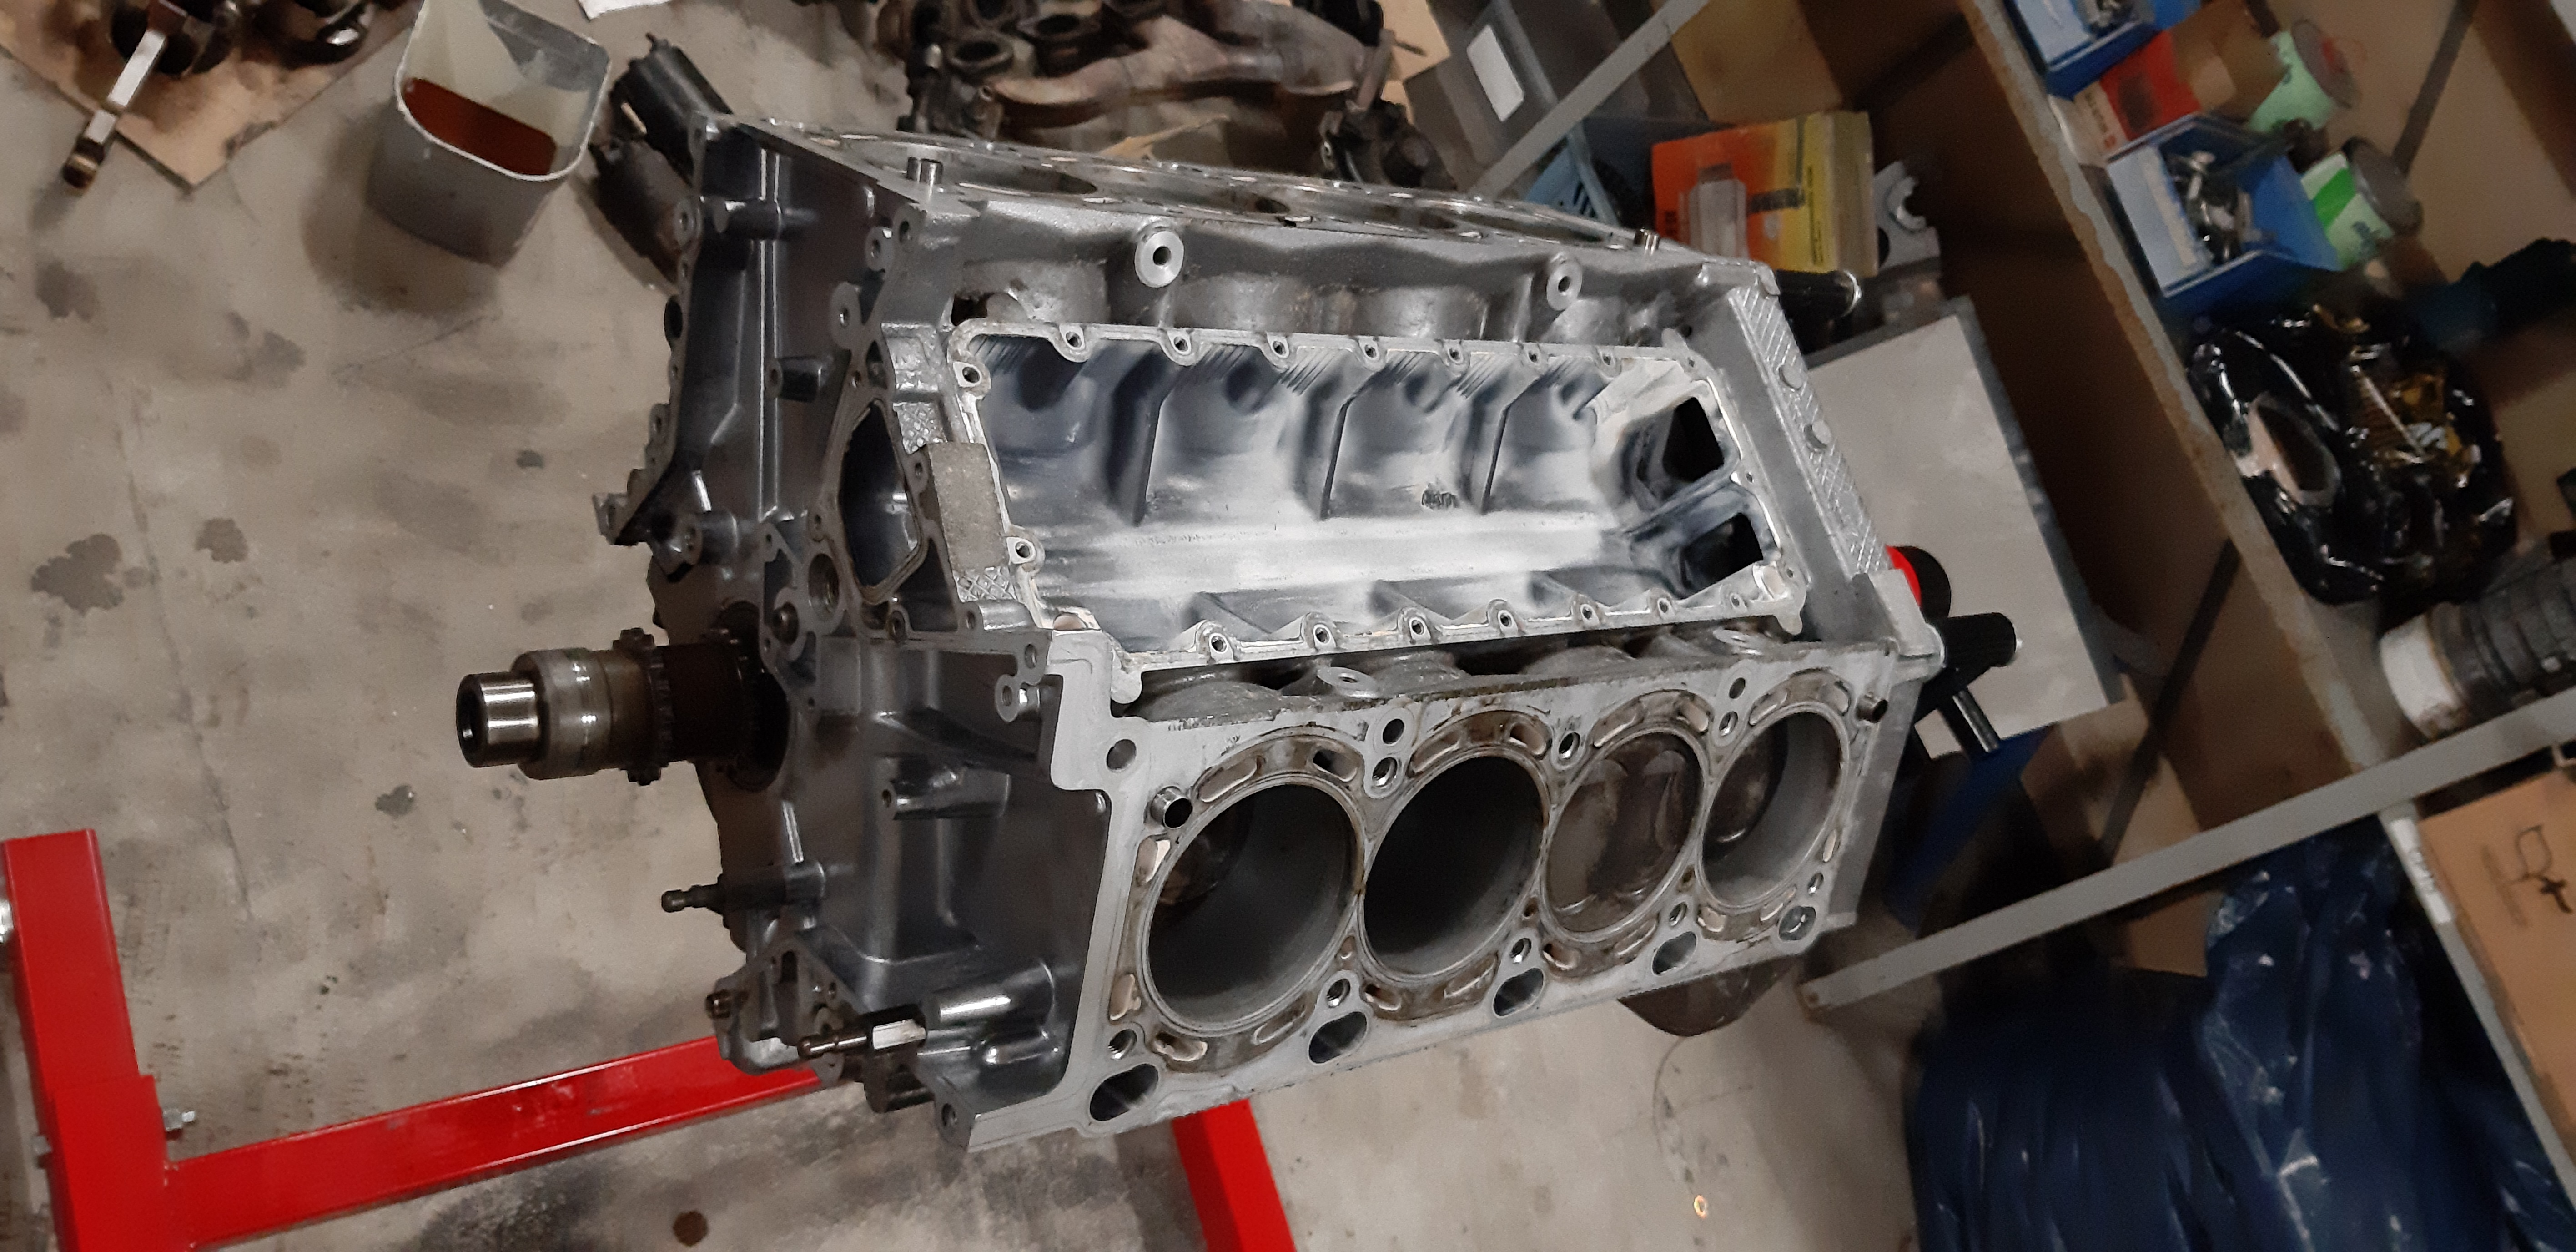
Pistons positioned back.
Click image to enlarge

Click image to enlarge


On to the motor stand.
Click image to enlarge


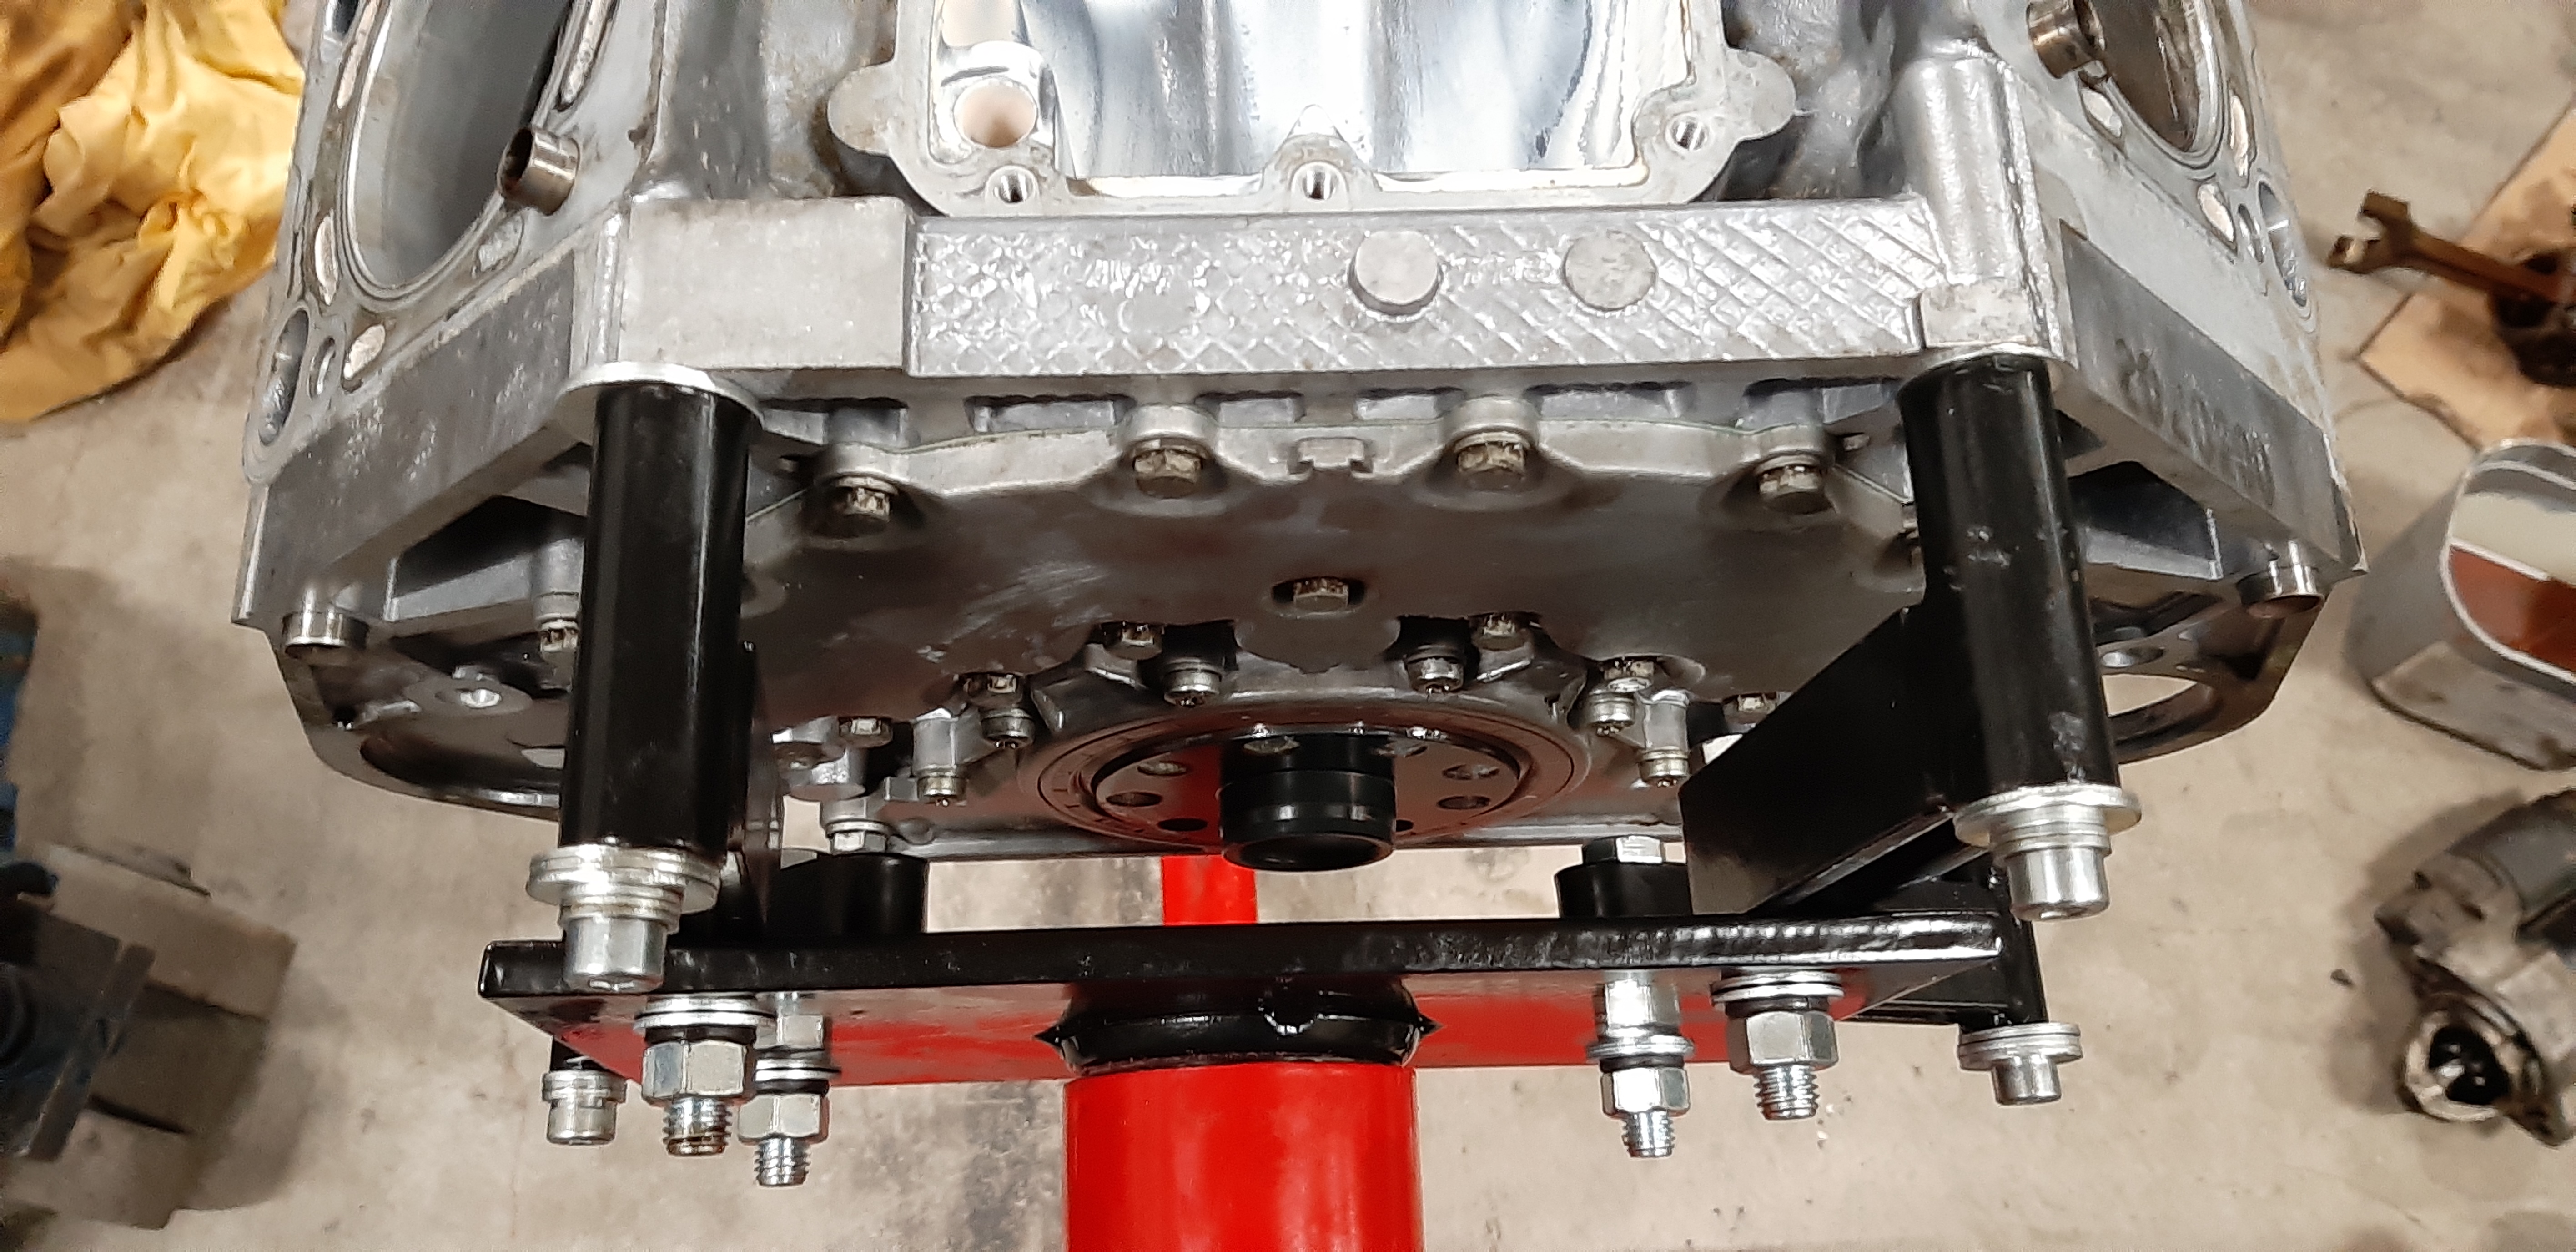
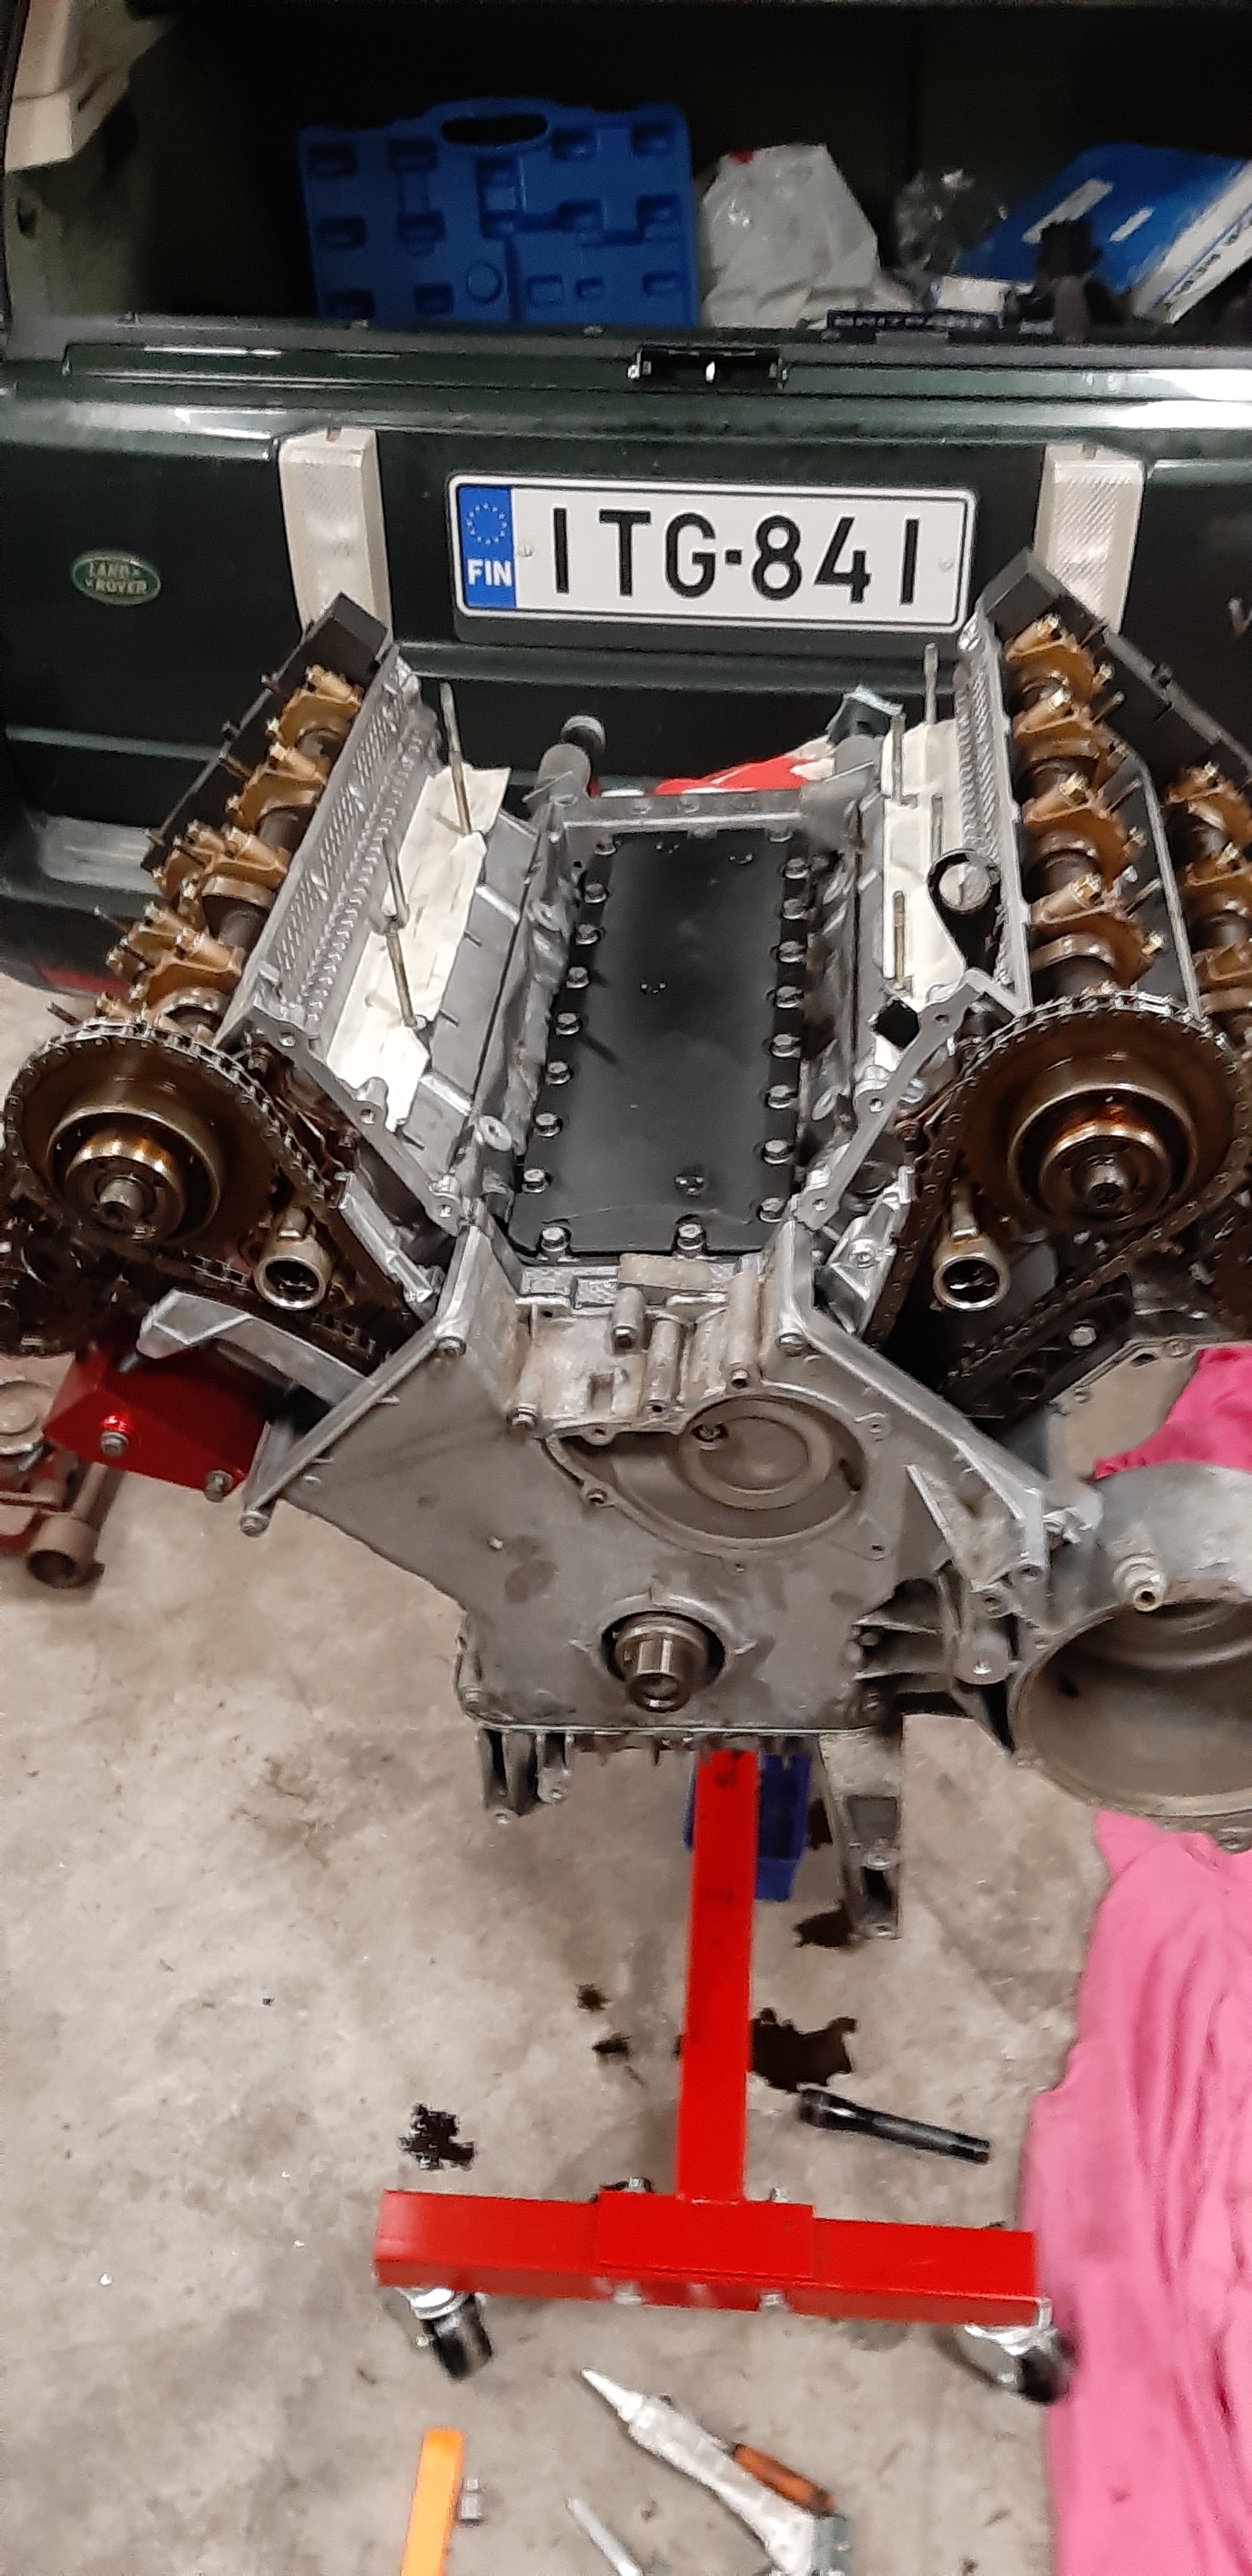
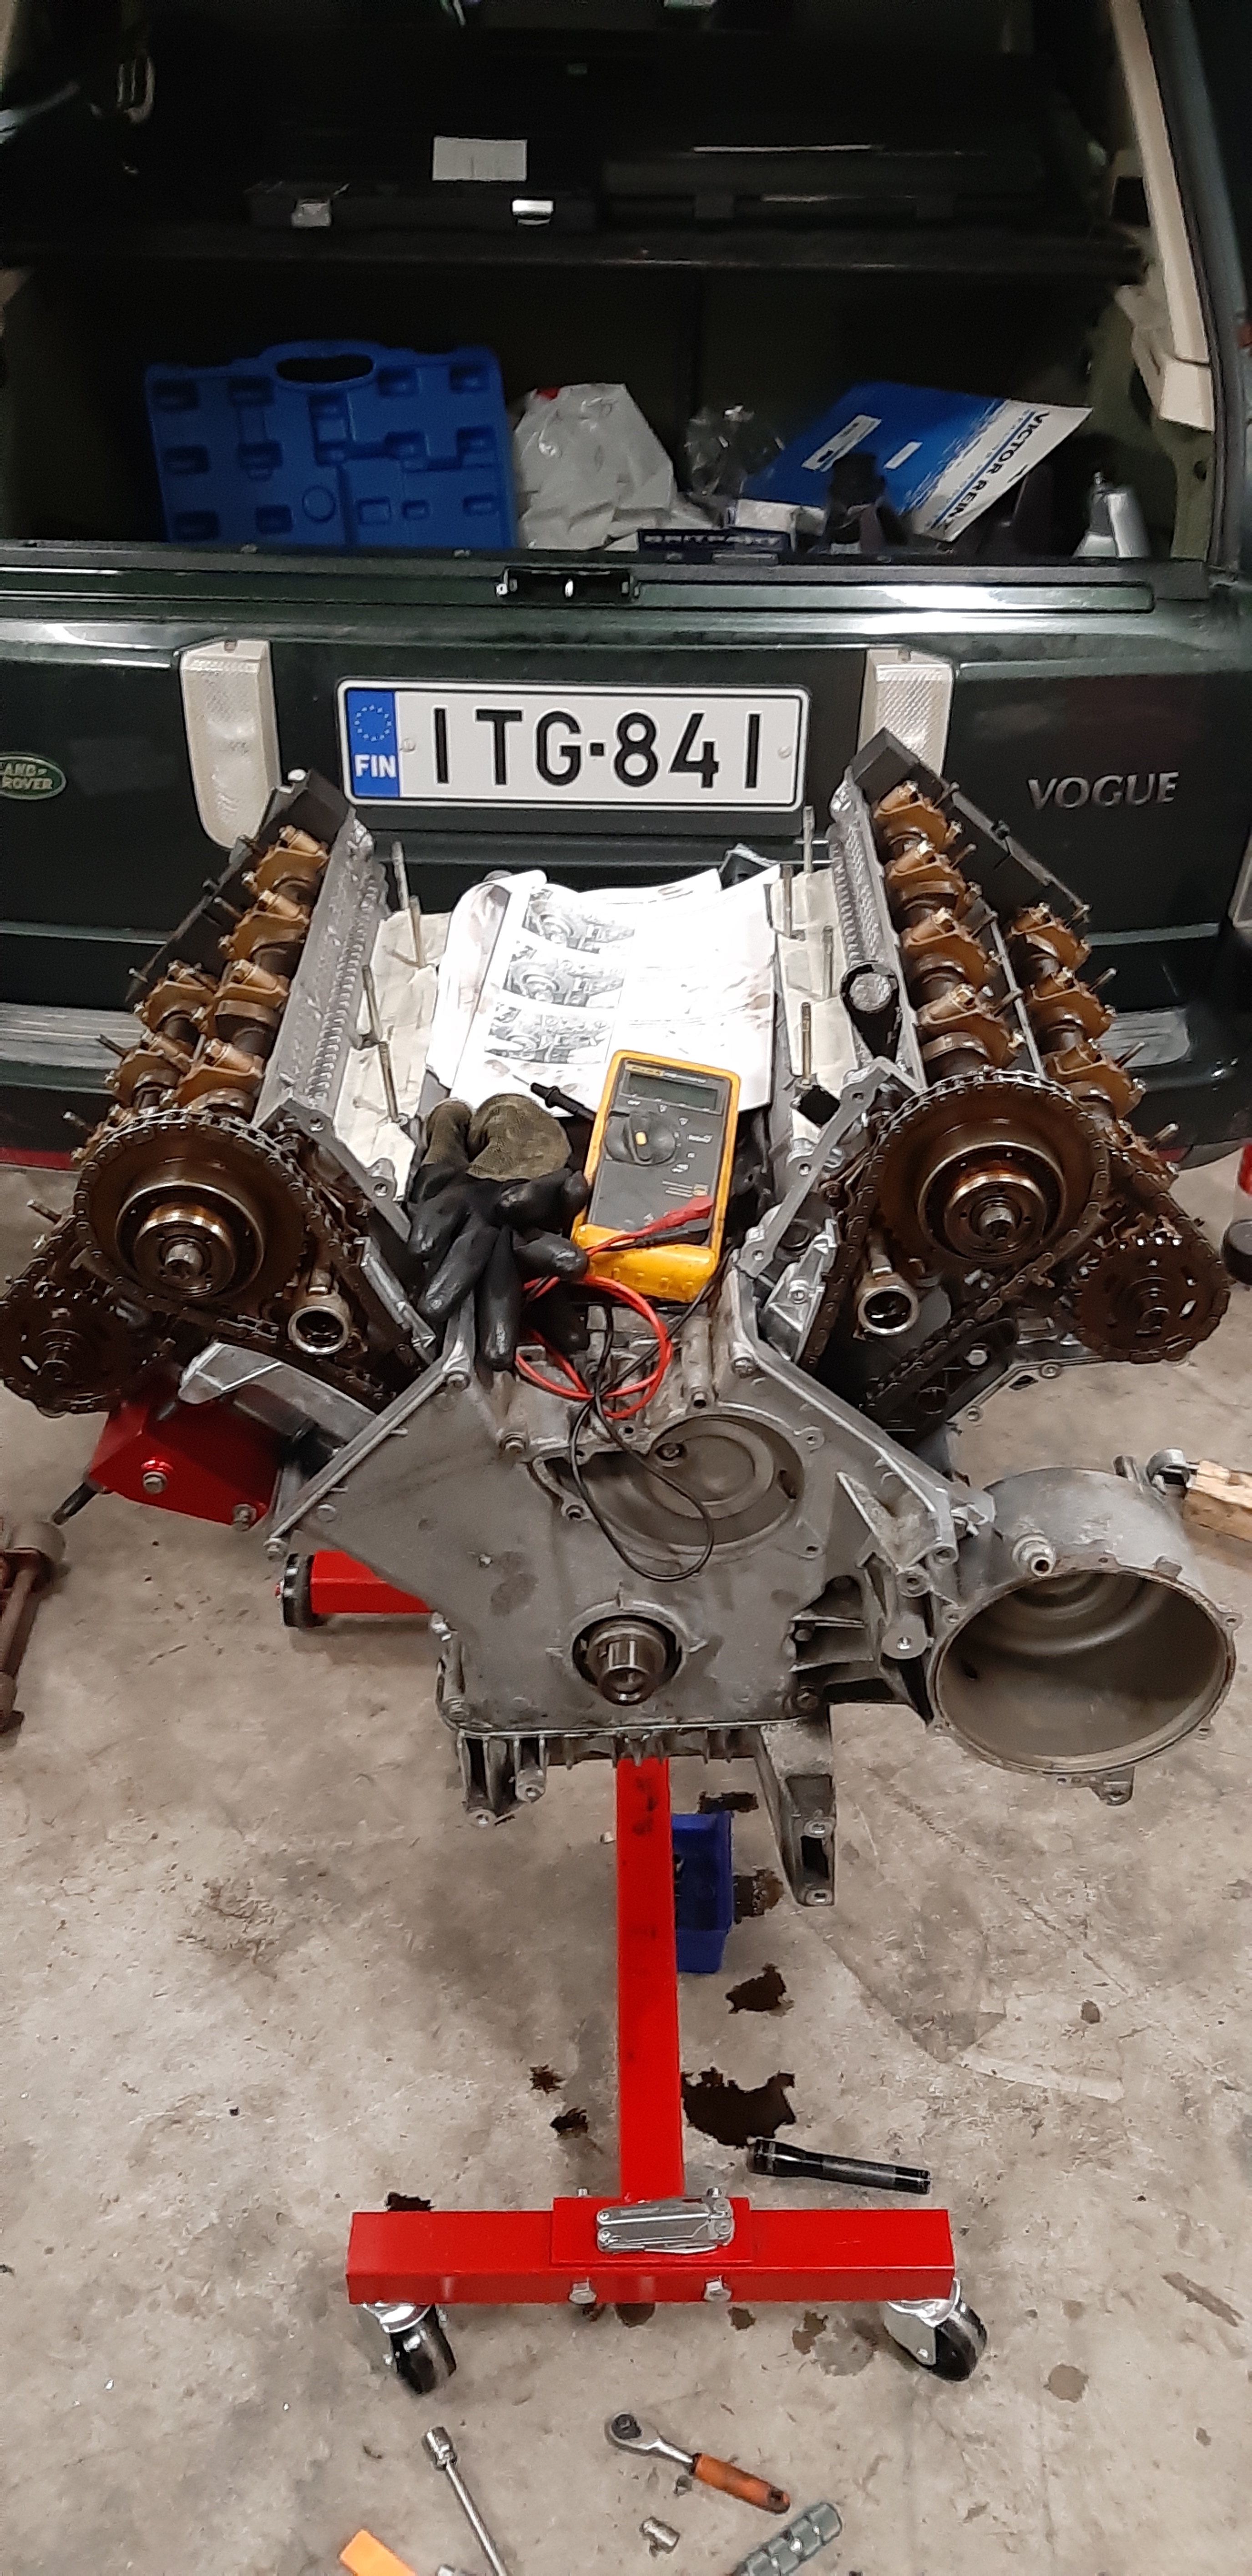
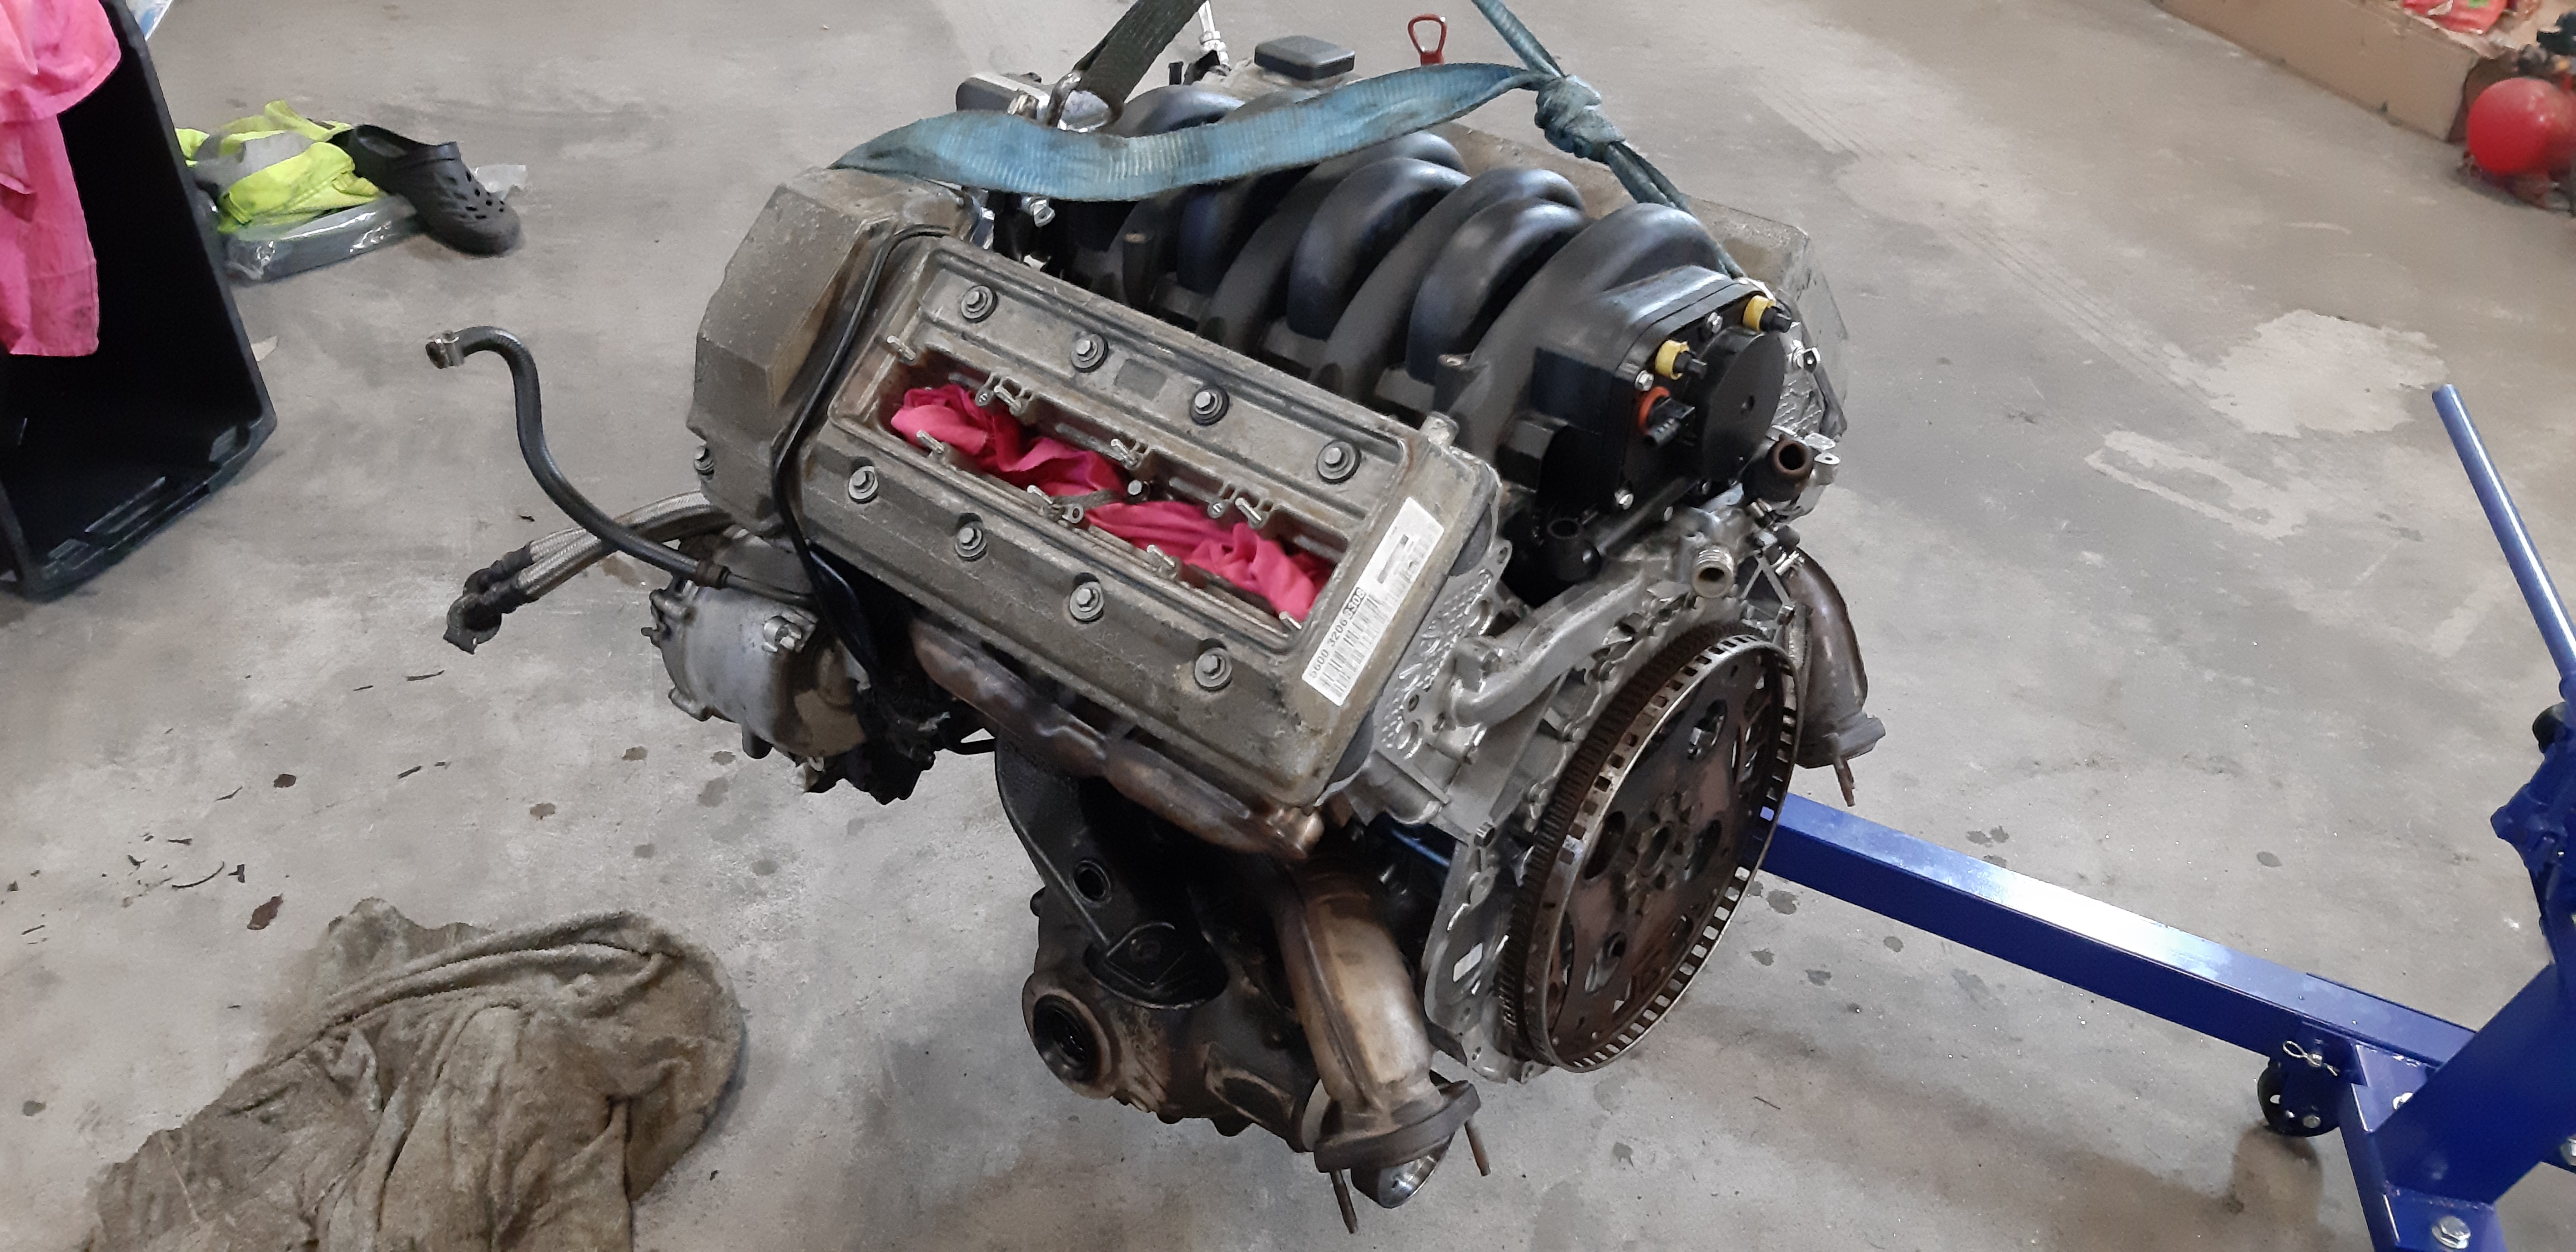
Flywheel problem. Timing of the chain requires TDC and that need to be locked from the flywheel. That's why flywheel need to be bolted at this point. So I needed to make bushes to extend the gap between motor and the stand to be able to fit the flywheel.
Click image to enlarge


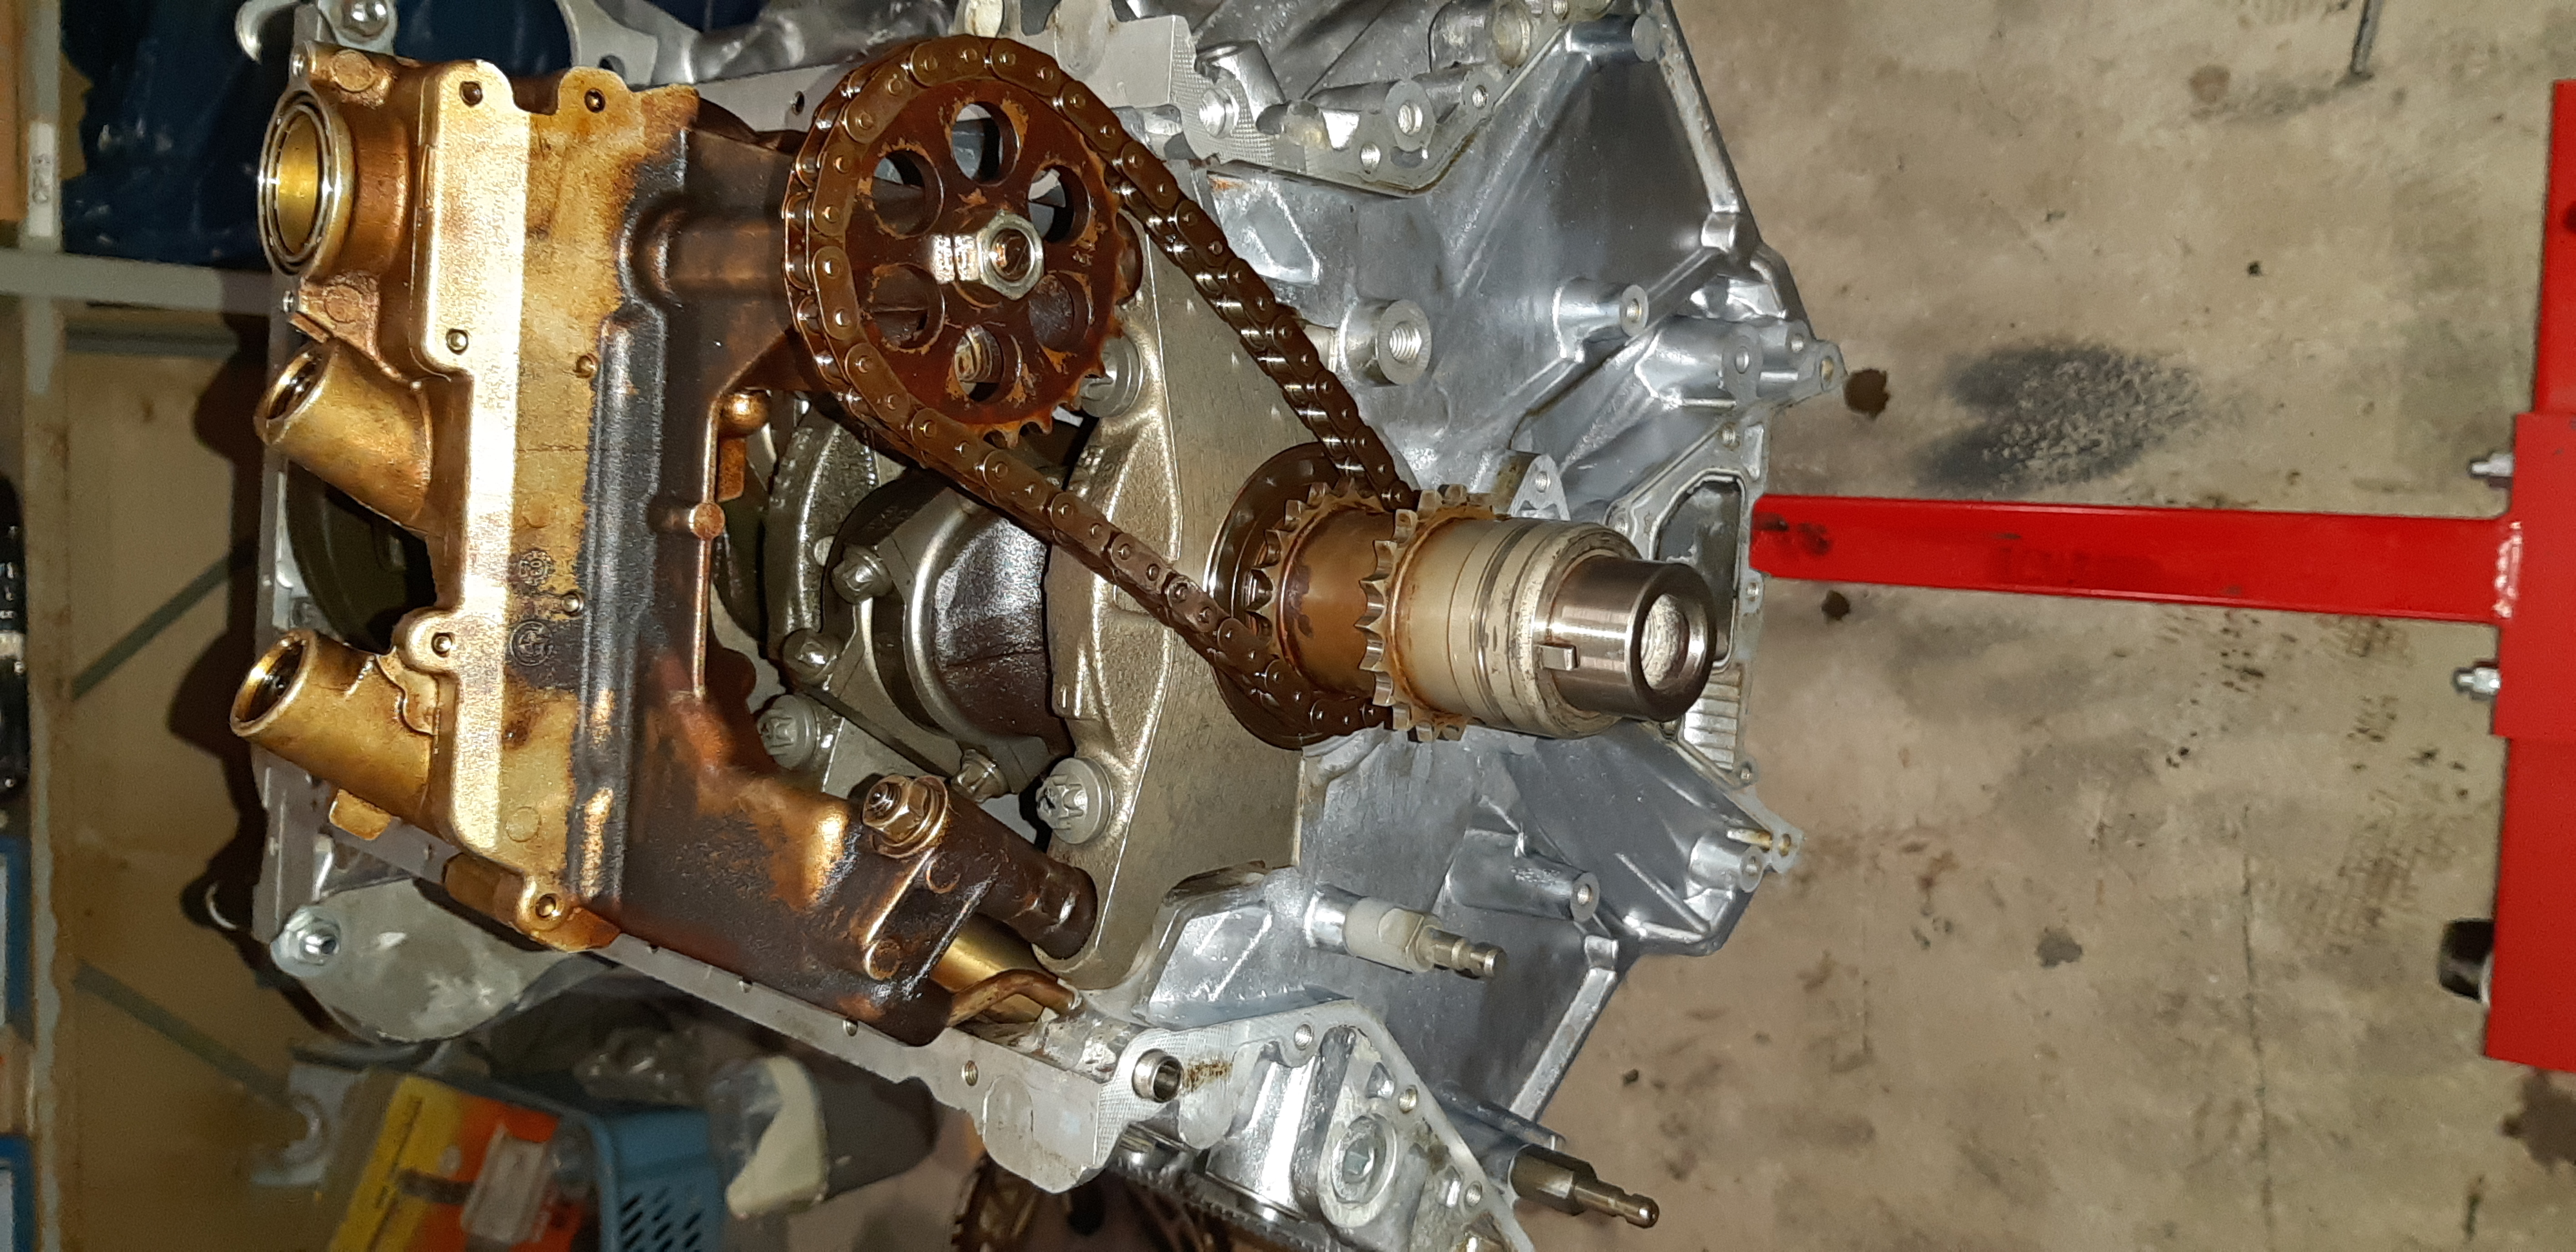
I read some stories of failing oil pumps on these. Assembly manual states that fair slack needs to be here. If this is missed, no doubt there will failed oil pump.
Click image to enlarge


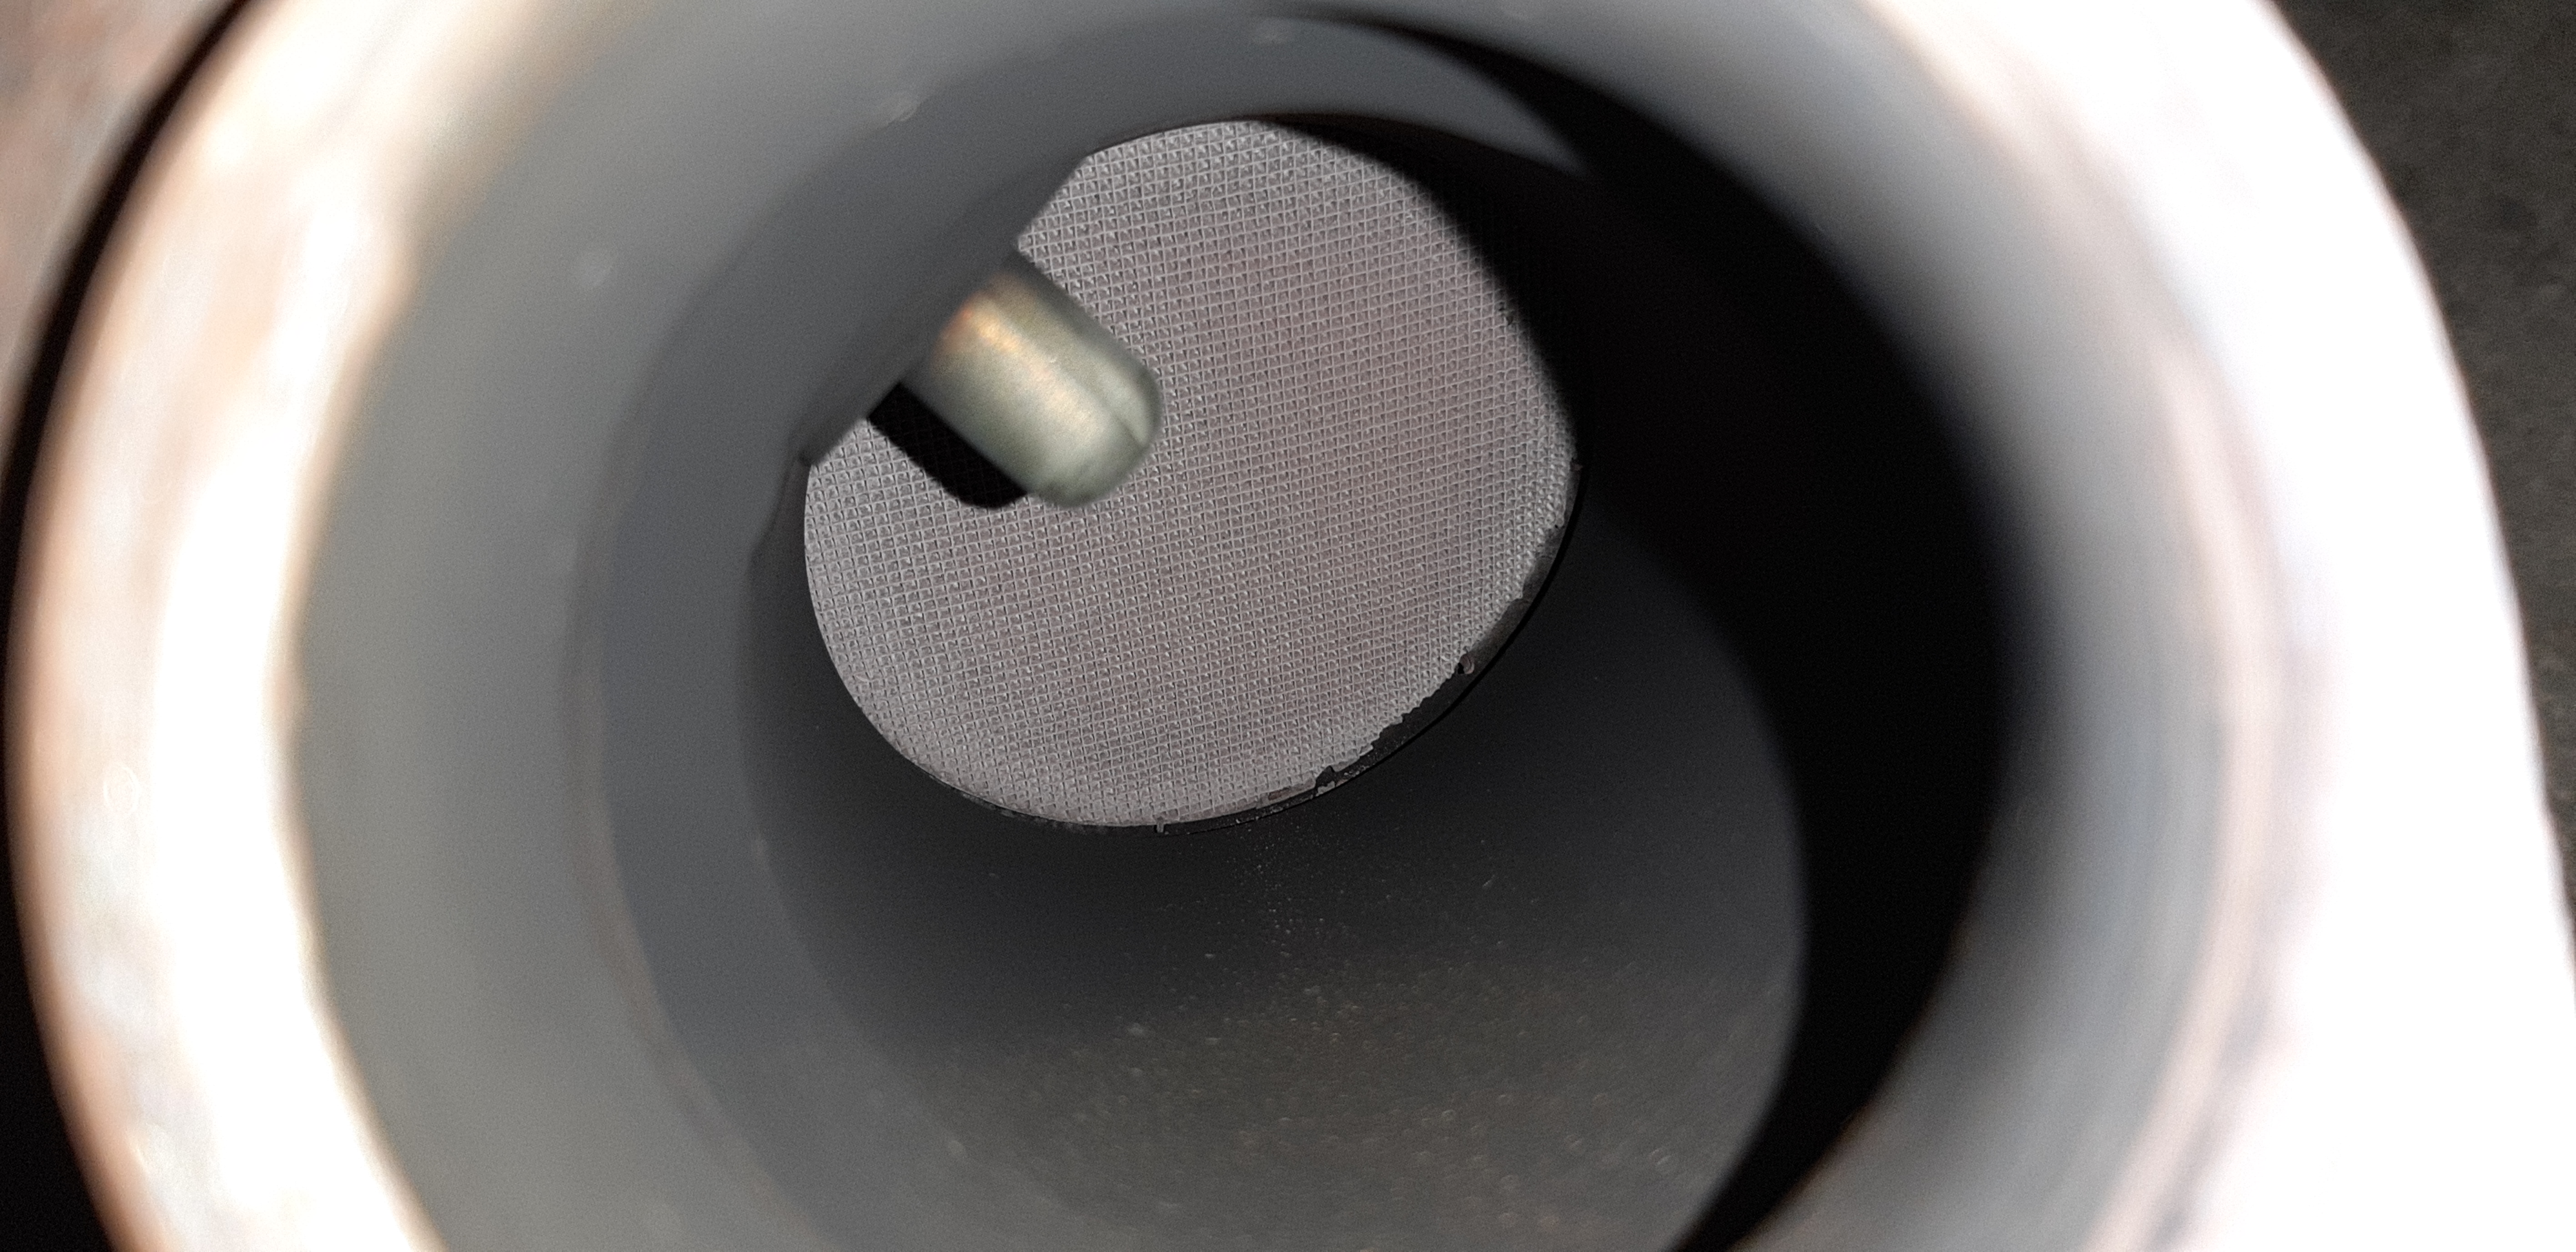
Glogged cat. On exhaust cat is two-part. Glogged section was removed.
Click image to enlarge


Clean cat in comparison.
Click image to enlarge


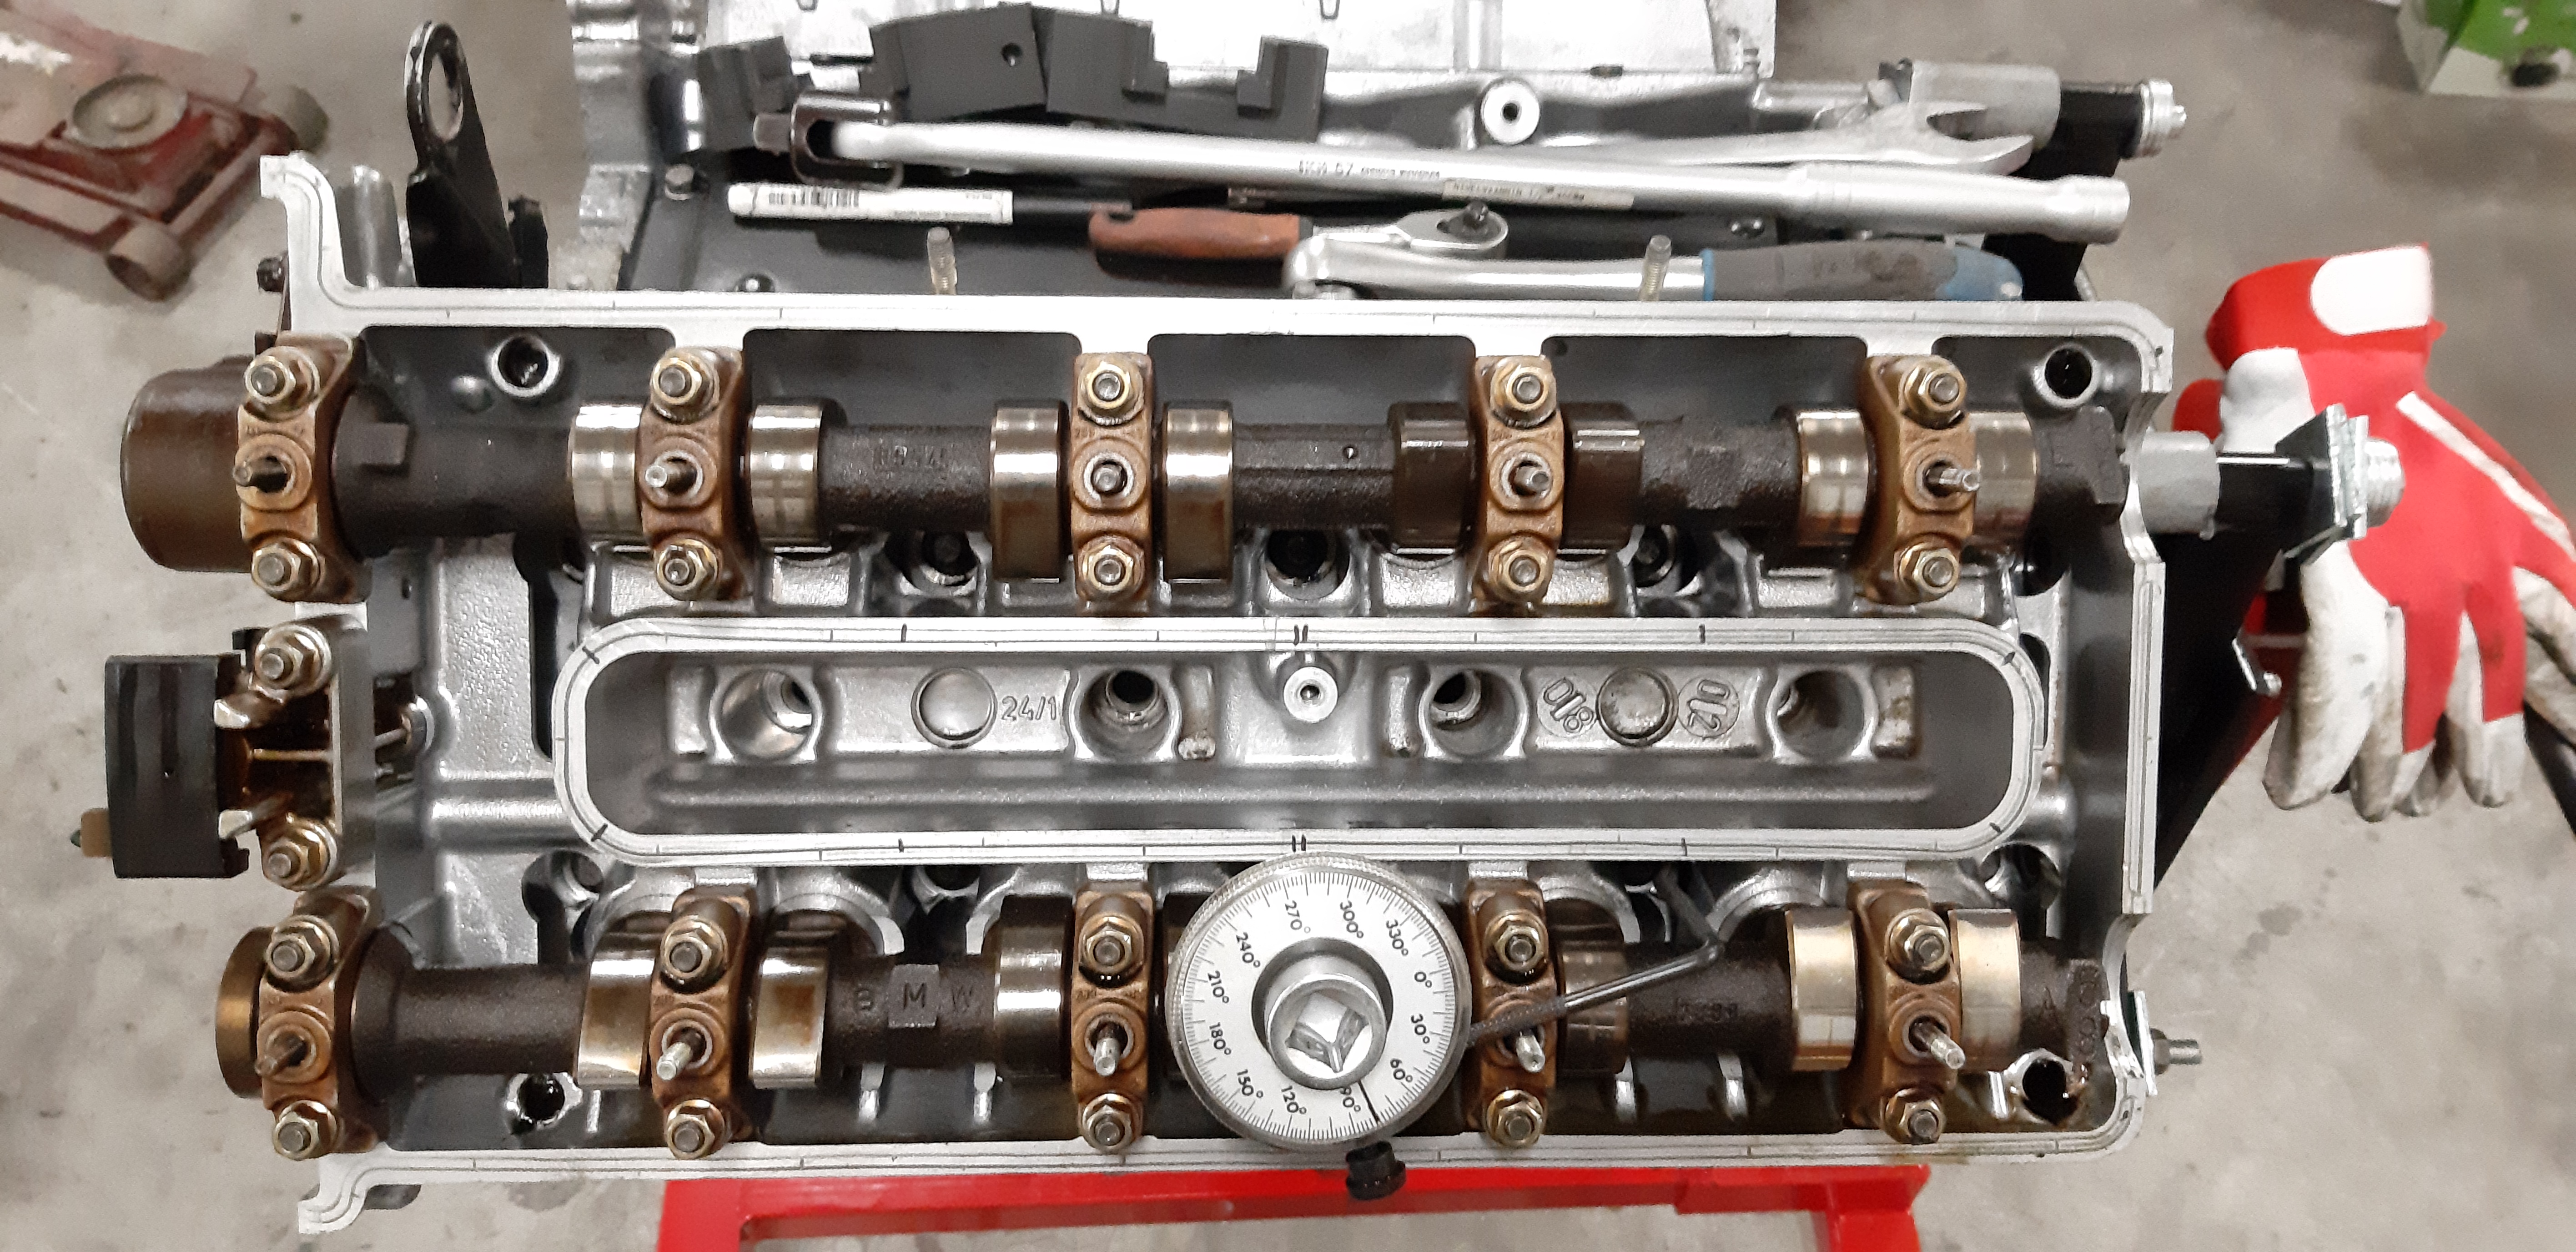
Tightening the heads. 3 sharpie signs marks the tightening is done. Better do it right.
Click image to enlarge


Heads done.
Click image to enlarge


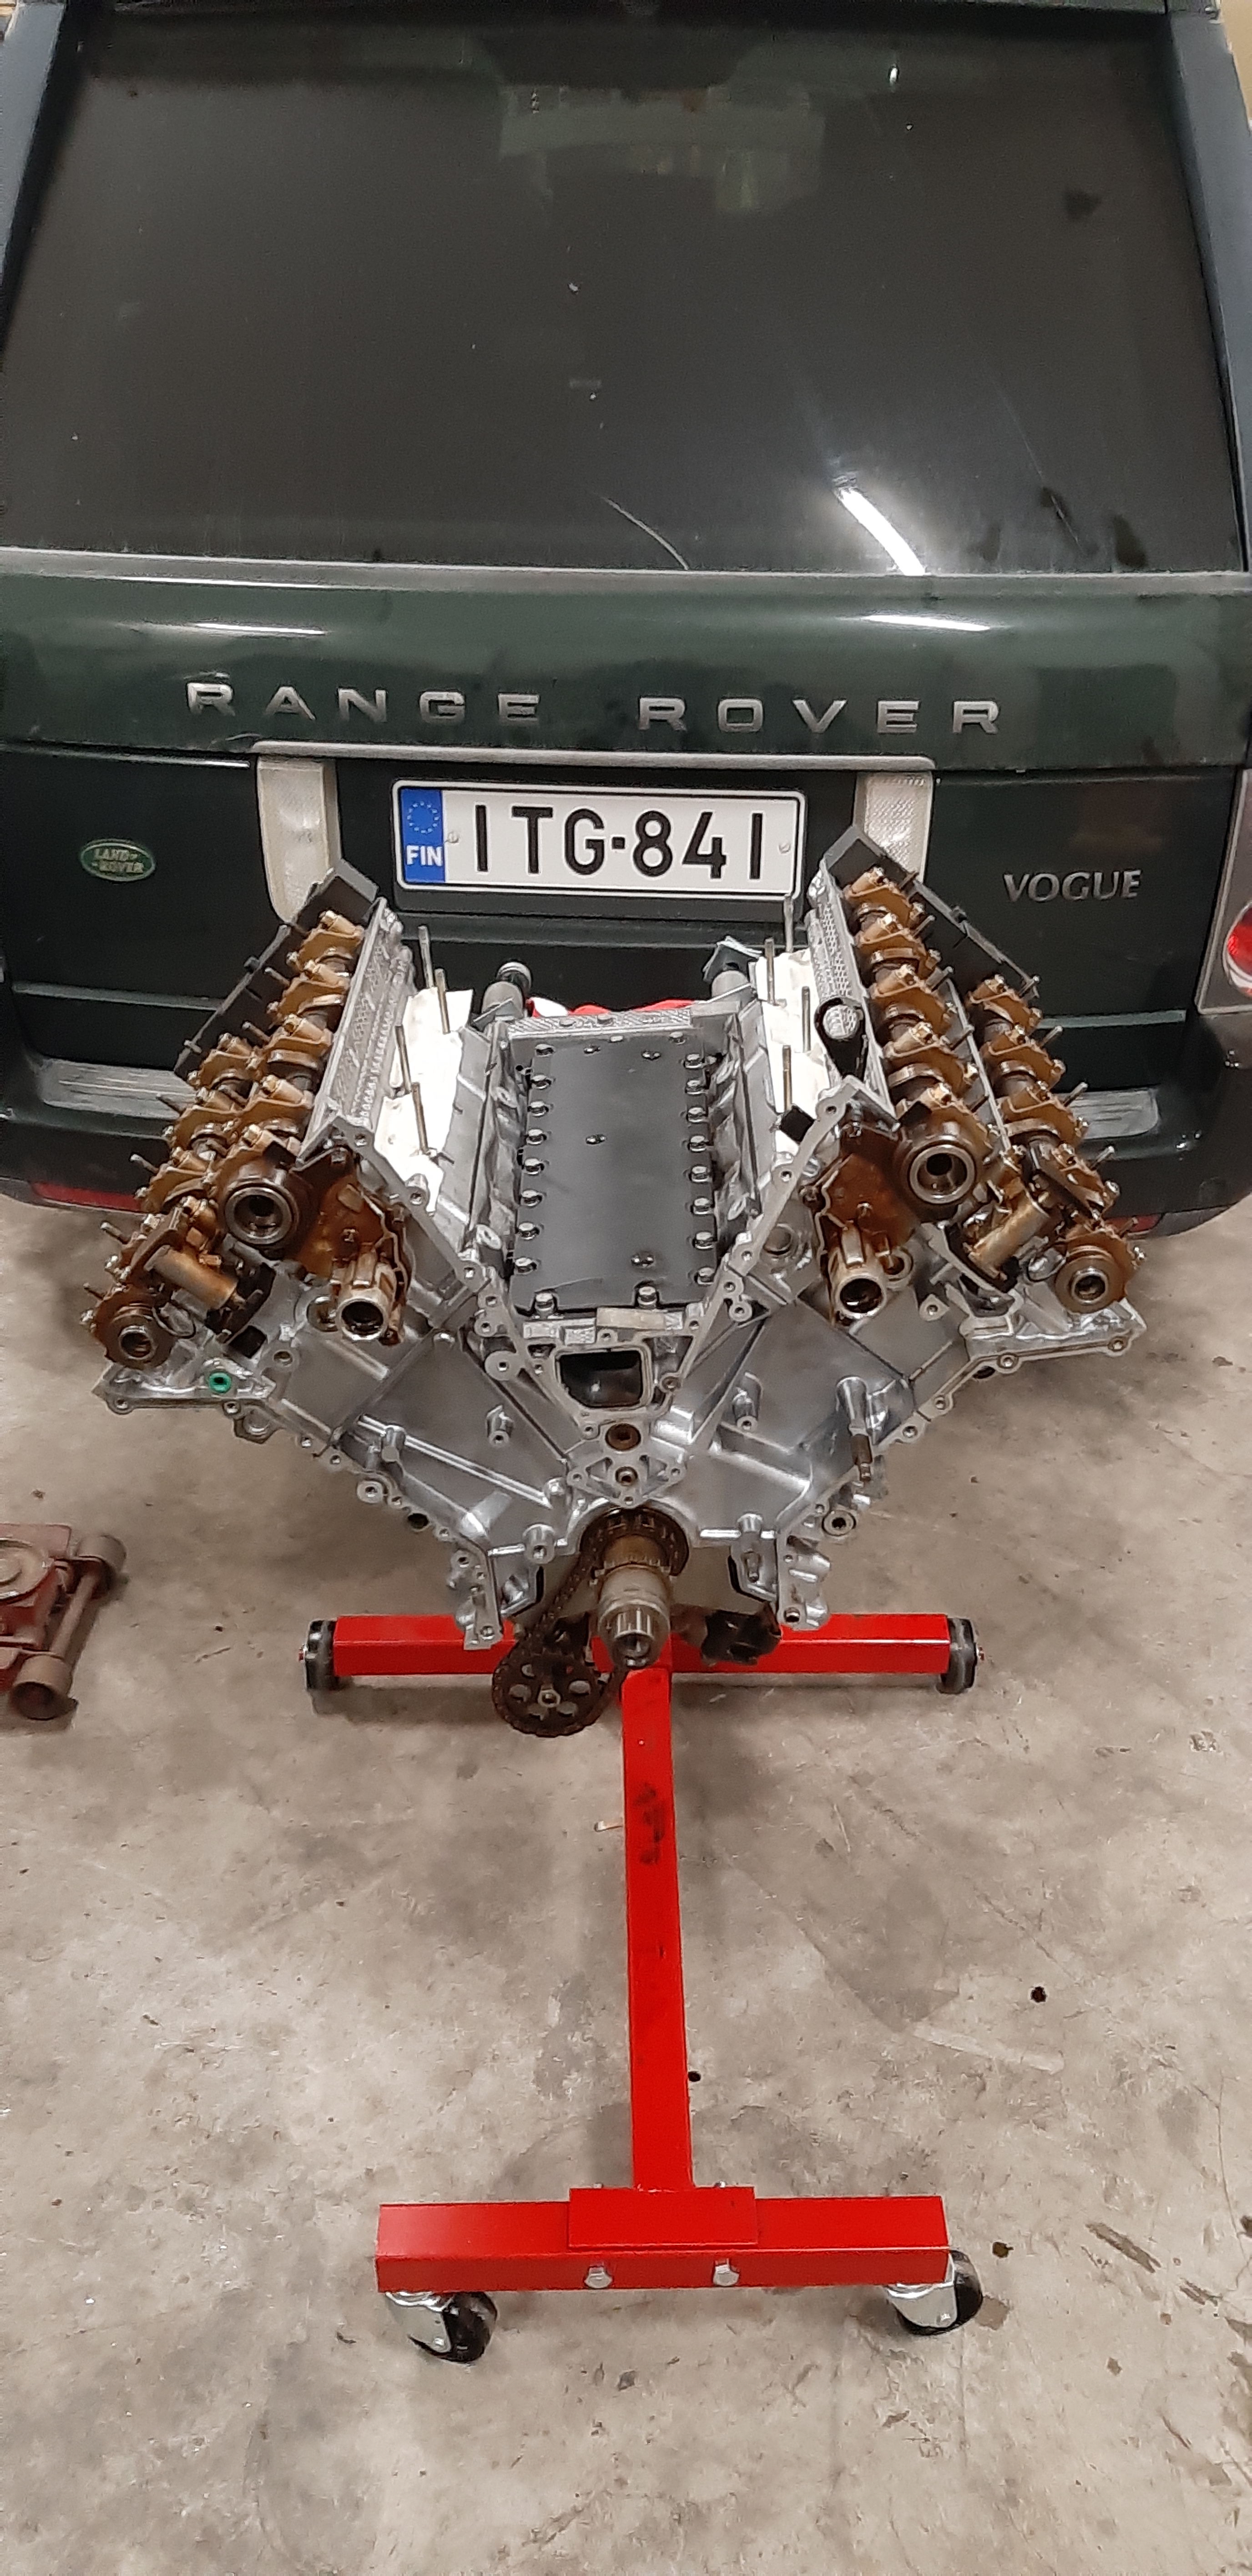
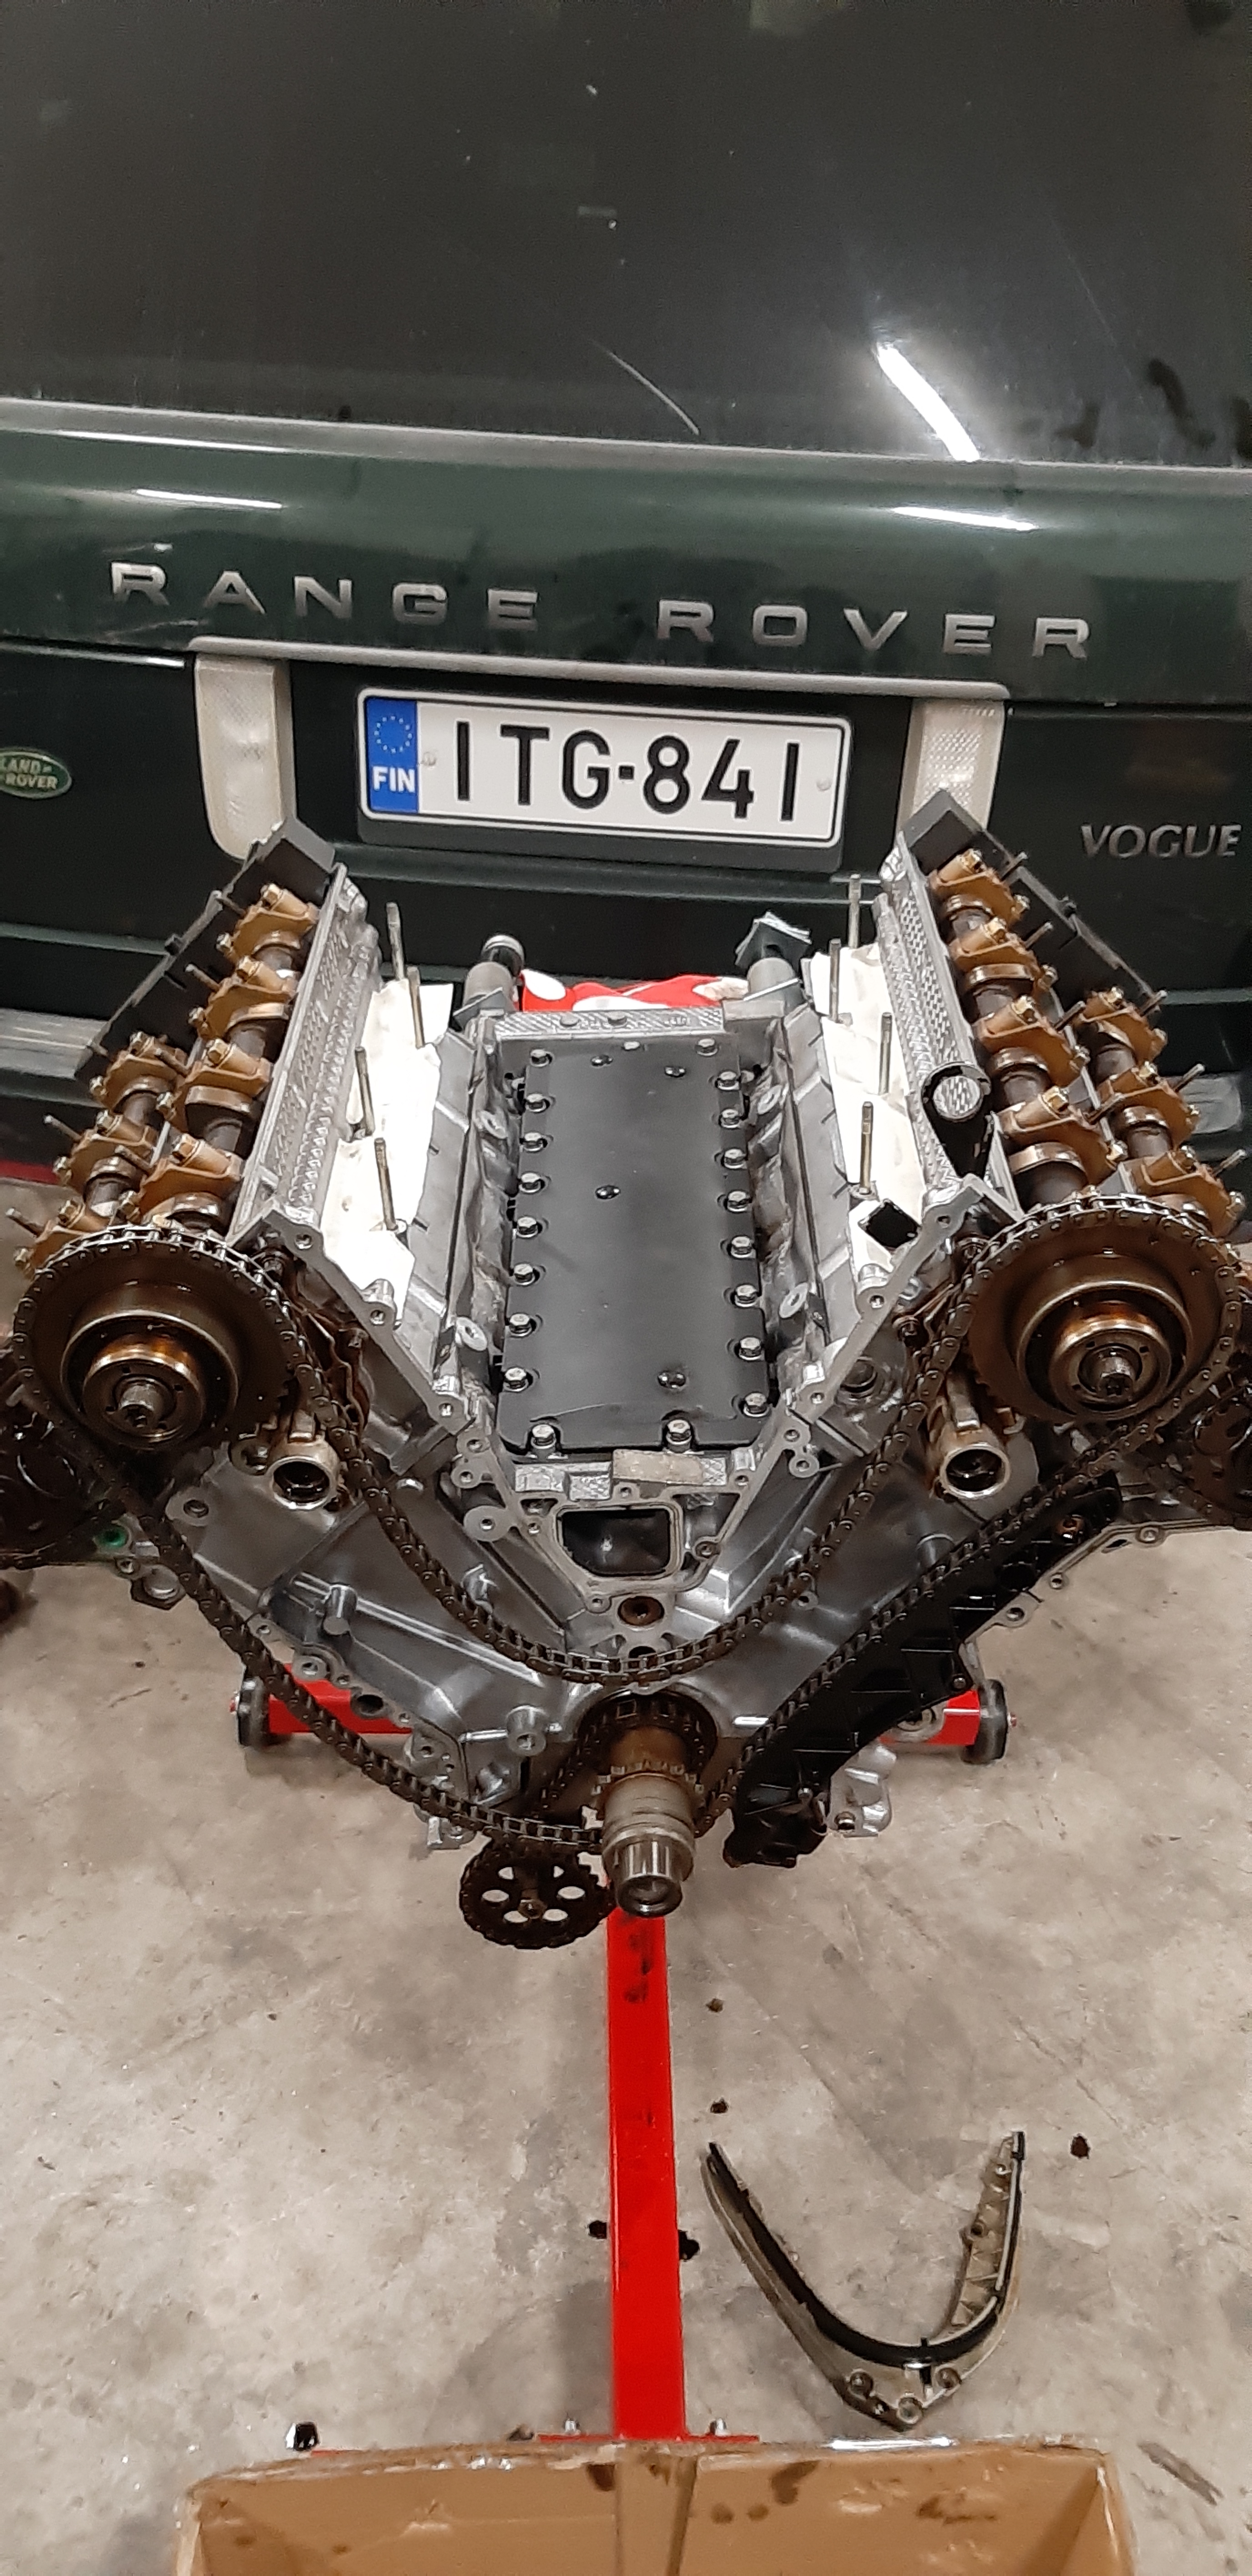
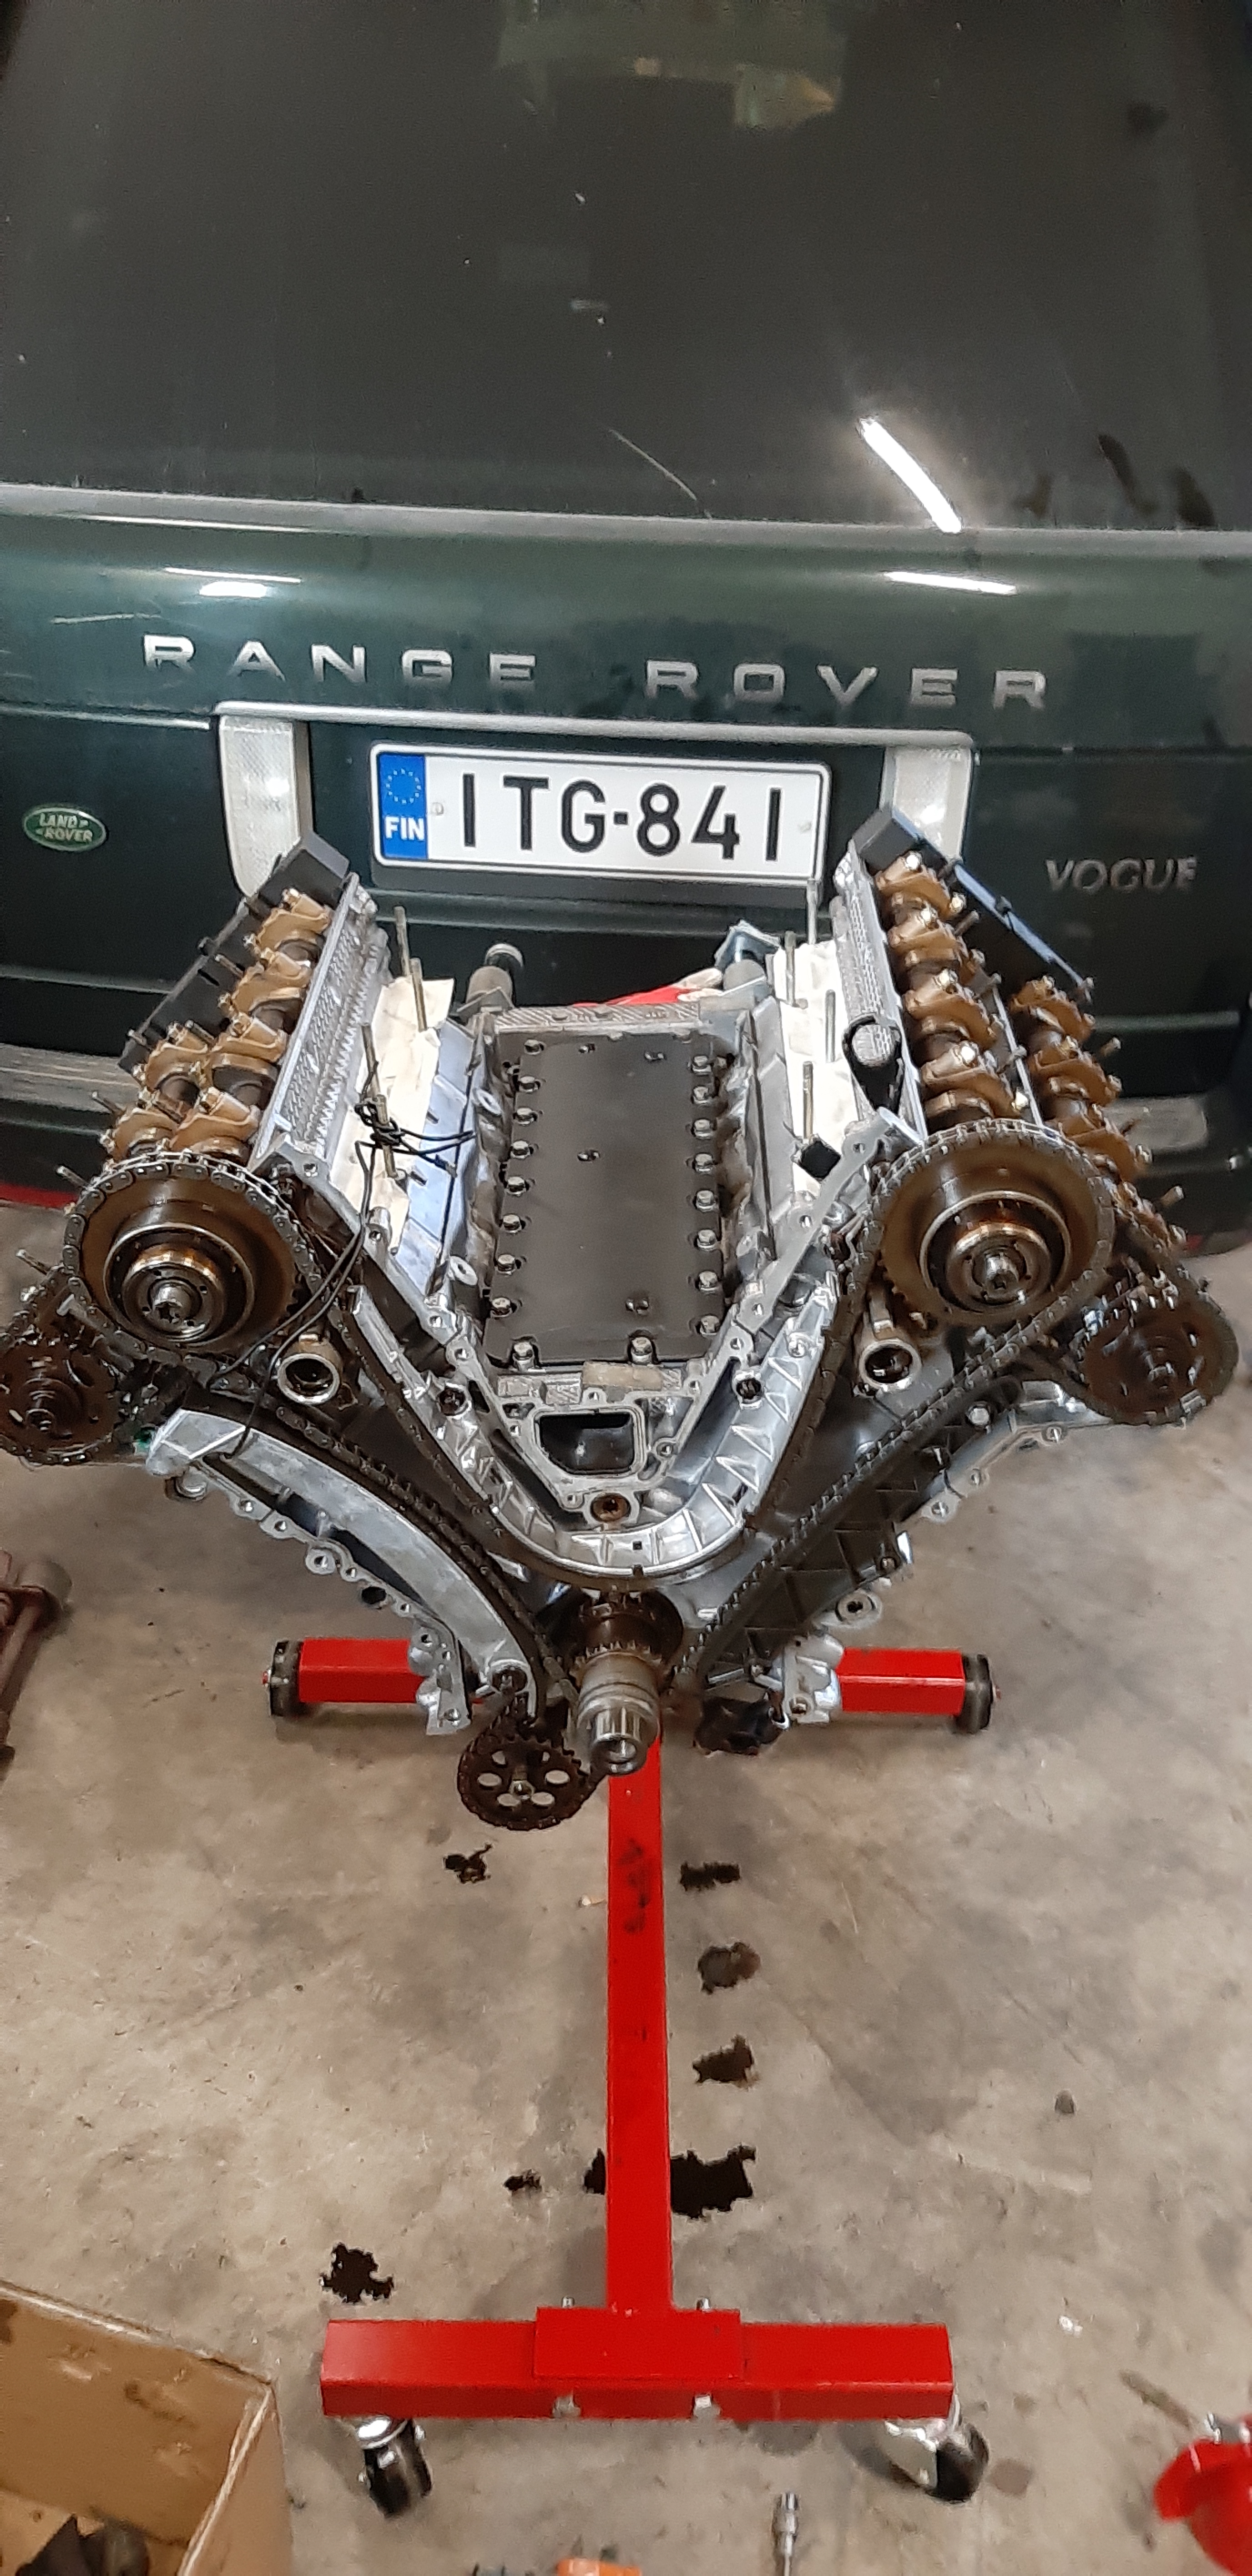
Fitting the chain.
Click image to enlarge


Chain rails.
Click image to enlarge


I wanted to install the lower front cover first and after that the upper oil sump was installed. This way there was a straightforward process of sealing the most critical seal after heads.
Click image to enlarge


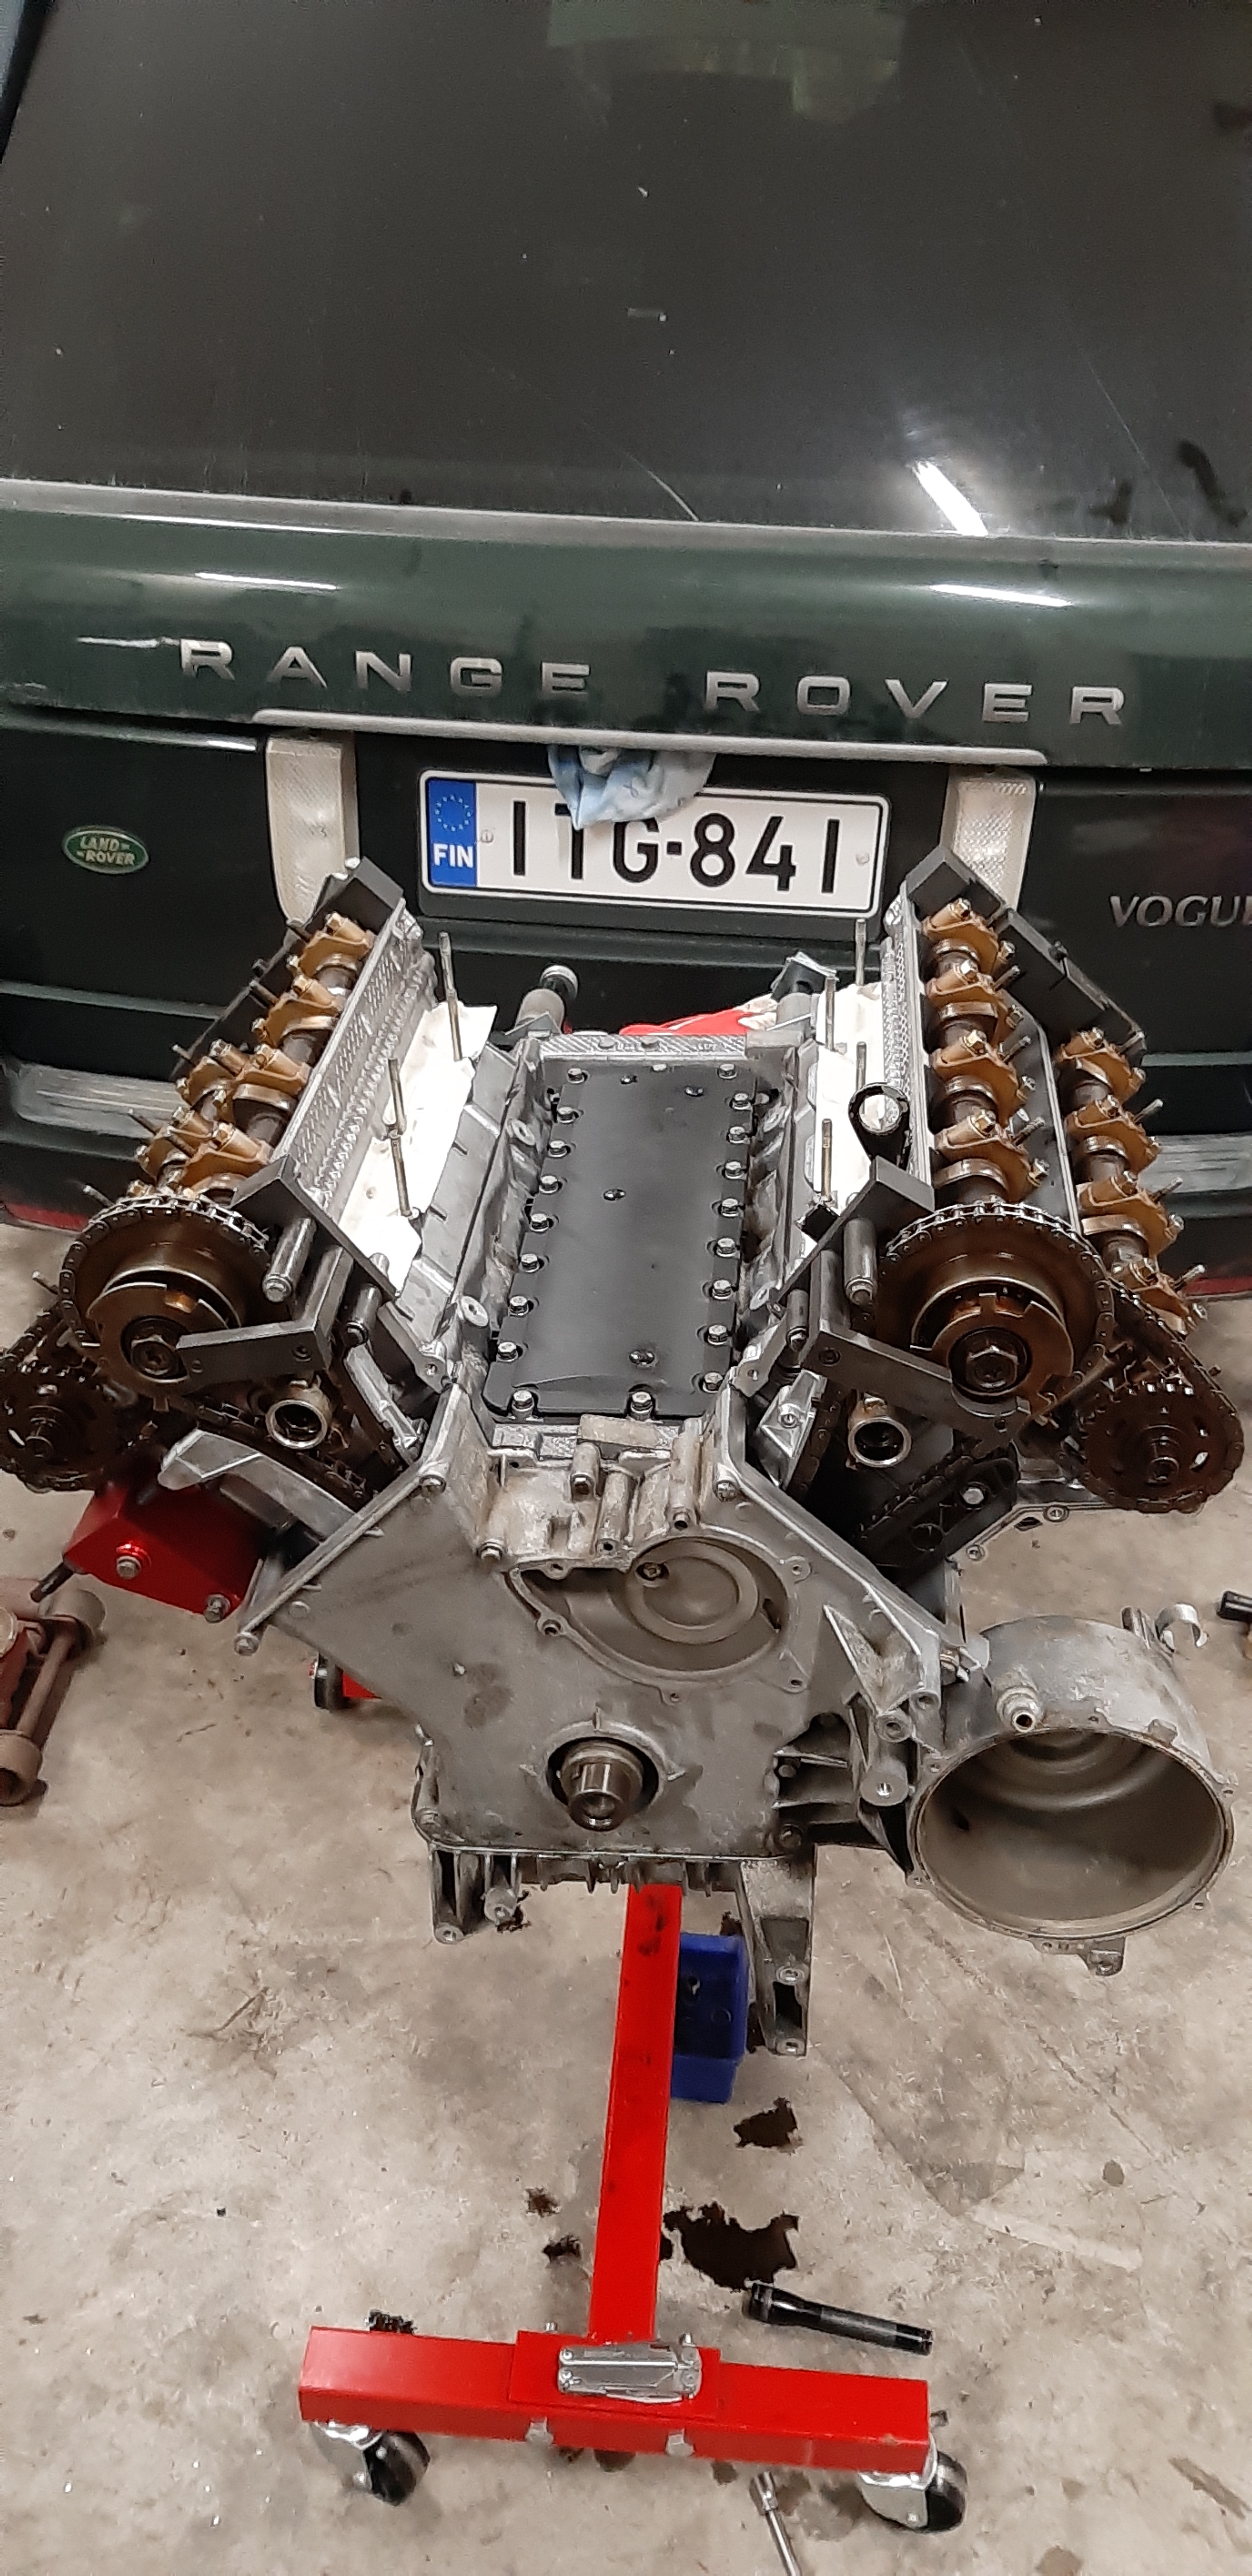
Timing buillding.
Click image to enlarge


Timing of the chain in a nut shell:
Lock crank in TDS.
Lock camshafts.
Tighten chain.
Remove play from VANOS to counter-clockwise. Tighten.
Install sensor plates with guidance tools. Tighten.
Done.
Click image to enlarge


Upper front covers. These should be tightened only after rocker covers are quite tight.
Click image to enlarge


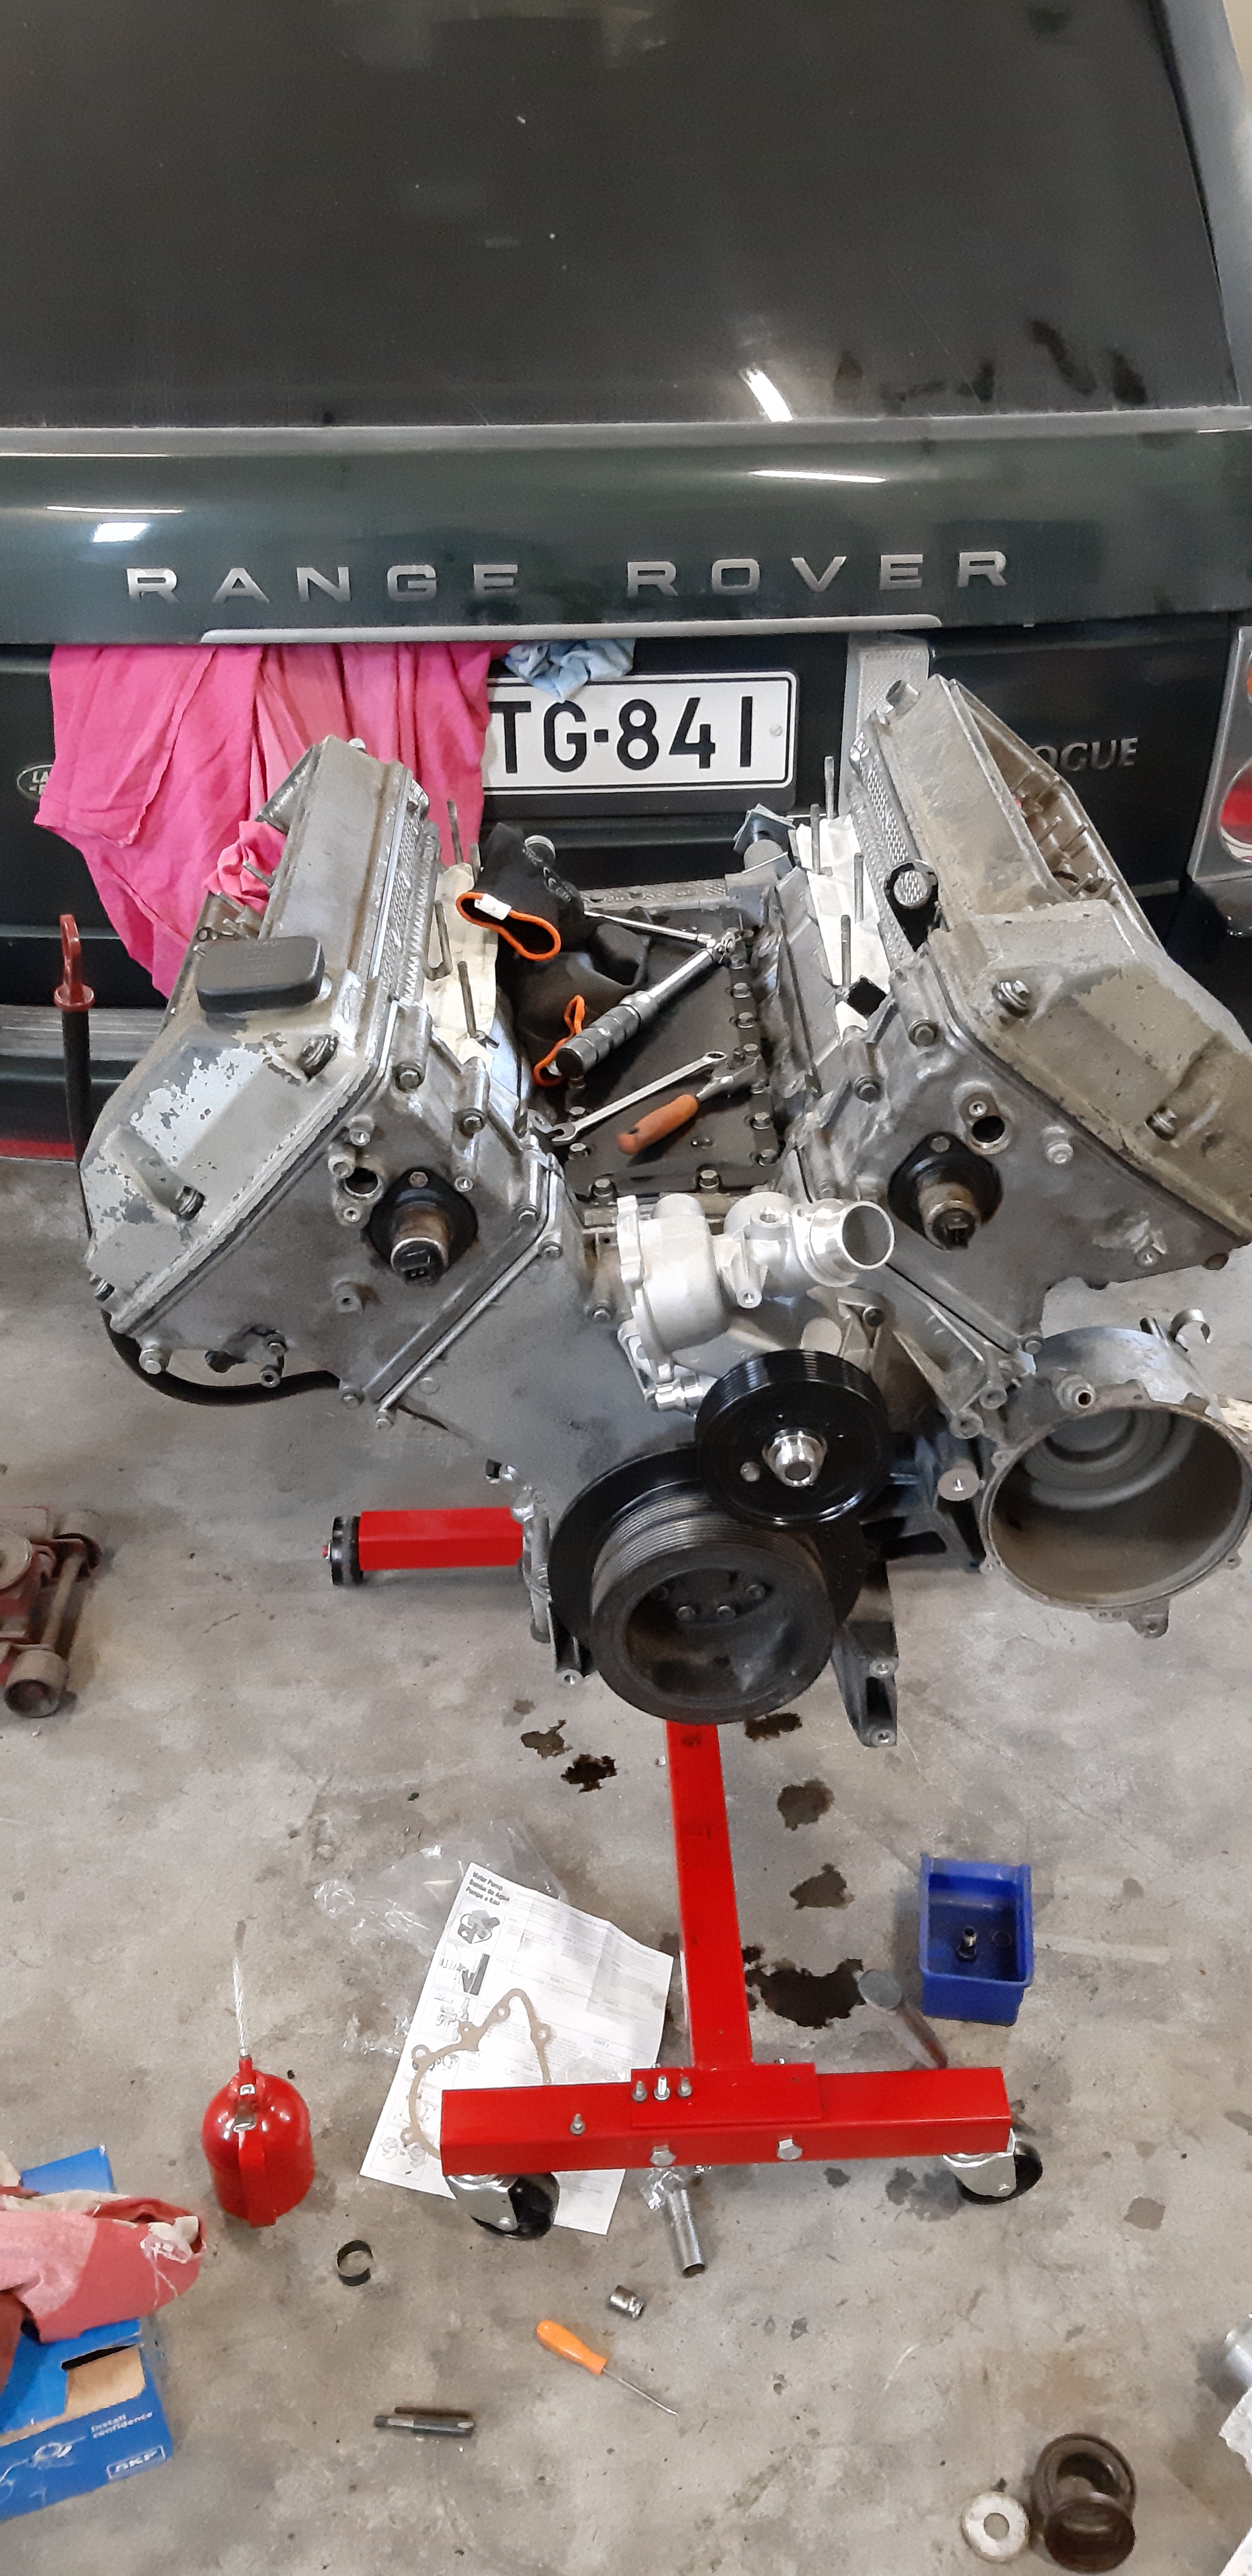
Rocker covers.
Click image to enlarge


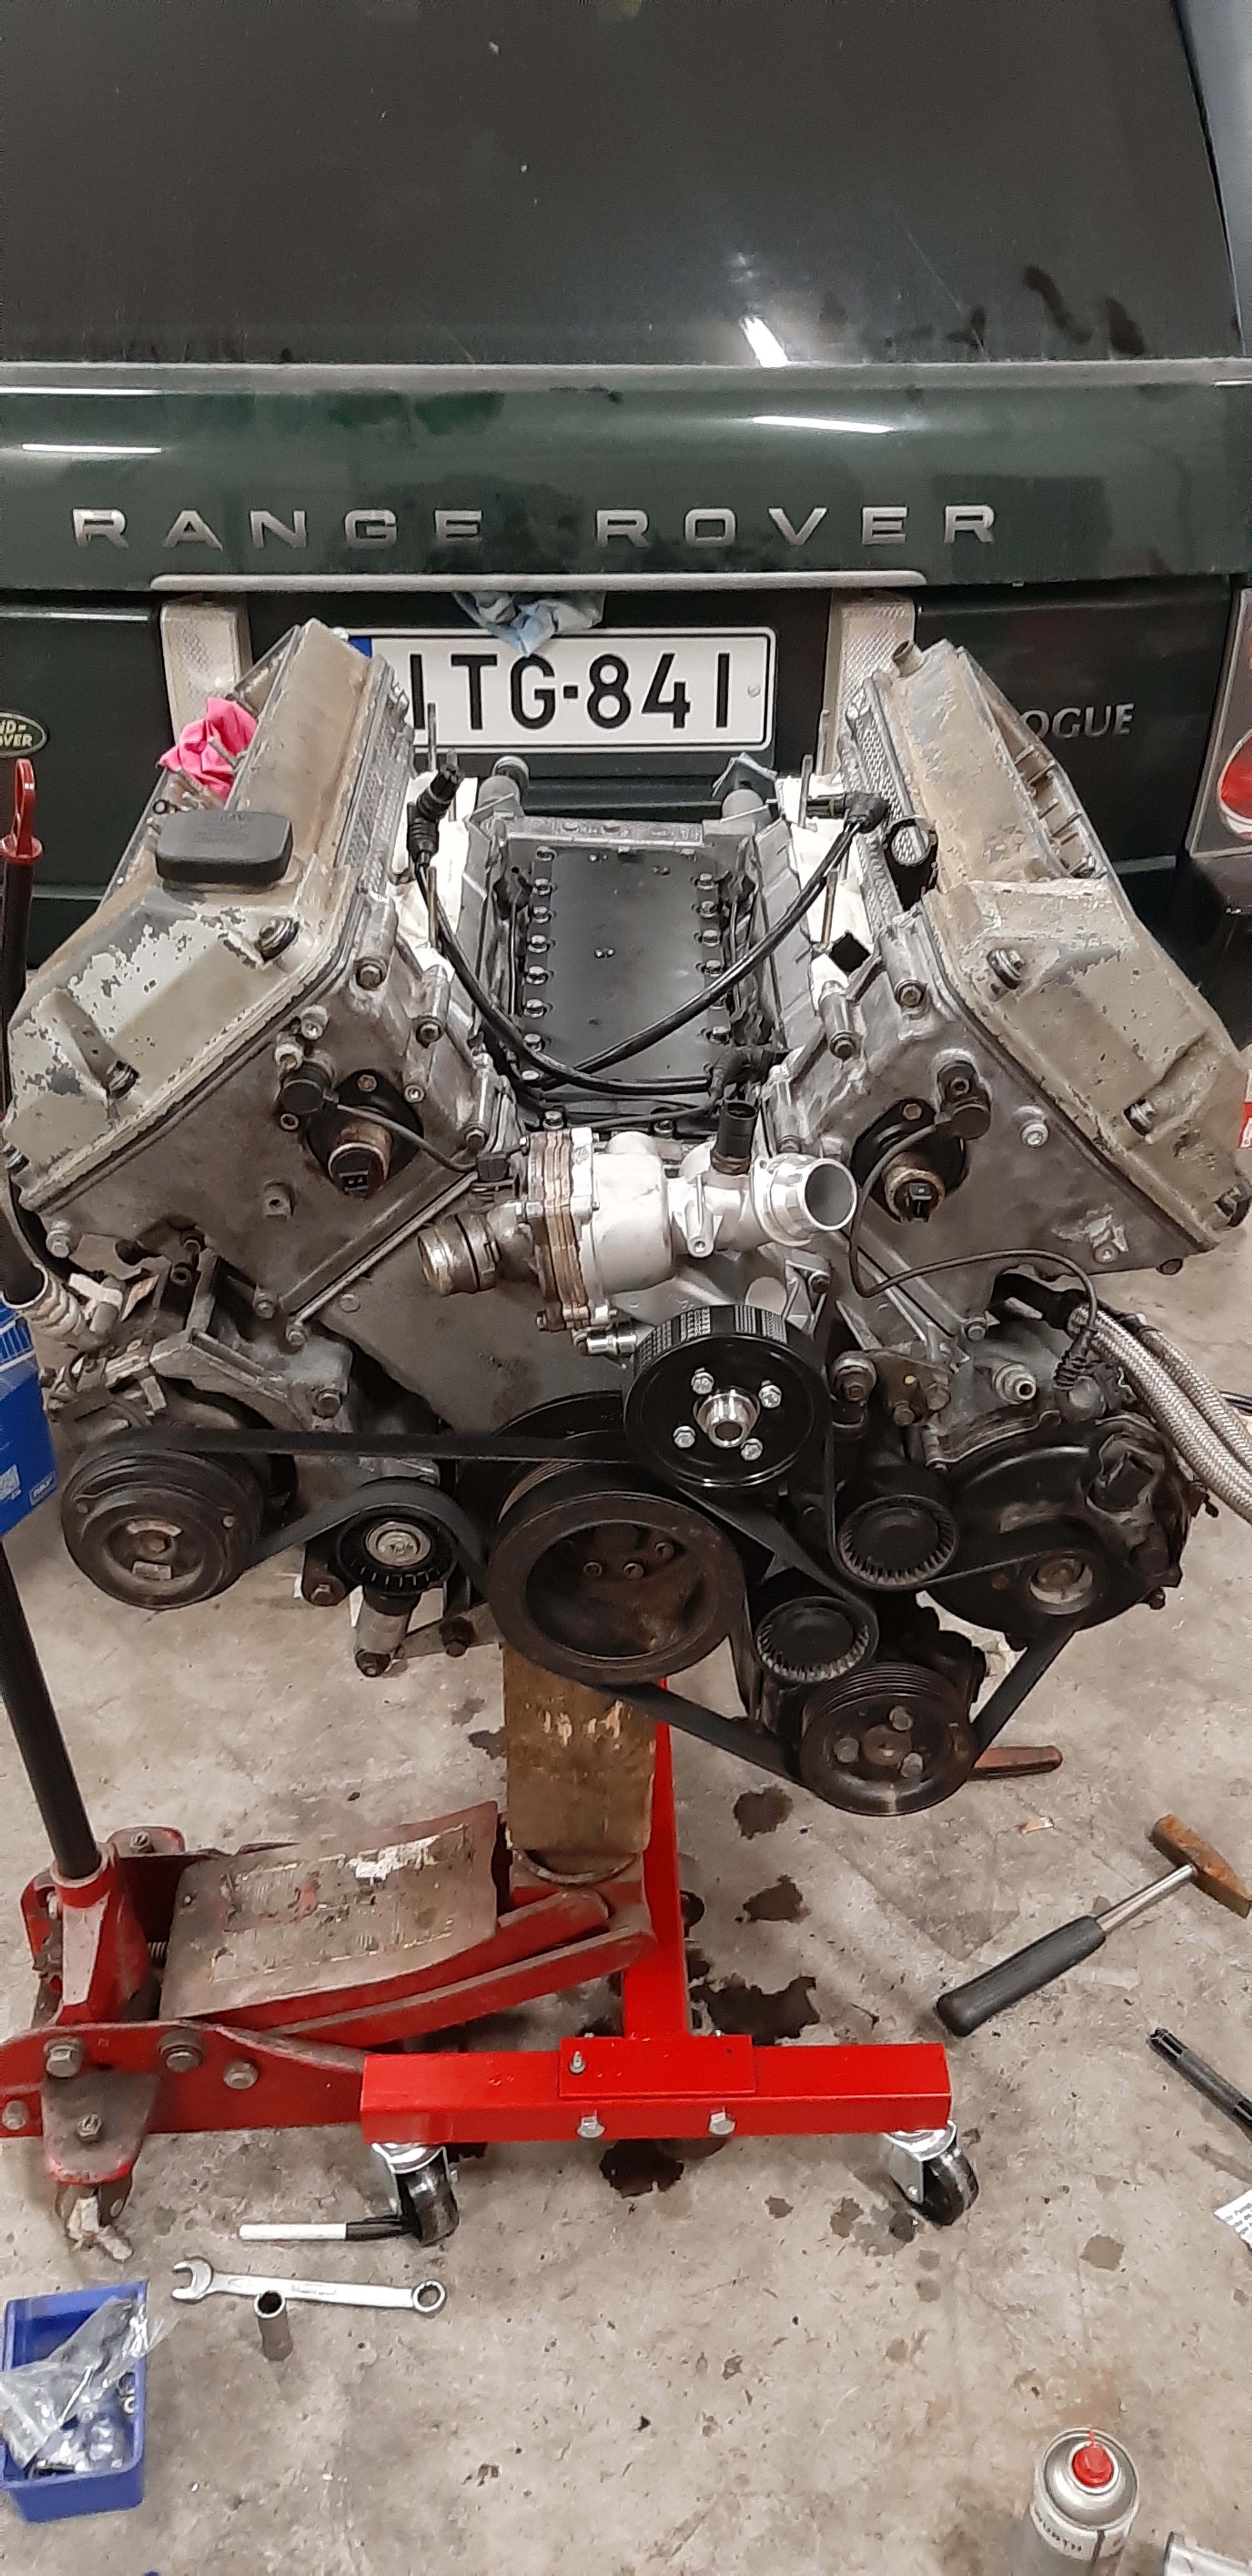
New water pump.
Click image to enlarge


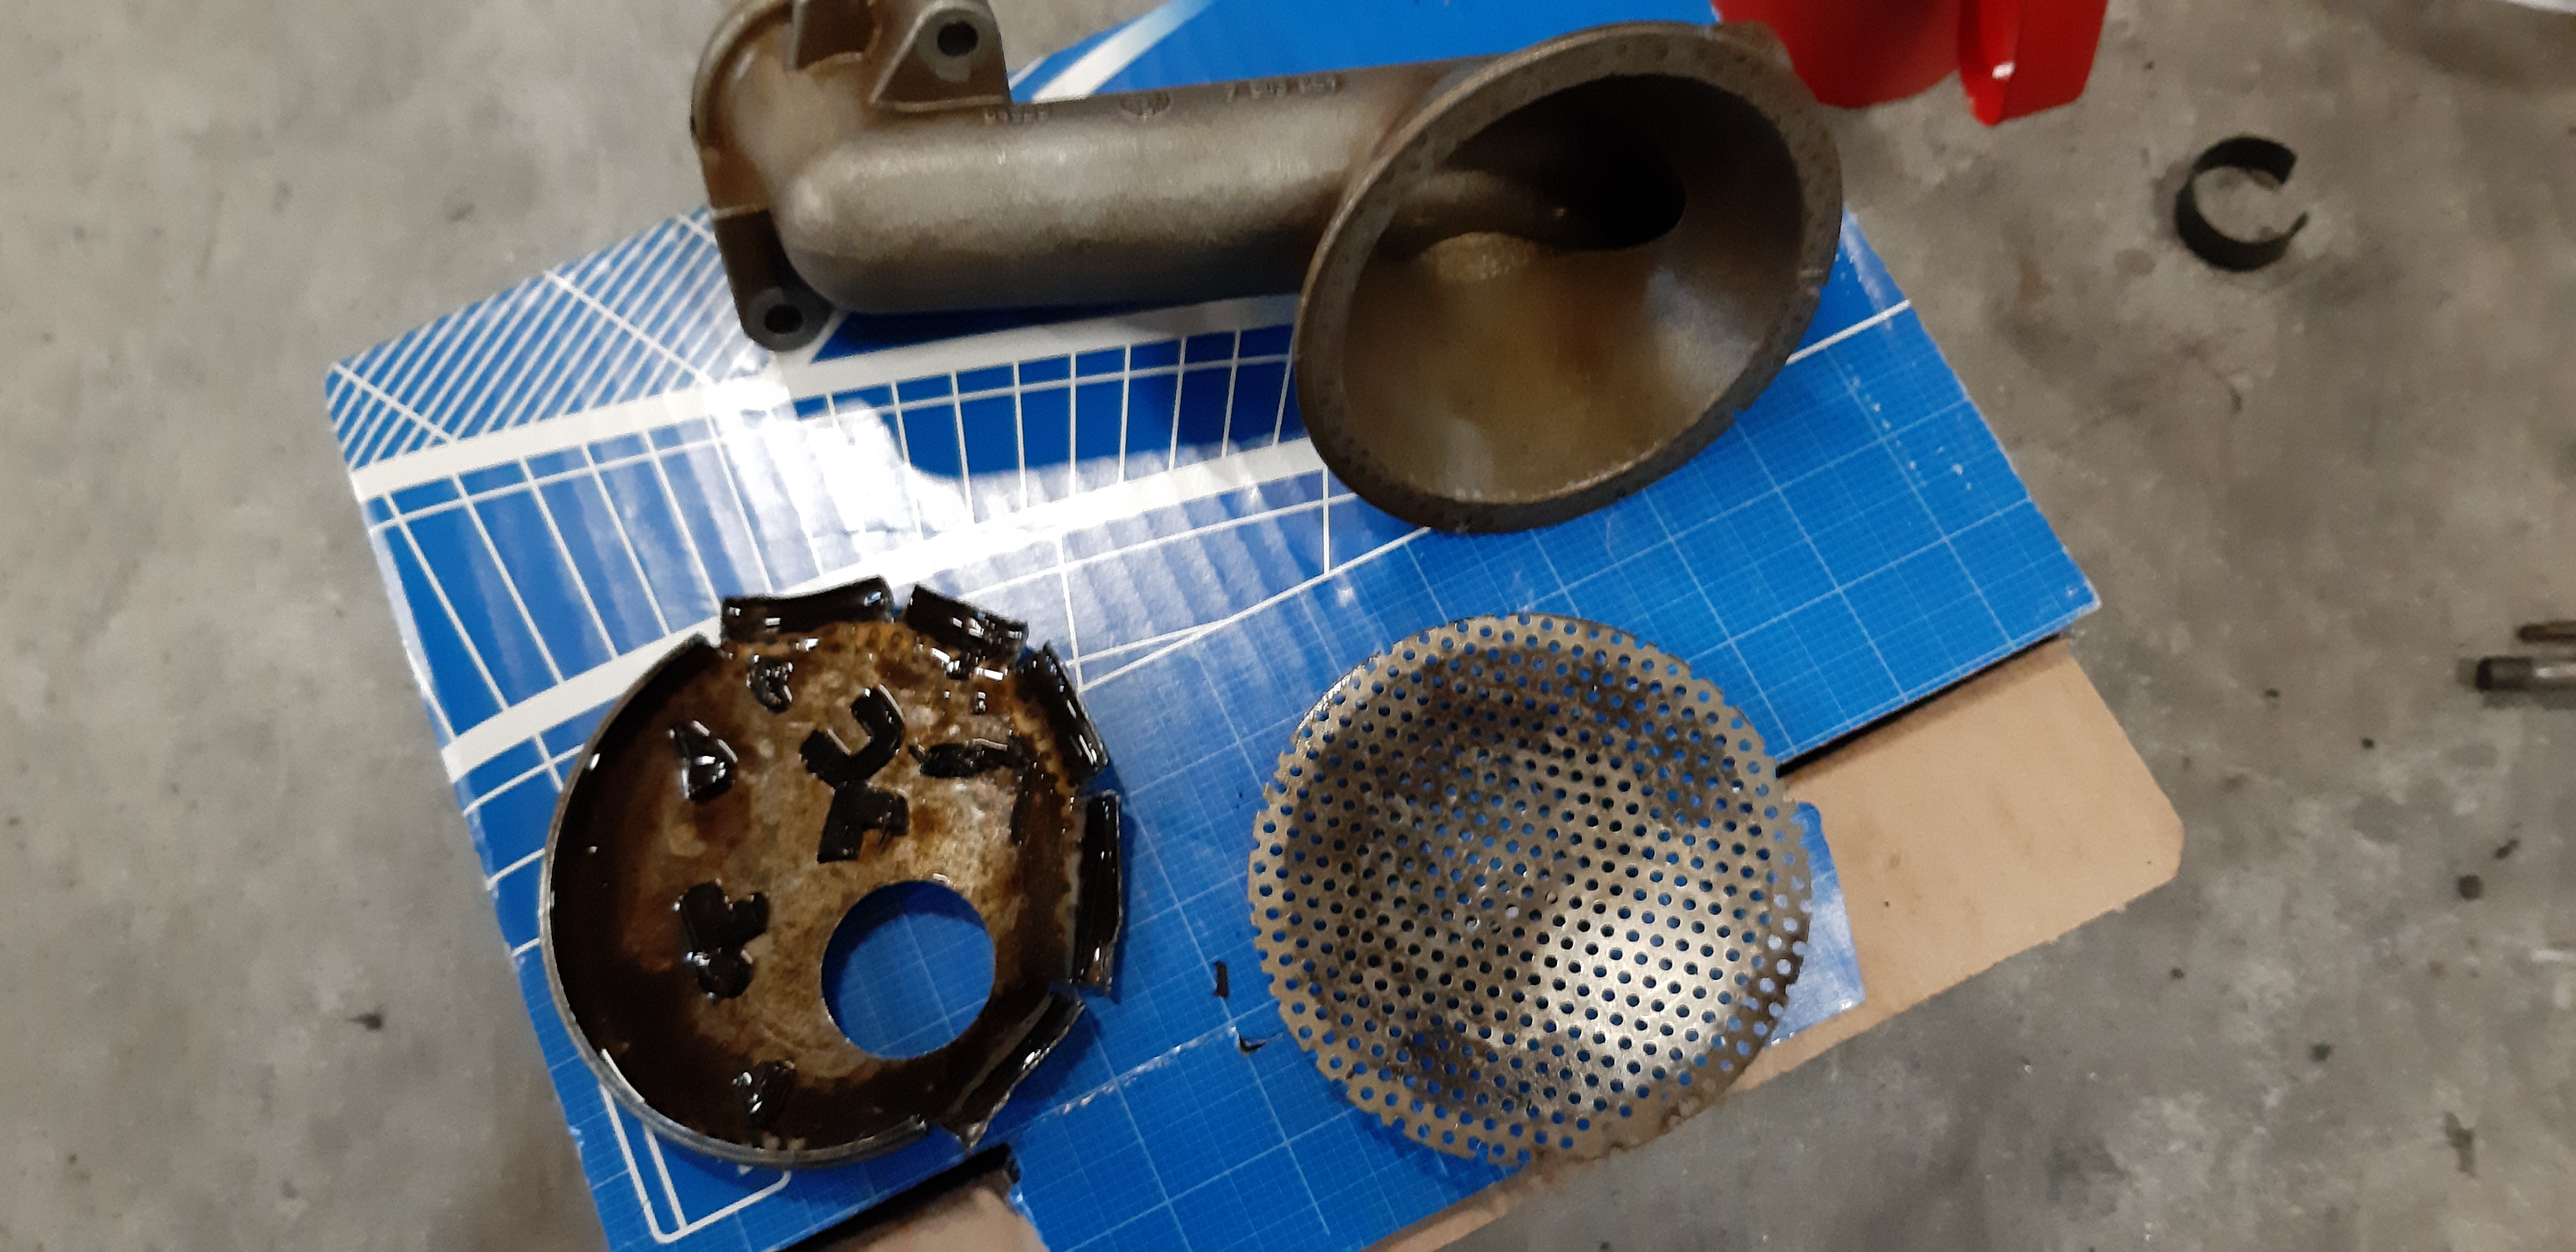
Oil strainer dismantled. You can see some history in there. No reason to leave these particled in there.
Click image to enlarge


Appliances intact. One roller was replaced and tightening spring. These are much cheaper to replace than the 'whole unit'. New belts naturally.
Click image to enlarge


Ready to land to its nest. Notice front diff already intact in the engine. Much easier than other way. All the radial seals were replaced in the diff.
Click image to enlarge


It went in like this. Next time I know to lift from the transfer box to help tilt auto box to be in level while seating the engine. Other than that, the rest was quite straight forward. Had to tap other VANOS solenoid with the flashlight to get it working.
Click image to enlarge

Post #572394 10th Nov 2020 8:01pm
View user's profile Send private message View poster's gallery Reply with quote
ChrisRRV


Member Since: 30 Jun 2020
Location: Belfast
Posts: 104

United Kingdom 2004 Range Rover Vogue 4.4 V8 Tonga Green

Have to click on images for some reason on my phone to see them but thats a fantastic result.

Did you not paint the rocker covers?

Great work ... once we get into our new home and I get a garage id like to attempt this myself.

Post #572401 10th Nov 2020 8:39pm
View user's profile Send private message View poster's gallery Reply with quote
kanikune


Member Since: 29 Oct 2017
Location: Teerijarvi
Posts: 28

Finland 2004 Range Rover Vogue 4.4 V8 Epsom Green

For some reason the pictures can be seen on mobile version while on (at least) Chrome needs mouse clicks to display pictures.

I did not got the rocker covers painted. Maybe should have. This was my first time opening the heads of the motor so didn't want to do all the details at once.

Post #572534 11th Nov 2020 7:39pm
View user's profile Send private message View poster's gallery Reply with quote
ohuntsman


Member Since: 21 Mar 2016
Location: Surrey
Posts: 337

United Kingdom 2002 Range Rover Vogue 4.4 V8 Zambezi Silver

Awesome build!!

Do you have info on how to time bank one camshafts?

I can only find info for bank 2?

Post #574633 30th Nov 2020 2:14pm
View user's profile Send private message View poster's gallery Reply with quote
kanikune


Member Since: 29 Oct 2017
Location: Teerijarvi
Posts: 28

Finland 2004 Range Rover Vogue 4.4 V8 Epsom Green

Have you downloaded RAVE from the wiki?
There in new Range Rover - Engine V8 - Repairs - Variable camshaft unit, both sides are described.

There is actually nothing special in it, really.
After heads are assembled and torqued to the block, both are timed the same way.
The text markings in the end squares of the camshafts are facing up. Then they just locked in position with the locking tools as displayed previously.
Those markings obviously should be rotated correctly before mounting the heads to the block.

Post #574672 30th Nov 2020 7:38pm
View user's profile Send private message View poster's gallery Post Reply
Post Reply  Back to top
Page 2 of 2 <12
All times are GMT

Jump to  
Previous Topic | Next Topic >
Posting Rules
You cannot post new topics in this forum
You cannot reply to topics in this forum
You cannot edit your posts in this forum
You cannot delete your posts in this forum
You cannot vote in polls in this forum


Site Copyright © 2006-2024 Futuranet Ltd & Martin Lewis
fullfatrr.com RSS Feed - All Forums


Switch to Mobile site