 | Home > My Range Rover > Project Fatty off roader....PICTURES NOW BACK |
 
|
|
|
| Haylands Member Since: 04 Mar 2014 Location: East Yorkshire Posts: 8527  
|
The original bumper bolts to holes through the rear panel, the panel is a triple skinned 4" deep box section with sleeved holes, it is also designed to resist impact, not to provide the pulling forces a winch can produce, there are also two large brackets that form part of the tow bar fitment, these are designed for pulling... 8mm plate has been used flat against the rear panel to joint all the mounting points together to provide the necessary strength for the winch.... The bumper bar is designed to withstand a certain force before bending, then another force for total destruction, the rear of the FF must be designed to withstand this force without bending or it would share some of the impact and deform to a lesser degree, just because the crash bumper is the first thing hit does not mean it takes the brunt of the impact, it is the design of it that allows it to deform....
|
||
|
| johnboyairey Member Since: 11 Jan 2013 Location: surrey Posts: 2035  
|
Just looking at your pics again. You have done a really good job. Just to add a comment, for other members to note: I was discussing towing a car with someone, an the topic of towing 'eyes' came up. (Little loops at front and rear of all cars these days?) these are just for strapping a car to a flatbed, or for removing from crash scene/ditch. Not for towing your wife home, coz she left the lights on etc. you can tear a boot floor open trying to tow a car home on these.
|
||
|
| Haylands Member Since: 04 Mar 2014 Location: East Yorkshire Posts: 8527
|
Just another update to keep the thread together... plus more detail and pics of the front bumper construction...
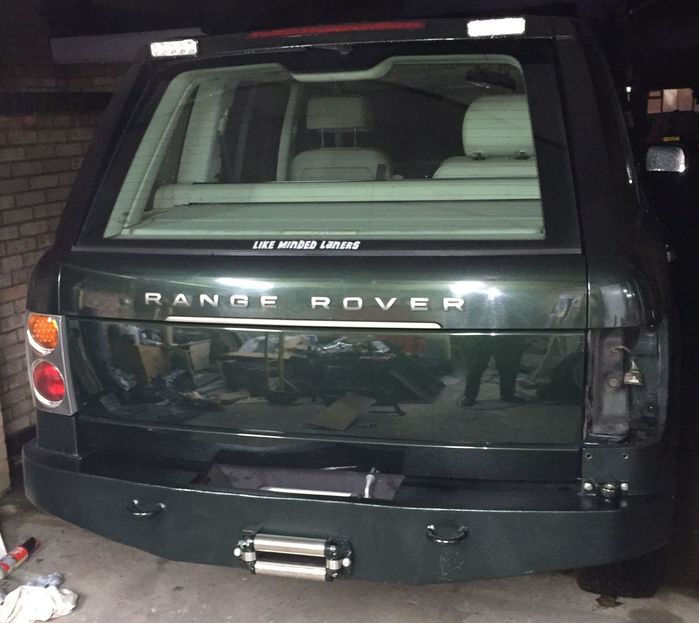
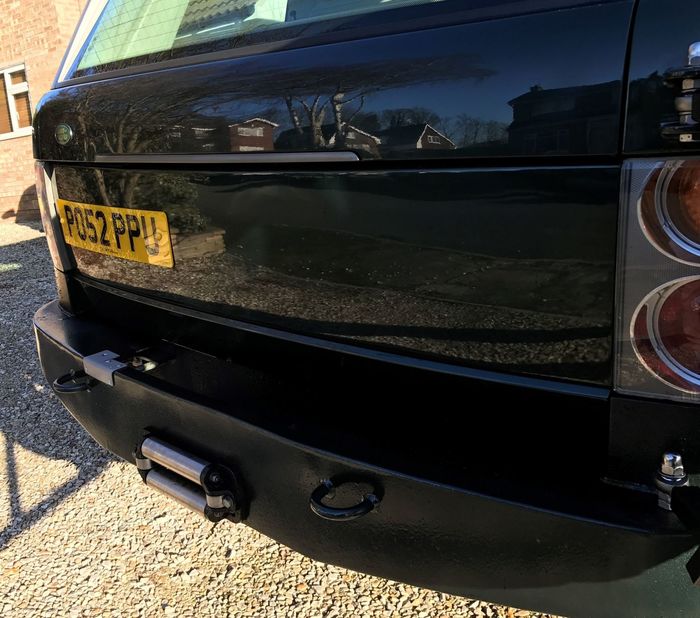
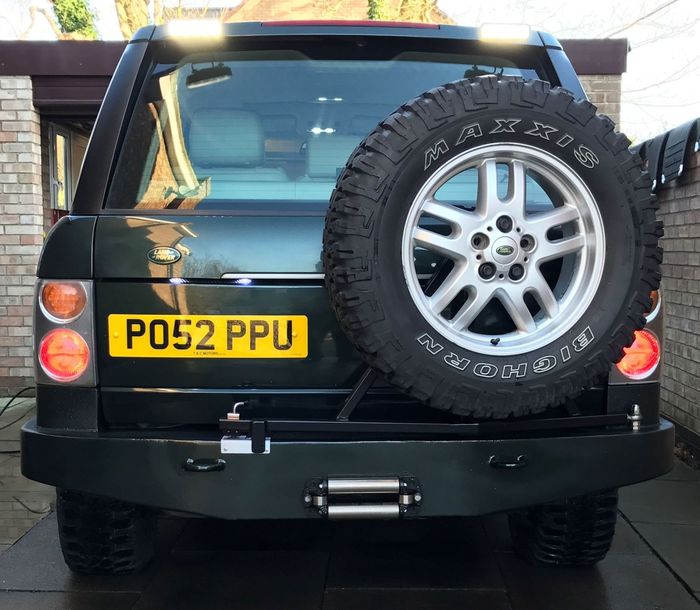
Rear just about finished, winch in, de badged as it just read "RAN" with the wheel in place, number plate moved, finished it off with the LandRover Oval... not too happy with the wheel carrier, really needs a top mount, the saddle clamp bearings saddle is not man enough for the job and it's flexing.... will sort one soon... Waiting on some wheel nuts as well....
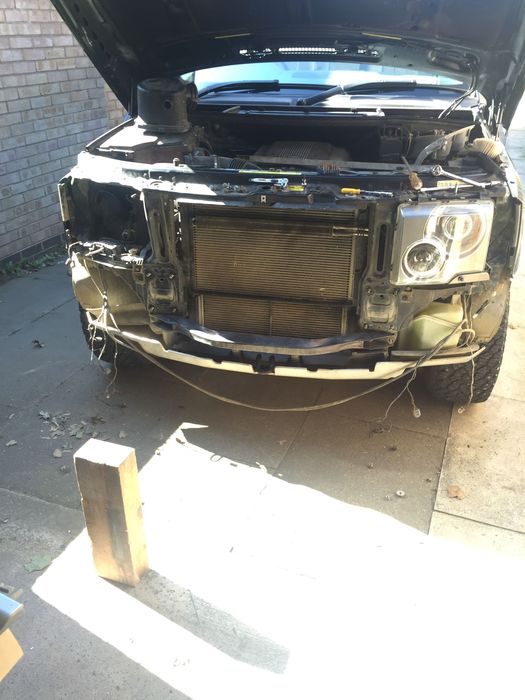
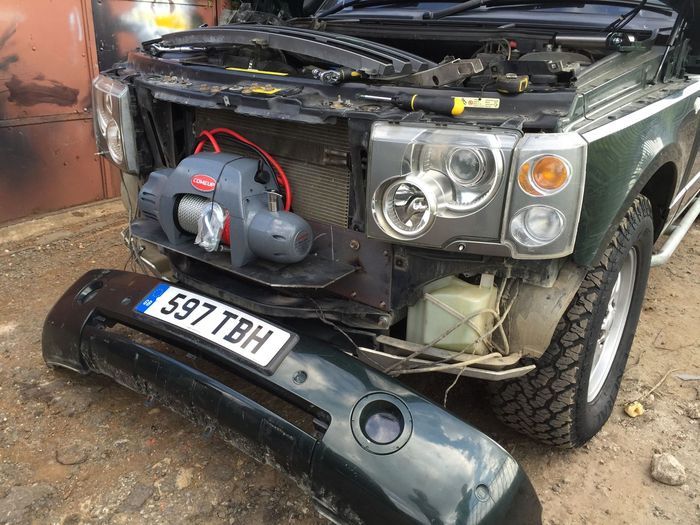
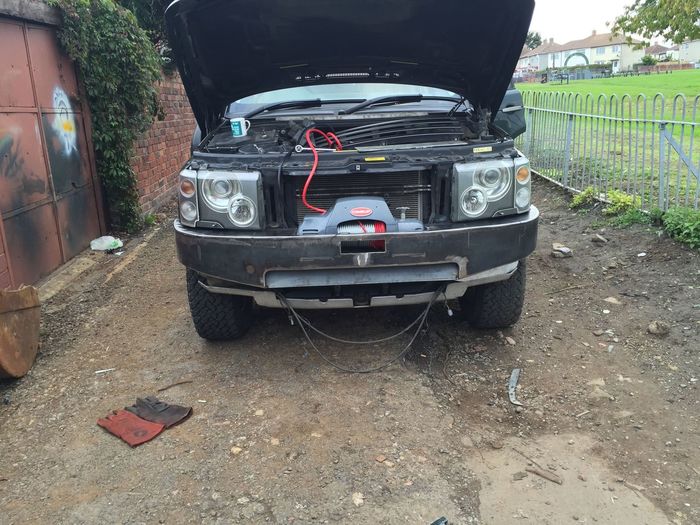
Had a look at the front, plenty of room for the winch once all the superficial plastic removed and the air con fan, don't need it any more since fitting the electric fans to the other side of the rad... It won't stick out any further than the original bumper... 8mm plate drilled to fit the original mounting holes, then 4mm winch plate welded to that, then start building from there...
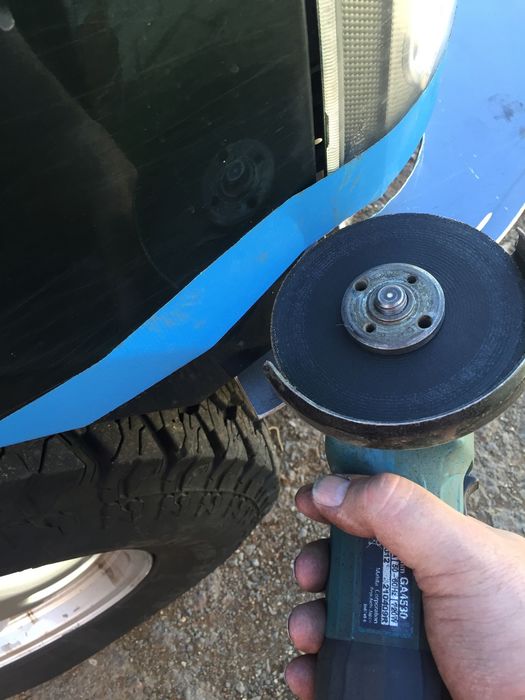
Decided to cut the bottom off the front wings, much easier to do it that way...
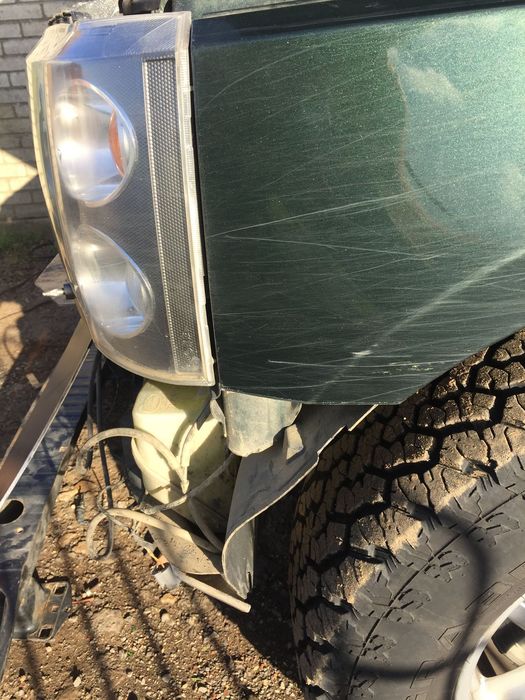
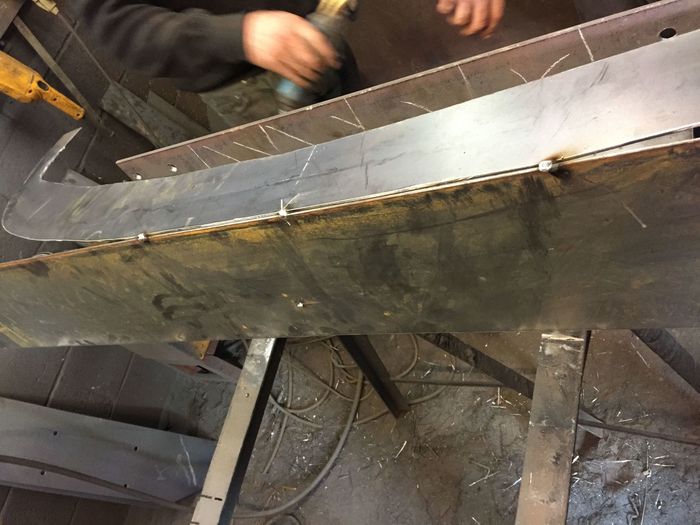
Poor little Rangie looked a bit sad.... This is the top section made with a template from the original bumper with the ends modified to stick out past the wing a bit
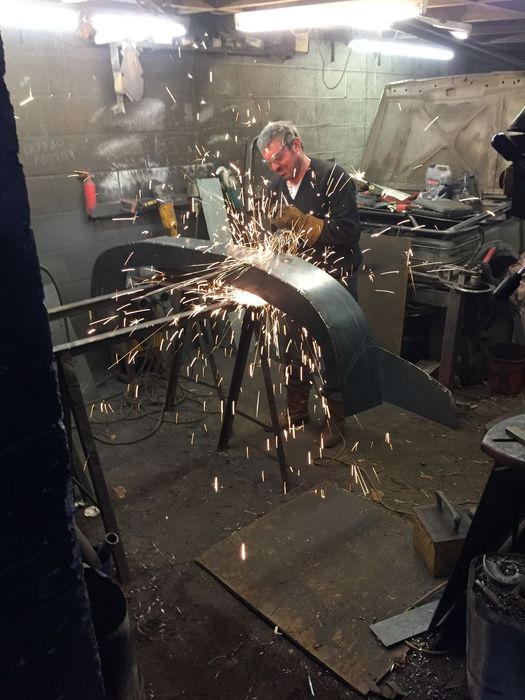
Welded the front to the winch tray then the front to the top, weld and bend as you go, takes a lot of effort to get a smooth bend and not a kink..
Action shot... weld dressing...
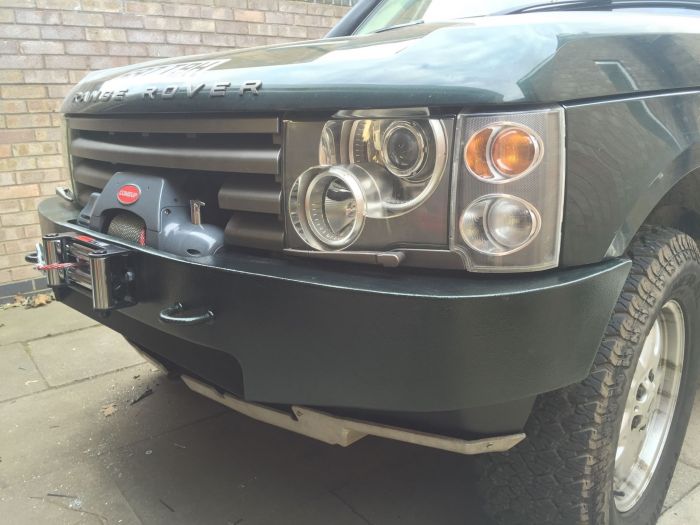
First fit of bumper, note the extra long front piece at the sides to help with bending... 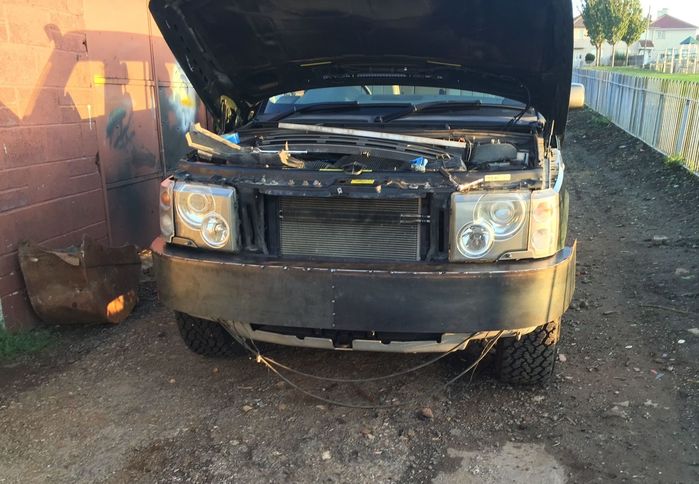
Cut out the front detail, this is for aesthetics to stop it looking so slabby and to help airflow as well as bolt the winch on... Also welded a return to it, makes it look so much better, this is all just tacked in place,
A hole cut for the winch with nice contoured edges, again with a return welded in place
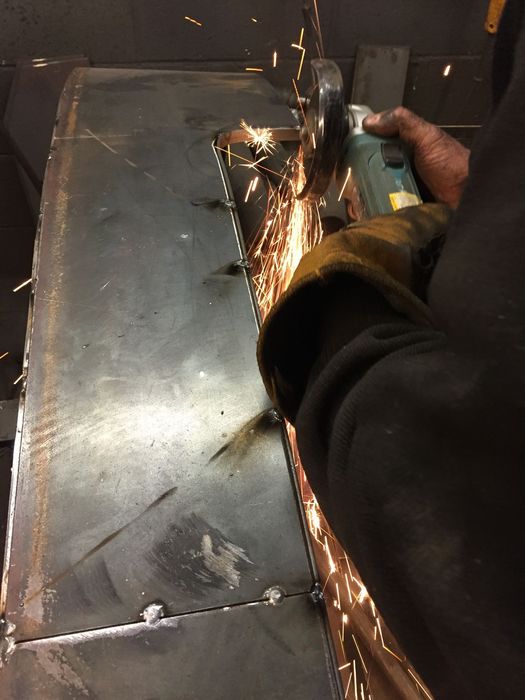
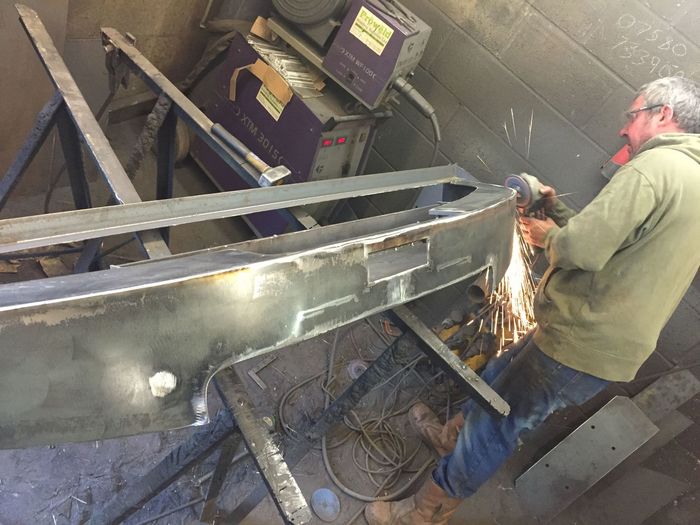
It was all seam welded and ground back, gives the final bumper incredible strength...
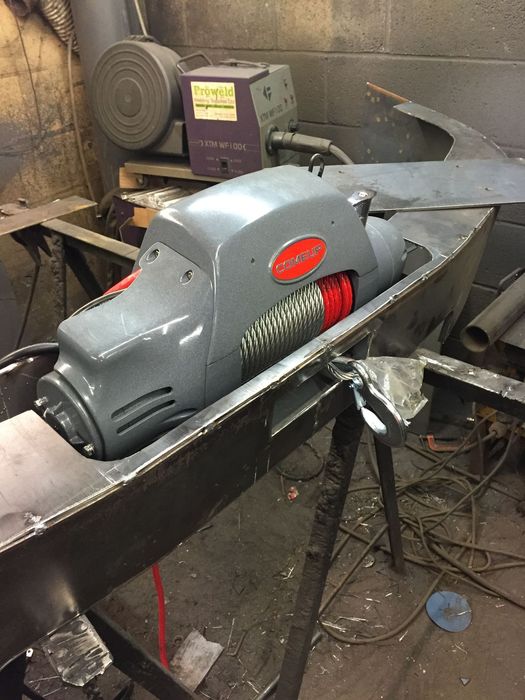
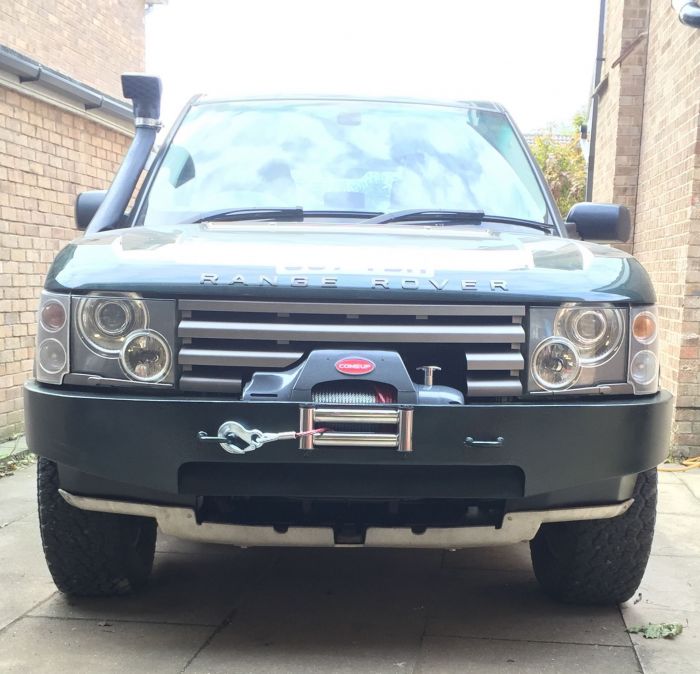
All done now, fully cleaned up, stone chipped, top coated, winch fitted. Had to cut the grille around the winch, the large hole is for access to the winch free wheel and also to connect the winch control.
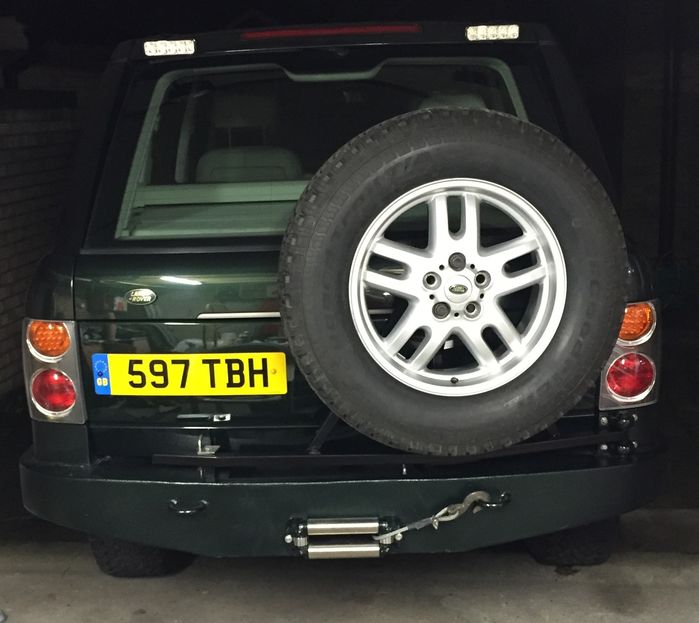
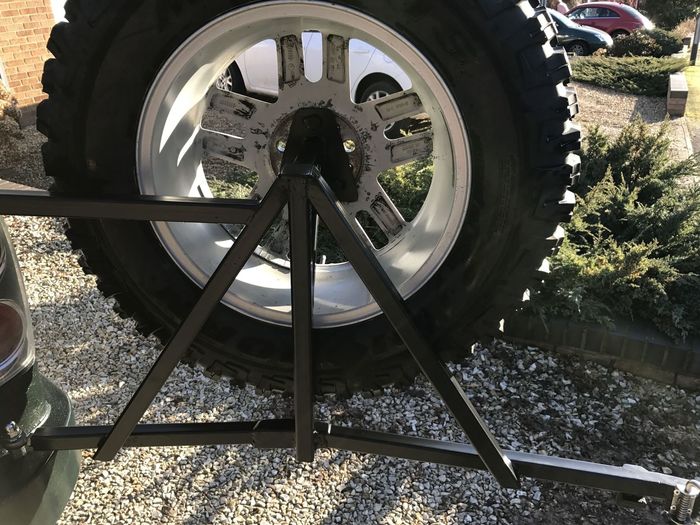
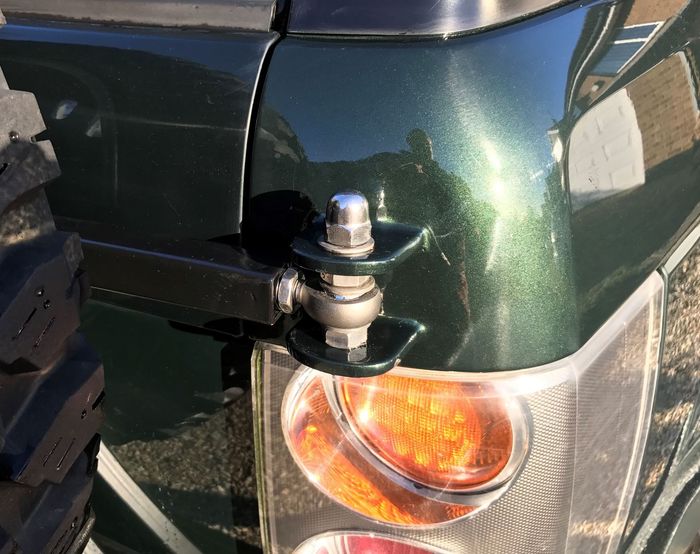
Sorted out the spare wheel carrier, the "one bottom mount" idea didn't work very well, I used two saddle clamp bearings but the saddles weren't really up to the job and flexed a lot, I was trying to do it on the cheap as a mate gave me them to try... Anyway design number two involved Heim Joints (Rose Joint) and a top mount as well... 14mm heavy duty joints and stainless fixings came to about �60...

Cut out and welded on two 8mm thick top mounts, ground down and painted.
Finally in place, it's now very strong and has no flex at all...
__________________________________________________ 2014 L405 Autobiography SDV8 4.4 Loire Blue Ebony interior 2012 L322 Autobiography 5.0 Supercharged Ipanema Sand Sold 2011 L322 Vogue SE 4.4 TDV8 Baltic Blue. Sold 2002 L322 Vogue 4.4 V8 Epson Green (Fatty Offroader) Sold -Click for Project Fatty off roader- Last edited by Haylands on 4th Jun 2022 4:03pm. Edited 1 time in total |
||||||||||||||||||||||||||||||||||||||||||||||
|


| RR2008HSE Member Since: 06 Jan 2013 Location: British Columbia Posts: 2932  
|
Very nicely done! |
||
|
| Haylands Member Since: 04 Mar 2014 Location: East Yorkshire Posts: 8527
|
Thanks...
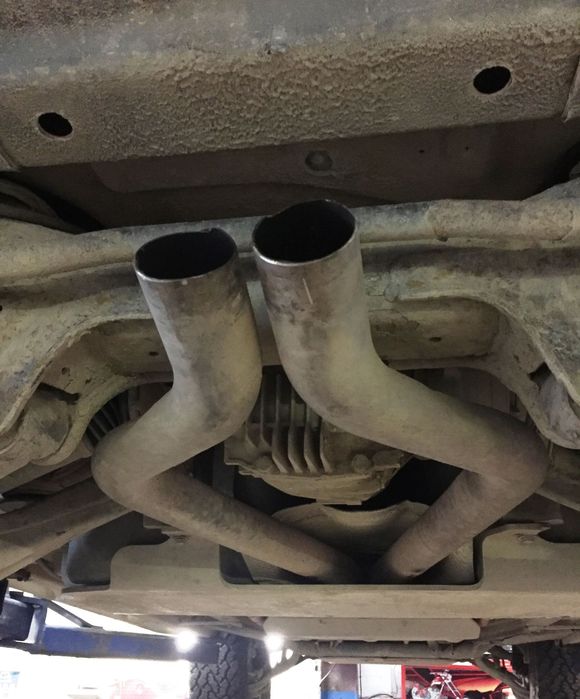
I then cut them back to here and added two slip joints, also took about 5" out of the length of the pipe so the bend in front hugs the diff a bit better, reducing the angles and the pipe length to keep the new box as tight as possible up to the rear subframe...
Propped the new box in place with a transmission stand, offered the pipe back up, made a 2 into 1 and tacked it up in place, then removed it and welded it all up apart from the slip joints...
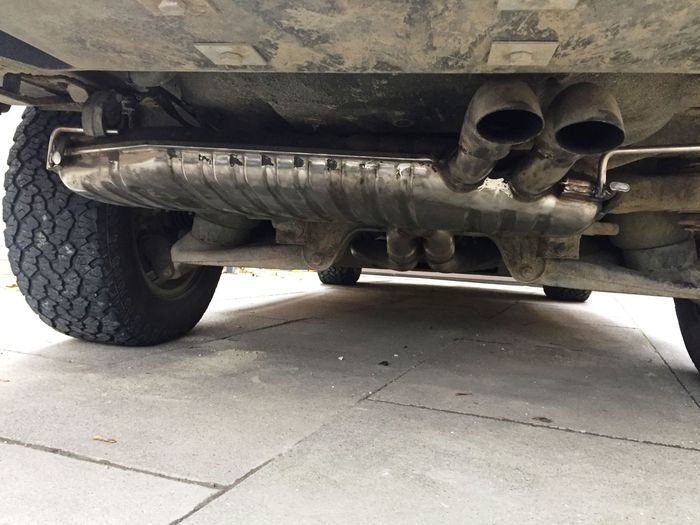
Bent up two new mounts out of stainless bar, welded them on then cut the old tips of the FF box to finish off this one and have the exhaust facing down... It's much further out the way than the old one, should be fine off road and the best bit is it's nearly as quiet as the original box, the awful drone at motorway speeds has gone... Gave it the once over with a wire brush in the grinder, might clean the rest of the paint off it and just leave it like that.....
I'm happy and the neighbours are talking to me again... __________________________________________________ 2014 L405 Autobiography SDV8 4.4 Loire Blue Ebony interior 2012 L322 Autobiography 5.0 Supercharged Ipanema Sand Sold 2011 L322 Vogue SE 4.4 TDV8 Baltic Blue. Sold 2002 L322 Vogue 4.4 V8 Epson Green (Fatty Offroader) Sold -Click for Project Fatty off roader- Last edited by Haylands on 4th Jun 2022 4:18pm. Edited 1 time in total |
||||||||||
|


| Starberg Member Since: 08 Jan 2015 Location: Karlskrona Posts: 70 
|
Impressive work mate! Following your thread with great interest |
||
|
| Numb Member Since: 29 Dec 2013 Location: West Coast Posts: 35 
|
Nice one, very impressive and top notch work. |
||
|
| JurgKonrad Member Since: 28 Aug 2014 Location: Zurich Posts: 1  
|
I read your thread from the beginning in one evening. Really impressiv. Really good job.
|
||
|
| Haylands Member Since: 04 Mar 2014 Location: East Yorkshire Posts: 8527
|
Thanks chaps, JurgKonrad, that took some dedication, well done... as for what's next I'm half way through a twin pump set up for the EAS, fitting both pumps inside the sub woofer box to keep them out of the bottom of the boot in case she goes swimming again, I also want to move the windscreen washer bottle so I can remove the sides of the front skid plate and free up more space to get the front wheel on obstacles... plus another 101 other jobs I have in mind.... nothing as dramatic as the last few months though.... |
||
|
| Rosso_NI Member Since: 28 Jun 2015 Location: Belfast Posts: 23 
|
Have only just stumbled across and read through this thread what a great build and now looking like a serios off roader |
||
|
| mzplcg Member Since: 26 May 2010 Location: Warwickshire. England. The Commonwealth. Posts: 4029 
|
Pete, are you sure your name's not Hannibal? or Face? |
||
|
| Cam-Tech-Craig Member Since: 04 Aug 2011 Location: Gloucestershire Posts: 16334
|
Im younger and remember them |
||
|
| Haylands Member Since: 04 Mar 2014 Location: East Yorkshire Posts: 8527
|
Rosso_NI, Thanks, glad you enjoyed it...
I'm only 13 and 3/4, so haven't got a clue who your talking about...???? Yours Adrian Mole Craig... has Sky got down there yet?? Pete __________________________________________________ 2014 L405 Autobiography SDV8 4.4 Loire Blue Ebony interior 2012 L322 Autobiography 5.0 Supercharged Ipanema Sand Sold 2011 L322 Vogue SE 4.4 TDV8 Baltic Blue. Sold 2002 L322 Vogue 4.4 V8 Epson Green (Fatty Offroader) Sold -Click for Project Fatty off roader- |
||
|
| chex Member Since: 17 Sep 2012 Location: E. Africa Posts: 130 
|
Hi Pete
|
||
|

|
|
| All times are GMT + 1 Hour |
< Previous Topic | Next Topic > |
Posting Rules
|
Site Copyright © 2006-2025 Futuranet Ltd & Martin Lewis
![]()
