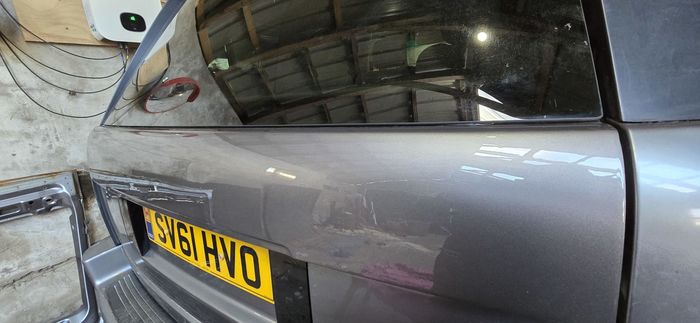
| Addressed the Rotting Tailgate. | |
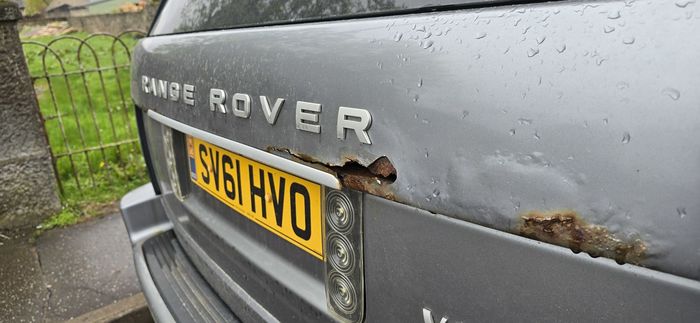
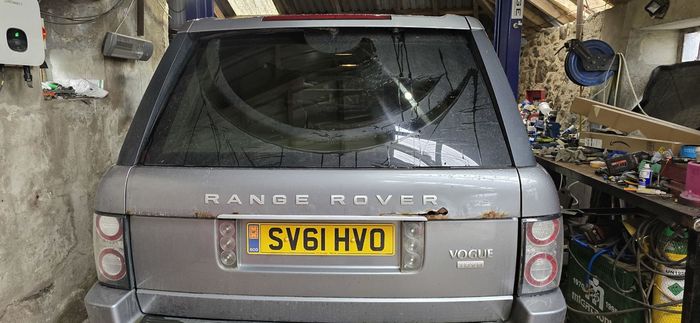
When I picked her up 2 years ago, it was raining and it would seem the tailgate had been 'repaired' shortly before so I didn't notice anything untoward. Fast forward a few months and bubbles had started to appear which only got worse over time. I've been very busy with work so haven't really had time to address it, so it got steadily worse to the point of being embarrassing - it was literally disintegrating.
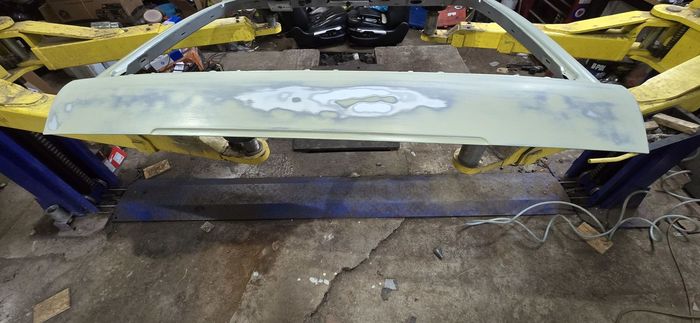
So I've probably spent the last year on and off looking for a decent second hand tailgate and finally found one a month ago. Different colour of course, but I have some experience in bodywork repair and painting so went for it. Needless to say, it didn't quite match up to the 'no rust and never had paint' description  Didn't bother me too much as it needed painting anyway. So I stripped it and started rubbing down, only to find it had been repaired in the past. A decent repair tbh but there were imperfections - slightly concave sections - that needed addressing and a paint line where the plastic strip at the bottom of the glass meets the metal. Oh and it was a 2003 tailgate, not quite the correct part for a 2012 either... Didn't bother me too much as it needed painting anyway. So I stripped it and started rubbing down, only to find it had been repaired in the past. A decent repair tbh but there were imperfections - slightly concave sections - that needed addressing and a paint line where the plastic strip at the bottom of the glass meets the metal. Oh and it was a 2003 tailgate, not quite the correct part for a 2012 either... 
Anyway after rubbing down there were a few areas that were showing signs of rust just starting to appear, so it became a bit more full-on restoration even though it was pretty solid. It wouldn't make sense to not deal with it though given the effort already needed.
All went well until the time of applying top coat, when the heavens opened and my leaky workshop roof (that I keep meaning to fix) started dripping onto the painting area (no paint booth).  sod's law. Do my best to shield the drying lacquer but there are lots of splash marks (water-based lacquer), so the next day while it's still soft, I applied a couple of extra thick coats to give me enough material to rub down. sod's law. Do my best to shield the drying lacquer but there are lots of splash marks (water-based lacquer), so the next day while it's still soft, I applied a couple of extra thick coats to give me enough material to rub down.
Before...
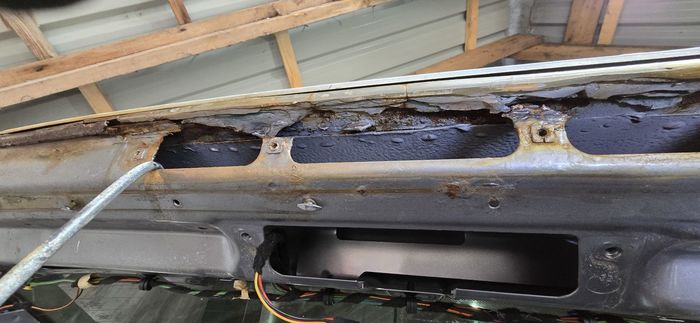
The 'repair'
New one...
And the end result
Cam
2011 TDV8 Vogue in Stornoway Grey
|


![]()

