 | Home > Maintenance & Mods (L322) > *MOD* - Steering Wheel Badge Upgrade to New style badge |
 
|
|
|
| garyRR Member Since: 13 Mar 2021 Location: Hampshire Posts: 1484 
|
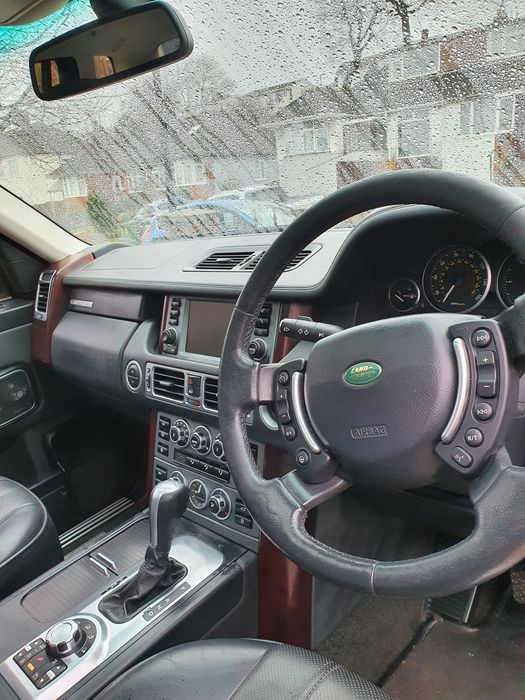
I have just upgraded all of the badges on my car from the horrible old green and gold Land Rover logo to the new style black and silver, which just looks so much fresher.
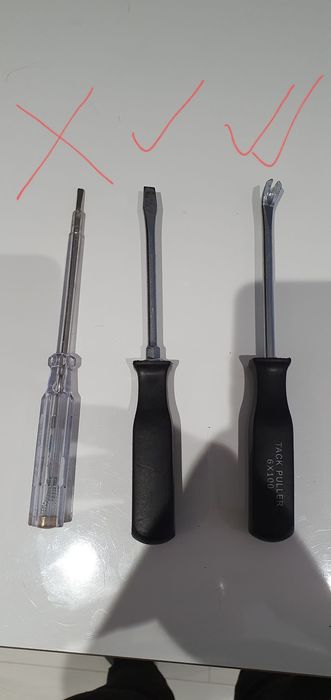
Step 1. Get a flat bladed screwdriver or tack pull !WARNING! Use a large diameter screwdriver and NOT a thin one. You will damage the soft leather on the steering wheel and leave a permanent mark! !WARNING! Gently put the screwdriver down the left or right hand side of the steering wheel badge until it gets under the rim of the badge.
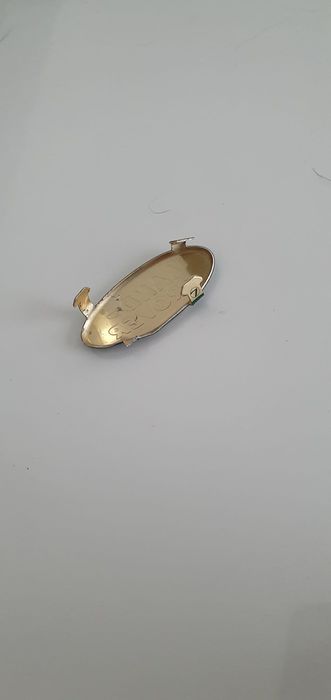
Step 2. Pull the badge off (gently) Do this by pushing the screwdriver head enough that it is behind the badge then, begin turning it 90 degrees so that the screwdriver blade is now wide between the badge and steering wheel. Use a little prying action in order to bend the Land Rover badge slightly. Step 3. Remove the badge clips The old Land Rover badge is made of tin and is therefore, easy to bend. It has some little clips that clip behind the airbag cover, in all four corners. The photo below shows what you're playing with. Gently remove each of these clips 1 by one. They will come out relatively easily without damaging the airbag cover.
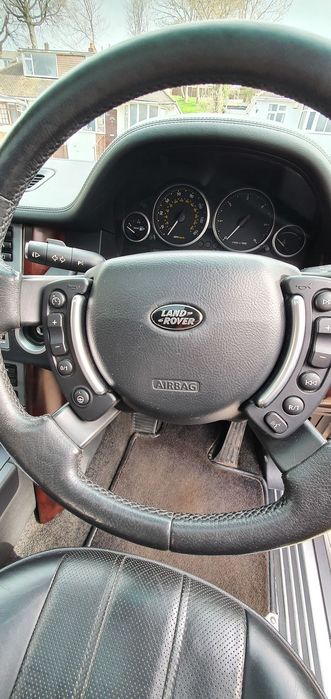
Step 4. Give it a clean! Just a wet microfibre cloth or cotton bud will do. Give the area a good clean so, the new badge can adhere and, there is no ingrained dirt on show. Step 5. Apply glue to the back of the new badge Land Rover do not sell these badges however, there's plenty of aftermarket ones available on eBay. This is the one I bought: https://www.ebay.co.uk/itm/BLACK-SUPERCHAR...890.l49292 You have several options here. Only apply glue to the back of the badge so, it does not run and, so you do not make a mess of your steering wheel. You can use silicone, super glue or RTV sealant / Sikaflex. Bear in mind the pros and cons. I doubt superglue would stand the constant heating and cooling of the cabin and, would become brittle over time. Silicone can be used but, bear in mind it will take around 6 hours to set fully and, will lose its adherence over time. I chose RTV sealant (Sikaflex is also fine). It's what I use on boats. It's designed for all weathers, materials and rapid heating and cooling and, is more than up to the job. It's also pretty cheap. Step 6. Push into place This is your final step. Push it into place, applying an even pressure across the badge. Ensure all edges are tucked in nicely - you can do this with your fingers. Release after about 1 minute and leave to dry. Ta da!
A 5 minute job that helps lift the cabin! |
||||||||||
|
| Strider Member Since: 08 Jun 2015 Location: Hertfordshire Posts: 507  
|
|
||
|
| garyRR Member Since: 13 Mar 2021 Location: Hampshire Posts: 1484
|
A trim removal kit does not work - I tried. It needs the strength of metal to bend the badge out.
|
||
|

|
|
| All times are GMT + 1 Hour |
< Previous Topic | Next Topic > |
Posting Rules
|
Site Copyright © 2006-2025 Futuranet Ltd & Martin Lewis
![]()
