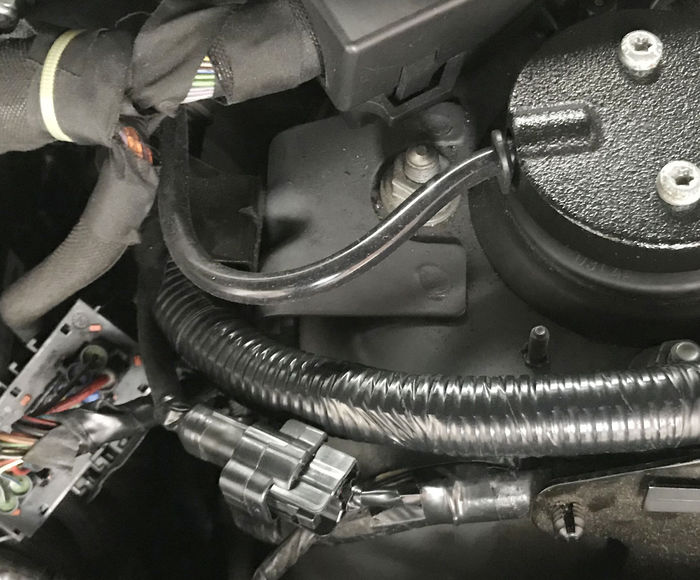
| Fixing my Adaptive Dynamics once and for all | |
With final facelift of the L322 came the introduction of Adaptive Dynamics, a sophisticated damping system.
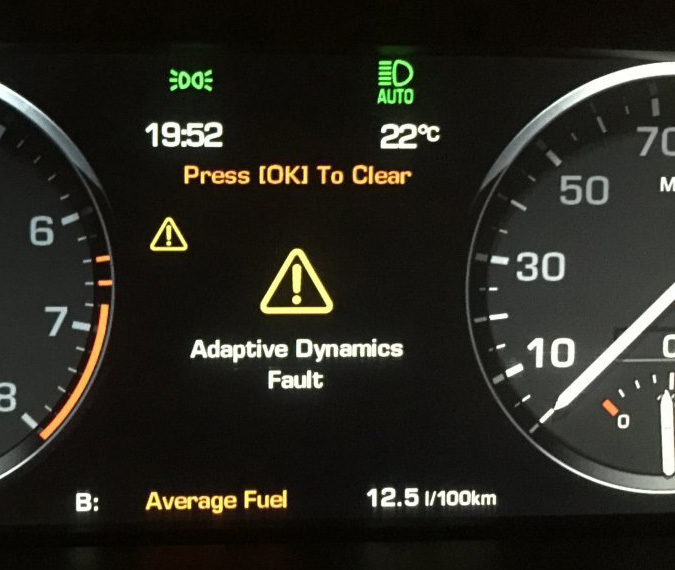
A pair of cables runs into the top of the dampers on all four corners. The fronts turn with the steering and unfortunately, the cables they spec'd are not flexible enough to cope with the constant flexing and, over time, especially in cold weather, the cables break and you get this warning. Terrain Response stops working when this happens.
This is a well known issue and I know there are many posts on this. But to keep everything in one place, I wanted to outline a few of the well documented basics first, then show my fix which I feel is better than buying the LR part.
So here is the typical broken cable:
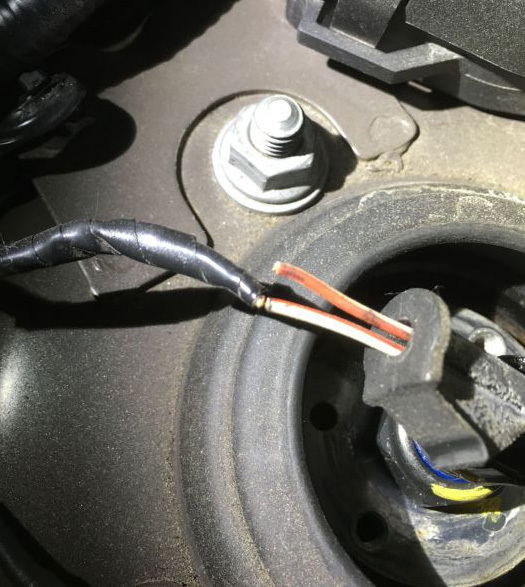 | | Click image to enlarge | (Pic from member: Donimator11)
The quick fix is to find the break and mend it.
(pic from member Bryan N)
A quick job’s a good job. All good.
On mine, however I’d done this already. More than once. I had made three or four repairs on each side. That was just too many so a proper fix was required which is to replace the cable.
You can buy replacement looms but I wanted to be sure the cables would be flexible enough. I think current price is £38 each and I just couldn't be sure they'd revised the cable. I also would like this cable better contained rather than the factory electrical tape because the cables's moving constantly with the steering and the cable just doesn't seem sturdy enough in factory state. A sheath also (I think) reduces immediate flex stress on the cable. But it's got to be flexible so I used silicone hose.
First thing was to get on ebay and buy the bits:
Waterproof connectors
https://www.ebay.co.uk/itm/2-12-Way-Car-Co...2749.l2649
1m Silicone high flex cable
https://www.ebay.co.uk/itm/20AWG-Gauge-Sof...2749.l2649
4mm ID Silicone Vacuum Hose
https://www.ebay.co.uk/itm/4mm-ID-Silicone...2749.l2649
First step:
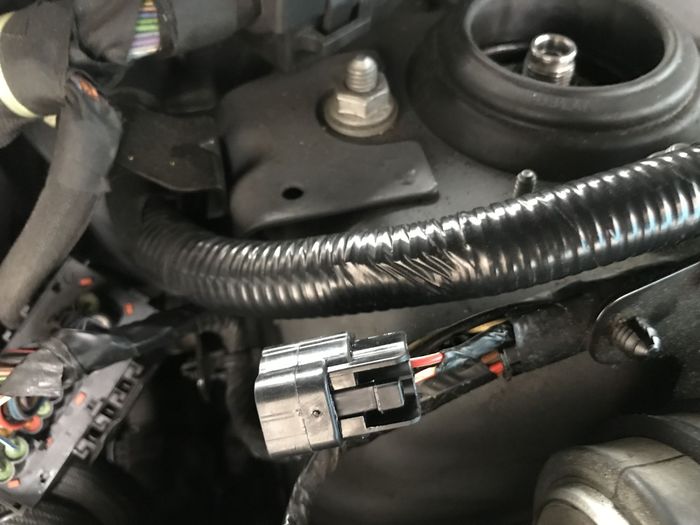
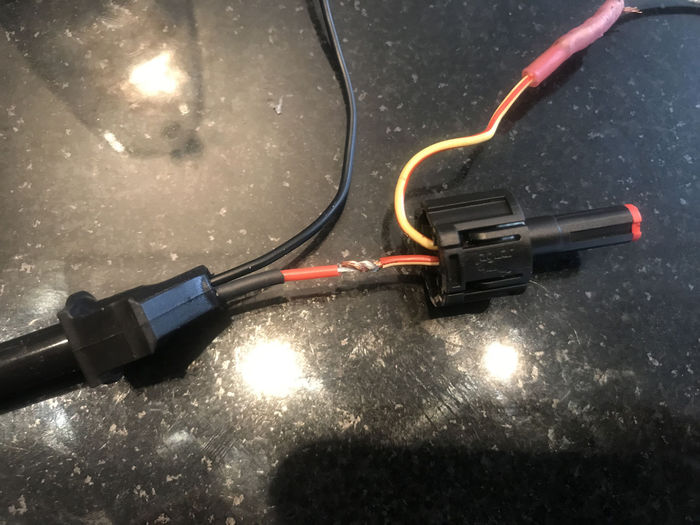
Cut the old cable and fit one end of the connector to the loom. Note your wires / polarity). The original cables are red with a white stripe and white with a red stripe so just be careful to maintain the original polarity. You want this joint as far back along the loom/body as practical.:
Get your new silicone wire, join a connector onto one end and plug into the loom end. Then lay the cable on the path you want it to follow. Allow for slack due to turning of the shocks and mark an appropriate length (note my knot as a mark) Also use the old cable as a guide.
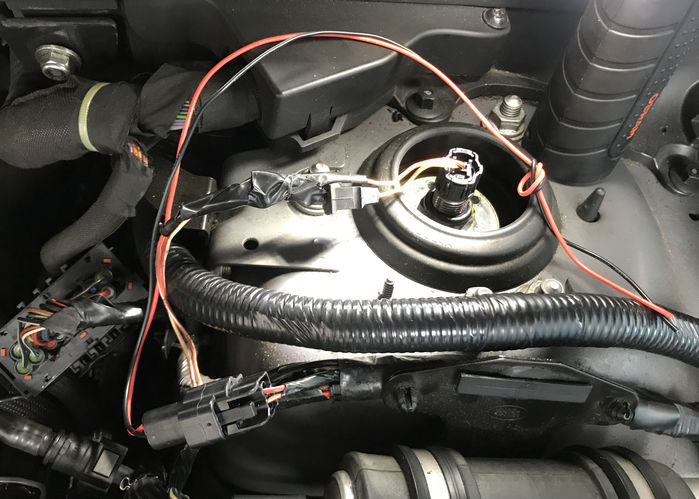
Once you’ve measured, get some of the silicone hose, cut it to length. Don’t cut the cables yet, just feed them through the 4mm silicone hose. I used a drop of washing liquid to push the cable through. Take the rubber grommet off the old wire and push it hard over the silicone hose.
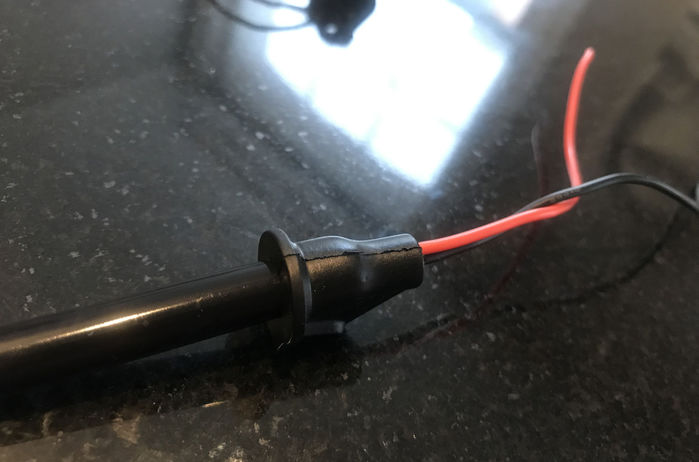
Next, cut the shock connector off the old wire and splice it in very close to the shock connector. Solder and heat shrink the joints. This will go inside the metal shock top and wouldn't be under any stress. It will be gripped by the rubber grommet. This is the only compromise vs. using the replacement part.
Here’s the drivers side made up with new connector, silicone outer, grommet and the heavy steel shock top weight which the grommet fits into.
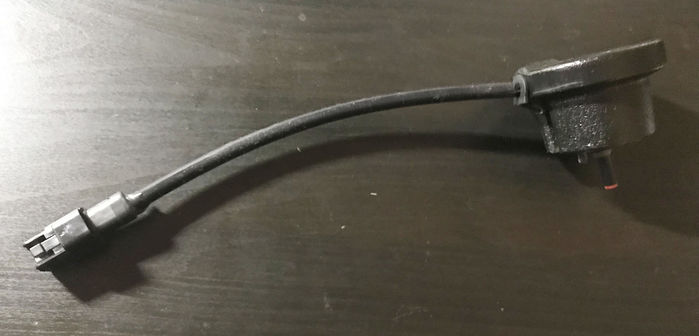
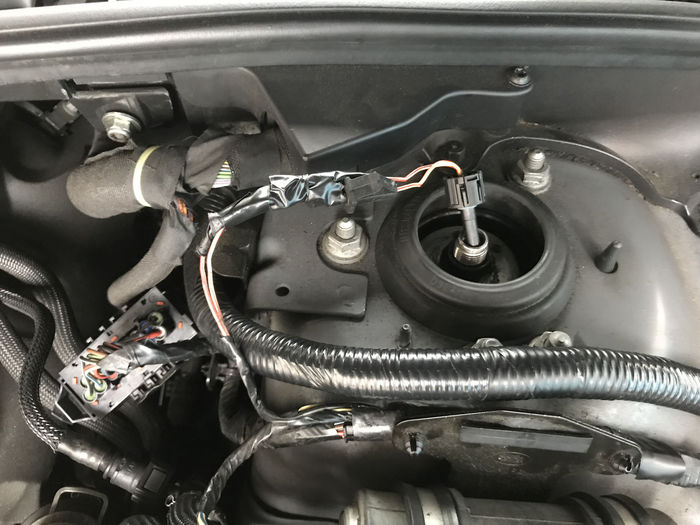
So here's BEFORE
And AFTER
(There is a little revision I'll do here for neatness when I get some large heat shrink)
Anchor with a cable tie near the connector but leave the rest free because the shock rotates.
Make sure the path of the cable allows enough movement in both directions.
Test steering lock to lock and make sure there's no stress on the cable:

Cost was peanuts, under a tenner.
The connectors are from China, but came pretty quickly. I prefer to buy from the UK but I couldn't find a UK seller of this type of connector which I like.
The silicone hose I used for a sheath feels, looks and protects much better than the factory electrical tape 
The connector has a good OEM look but is also practical for whenever you might need to disconnect.
Hopefully never but just good practice in my mind and better than crimp or solder+heatshrink onto the main loom.
Turn on ignition and check.
. Cheers, Greg
- - - - - - - - - - - - - - - - - - - - - - - - - - - - - - - - - - - - - - - - - -
2011 Vogue SE 4.4 with lots of toys in Stornaway
Last edited by GGDR on 30th Jan 2020 11:25pm. Edited 6 times in total
|


![]()

