| Education Education ..Kids are Told.Update 03.06.16 | |
So i thought i would do my bit. 
Maintenance was needed and found some time to sort it out.
1 front nearside brake disc warpped
2 Cam cover Gaskets leaking
3 Bodge work undertaken by body repair shop
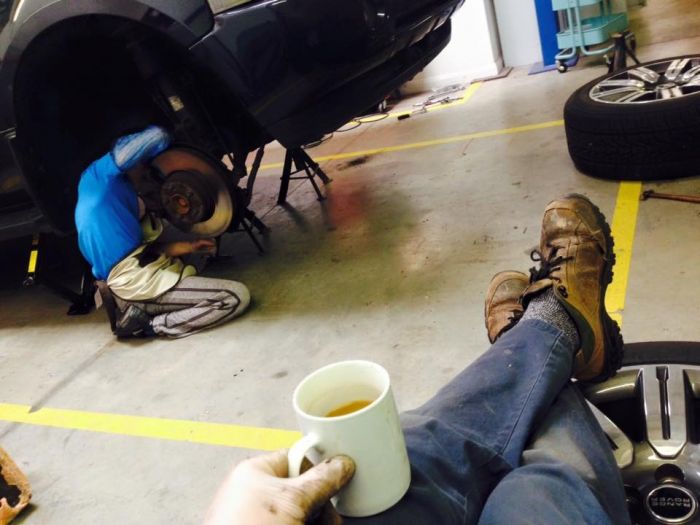
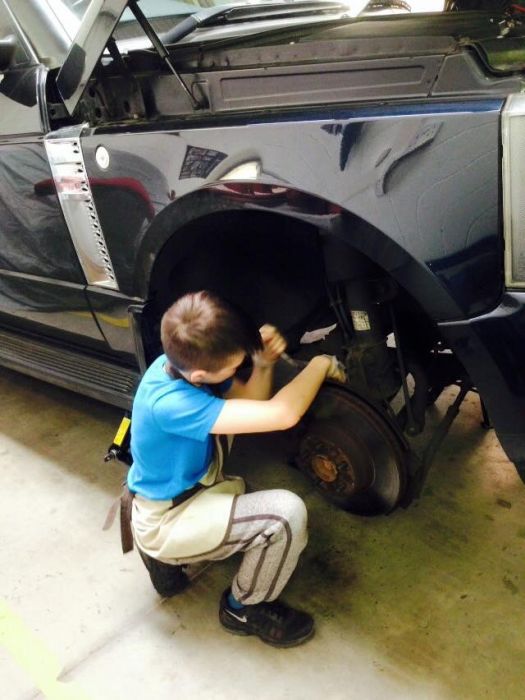
1 (of 3 kids) is a car nut, so what better way than to get him involved.
Everything was discussed in terms of why.
Why the cars on level ground
Why when jacking you keep a door open (and some say indicators on)
Why bolts and slackened when the wheels are on the floor
Axel stands that can take the weight have to be used
If you break down each process then there are a lots of parts+ explaining to a kid only returns lots more questions.
Having been around cars a few times and getting stuck in didnt result in to many typical queations.
We jacked up both sides as the bumper need to come off (will explain later) ad set about discribing each part, what it does and how its removed.
Important details such as pushing the pads back before the caliper is removed was also covered
So after slackening off the bolts i let him take over
 | | Click image to enlarge |
At this point i took the time to have a bfew and be the observer.
Thankfully the disc retaining bolt can off without not issues and it only took around 2 hours to change both side (while teaching)
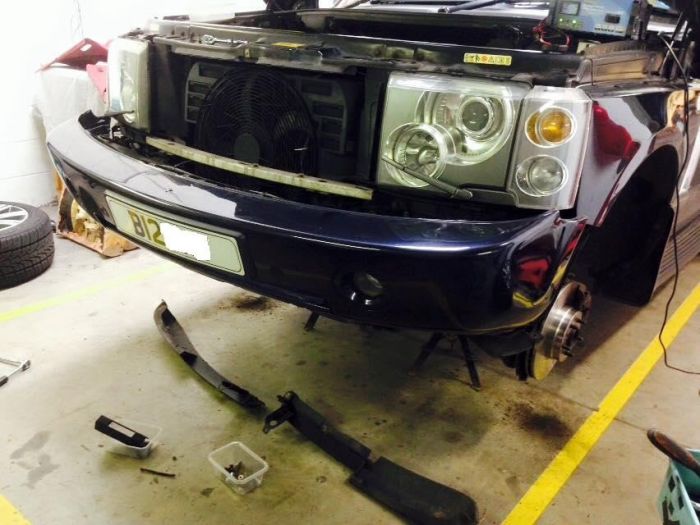
Next up...bumper..
what really does my head in is when a car goes to a bodyshop and parts removed, they are not always put back on correctly!!!
Ive seen so many cars (quite a few Range Rovers) where parts do not line up, trapped washer pipes and electrics etc. Typically its accident repair centres that stand out.
After someone tried to do a U turn in front of me resulting me smashing into the side of her car, mine was taken away. 2 weeks later it returned, only to find the driver wing mirror was badly damaged and got nowhere in sorting it out...so put the phone down on them and just ordered a replacment.
I wouldnt mind but they were working on the passengers side!!
And they couldnt be bothered to put the bumper back on correclty, or at least the passenger side. Again trapped wires, misalignment, unable to push the wheel arch back in etc etc and so taking it off, fitting the parts correctly behind the bumper before fitting it back on was the only way to go.
Cam covers
What a pain on the bum!!
Took the right side off without no real issue, but the left side...man that was tight.
after a few knuckle scratches and mutter under my breath we managed to take them both off
The seals were rock hard and they litterally had to be chiseled out!
Refitting was just as interesting
Right side back on and making sure the lobes had been seated correctly at the buckhead end...done
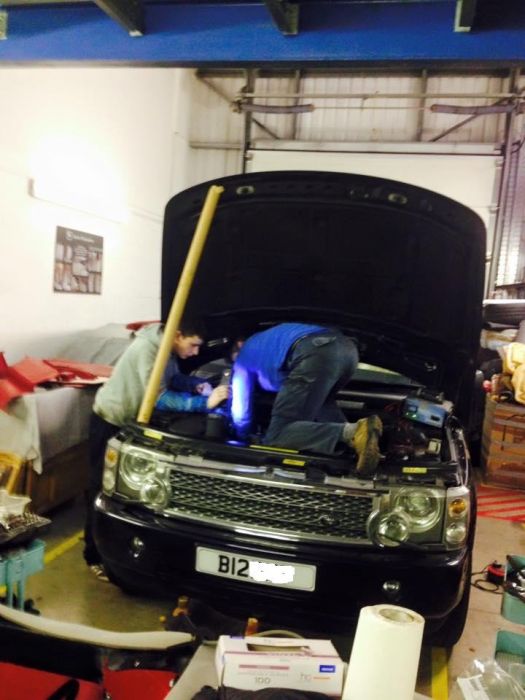
Left side      must have took an hour or more. must have took an hour or more.
At the back there is no or very little room due to a bracket, to get your finger behind to feel if the lobe on the gasket is sitting correctly on the head. What you do not want is for it to be incorreclty fitted and have oil leaking out! space is very tight and making sure the gasket is not pulled off when squeesing it into place was something you have to keep checking.
A jacked up RR which is already high was causing a few aches and access issues so i literally "got on it".
 | | Click image to enlarge |
finally all done.
Was going great guns until the issue with the driver cam cover but hay ho!
I did notice the amount of crud in the cam cover and at a later date, both will be removed along with the sump and cleaned out (replacing all otehr parts while the front of the car is off)
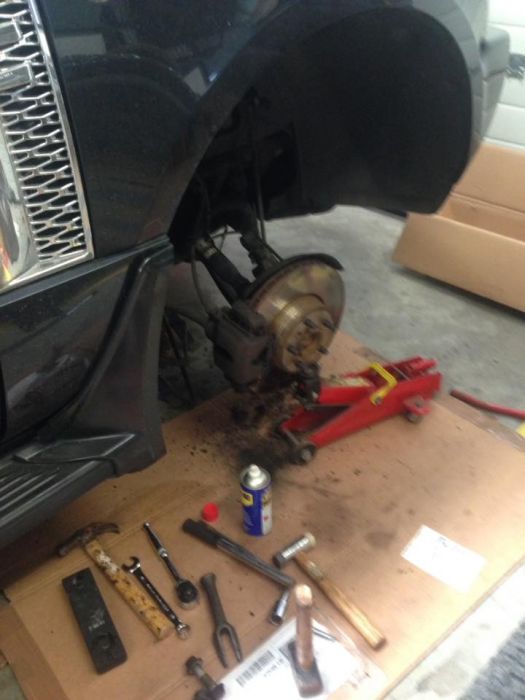
But for now (as of 03.06.16) i have a leaking airbag, front passenger side, so the cars up on one side, wheel off WD40 on the bolts over the last few day days and Hopefully ill get around to chaning it over today. The drover side was changed 6 months ago and only took 30 minutes....finger crossed 
Update 03.06.16
Rightttt
so today we got around to change the front suspention air bag.
You can get just the bag but to be honest i couldnt be bothered messing around changing just the bag so got the whole leg.
Total time was about 1 hour (between coffee breaks!)
So;
Two bolts at the bottom of the leg to the hub
Three in the engine bay
One from the pipe that feeds the air to the bag
One (top) drop link bolted to the shock
The hardest part was removing the lower bolt (of the two) at the bottom of the leg. This suffers more than the bolt above due to it being lower and getting weathered more.
Slacken both lower bolts and wind the nut to the end, then give it a good smack (leave nut on so you hit that and not the thread of the bolt unless you using new ones).
Once it starts to come loose spray some WD40 and knock it back in, then back out to help loosen it.
Next the top bolt of the drop link needs to undone,As this rotates if you just try to undue the nut you need to get an open ended spanner 16mm? at the back as there are two flats for it to sit on. Hold that still then undo the nut.
So two bottom bolts loose and top drop link bolt off.
Get a jack under the hub and jack up until the top drop link thread is straight, all the have to do is push it out.
Take the two nuts off the bottom bolts and then knock the bolts out.
Lower the jack slowley and tap the hub at the back and you will see it start to part.
Undo the three top nuts (in the engine bay) but dont take them off, leave at least one holding the leg in.
Have somone hold the leg and take the last top nut off
then lower the jack a bit more just enough for the jeg to pop out.
DONT let the leg drop, the airline is stil connected
Undue the airline with a spanner and now you can completely remove the leg
off
 | | Click image to enlarge |
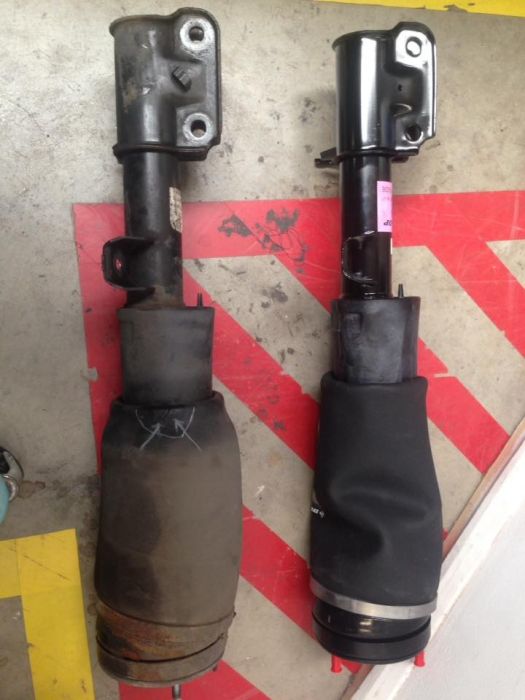
showing the old bag and the location of the leak
 | | Click image to enlarge |
new one going in.
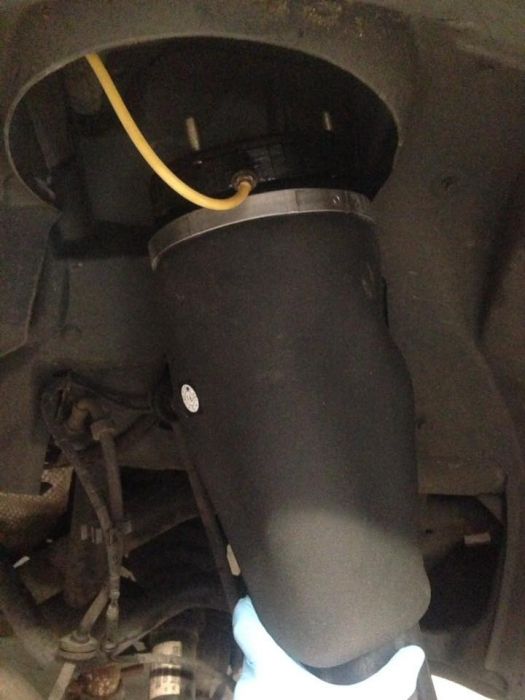
Now rememver the airline bolt is usually supplied in the new leg, i did not use it but kept the origional as it is fitted to the yellow plastic pipe. The is a rose with the new bolt that goes over the plastic pipe, again i did not use this. The origional bolt and rose was kept. Dont put the new rose on unless you remove the old one, to be honest if its ok just leave it.
 | | Click image to enlarge |
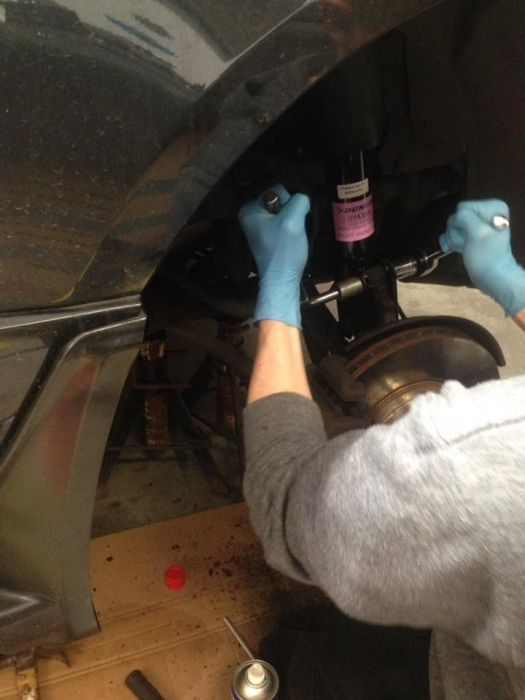
Under supervision fit the bolts back in place, its best to:
fit airline to the bag
lift new unit into place and secure (make sure the airline is free to move, you can get your hand up there just to check)
Loose fit the three top bolts
Put the jack under the hub and use that to lift the hub holes in line to that on the new leg
Once aligned put bolts back in and secure
dont forget the top drop link refit.
 | | Click image to enlarge |
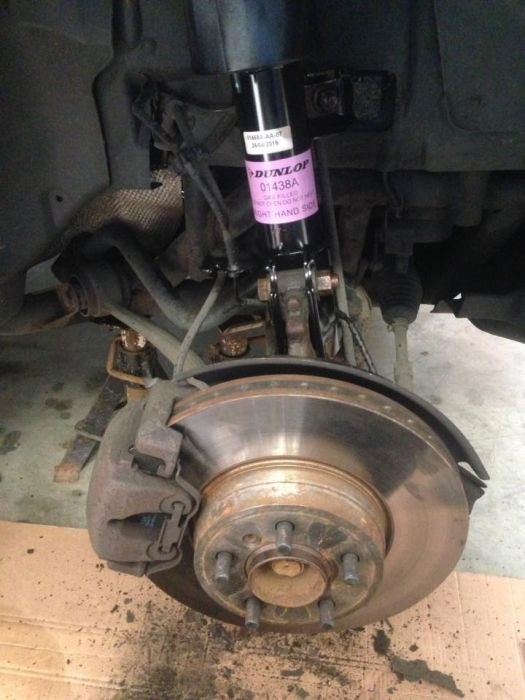
Job done!
 | | Click image to enlarge |
Copper slip bolts expecially the two that fit though the bottom of the leg.
I change them around, put the bottom i the top and top in the bottom.
Took the car around the local garage and got it reset
think ive covered everything and sorry about spelling...been a long day
Hope this helps...John
Last edited by Sleeper on 3rd Jun 2016 9:48pm. Edited 2 times in total
|


![]()


