| Howto Fit Rear Mudflaps to early FFRR | |
Fitting Rear Mudflaps to L322 First Generation
Promised myself I would do this when I got the car, but never quite got around to it until now. This, on the face of it is a fairly simple procedure, however there are a couple of tricky bits. The instructions that came with my OEM Land Rover rear mudflaps were not all that explanatory, so I thought I would do my own how to. This applies to the early L322's as I believe later models have different style and fittings.
First off, here are the instructions as provided:
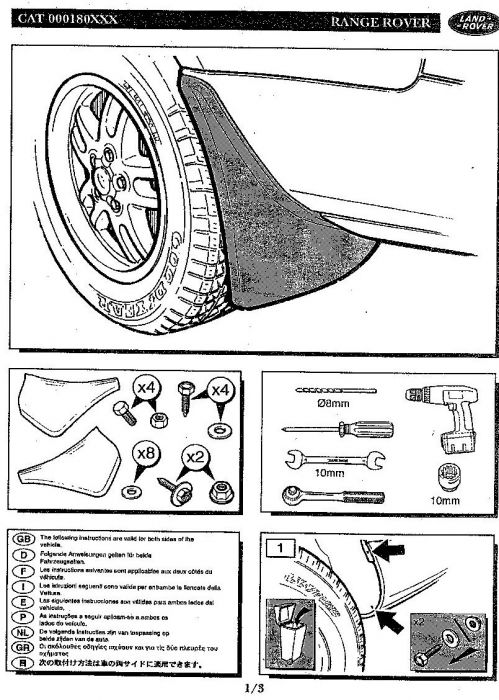 | | Click image to enlarge |
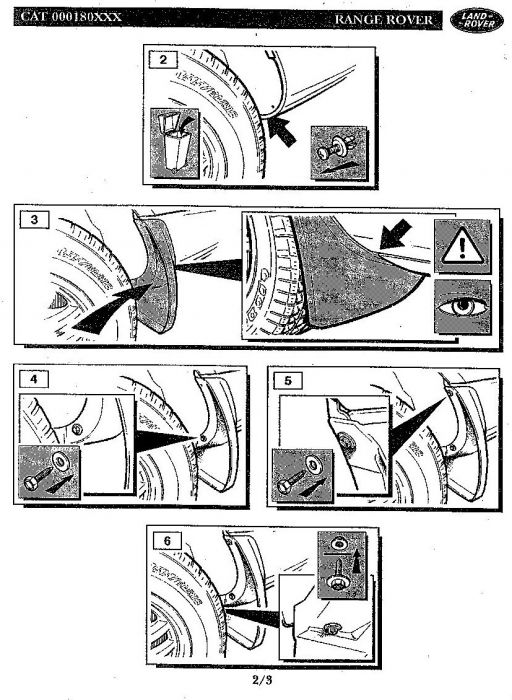 | | Click image to enlarge |
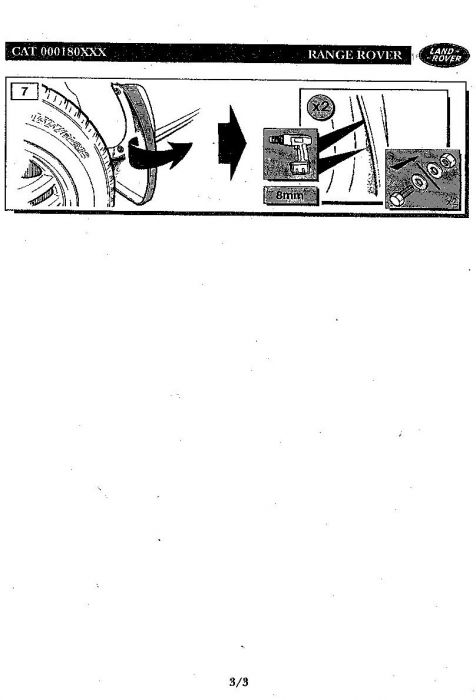 | | Click image to enlarge |
All my photos relate to the drivers side rear mudflap (RHD)
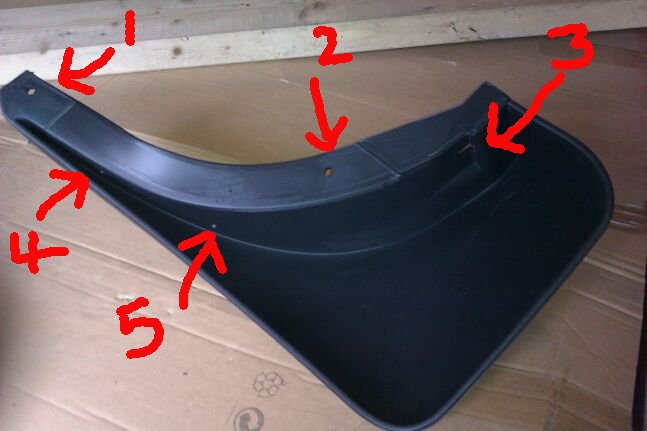
1. Here is the mudflap, arrows pointing to the five holes
2. Here are all the nuts, bolts, screws and washers for one side (comes with kit). More on these later.
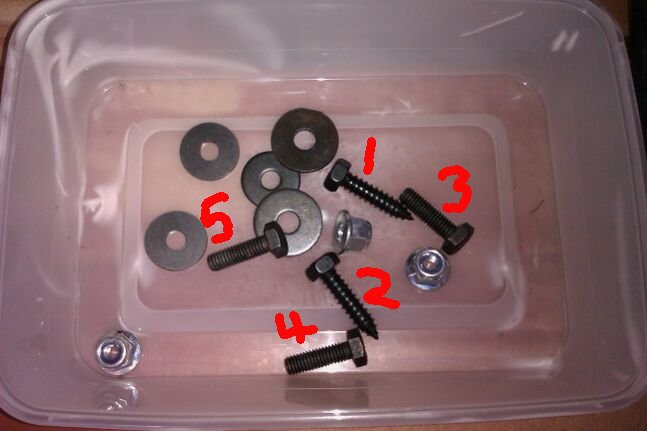
3. So, let's get to it. Remove the two self tapping screws (1 & 2)
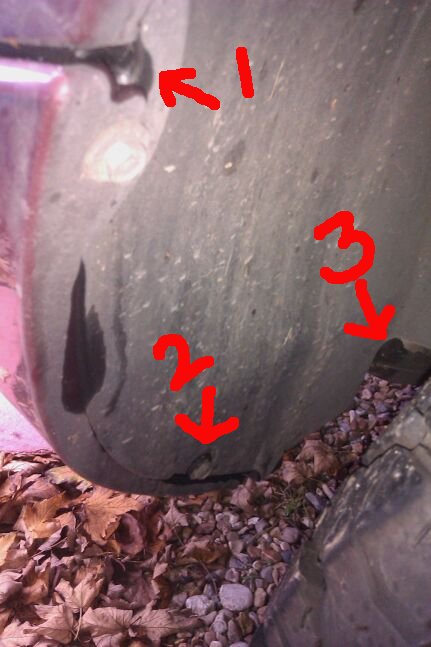 | | Click image to enlarge |
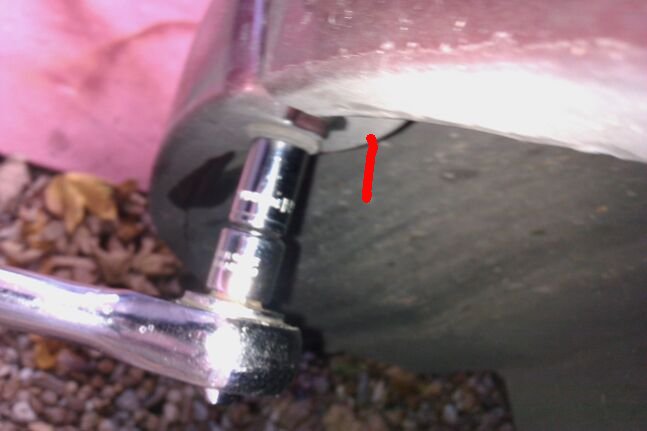
 | | Click image to enlarge |
and then for 3, use a pair of pliers to pull out the plastic pin (it will deform)
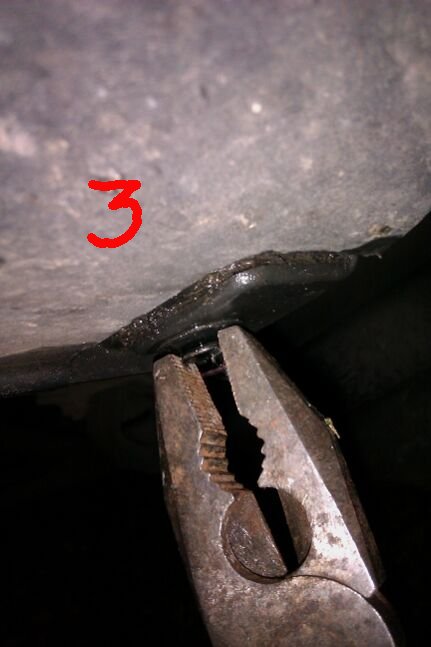 | | Click image to enlarge |
then use a screwdriver to prise the clip out of the hole.
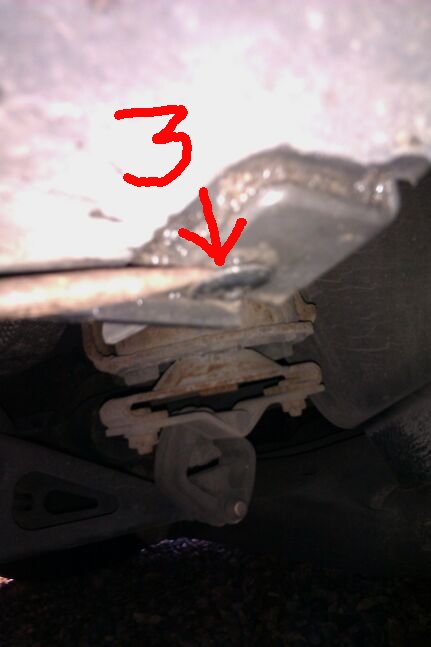 | | Click image to enlarge |
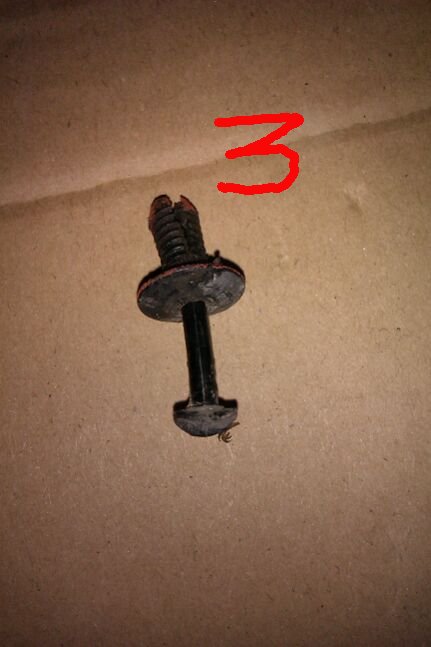 | | Click image to enlarge |
You don't need these anymore, but you can save them for another project if you want!
4. Now take up your mudflap and fit it to the rear wing, using the two new self tapping
screws for 1 & 2 and one of the nut and bolt sets with washers for 3.
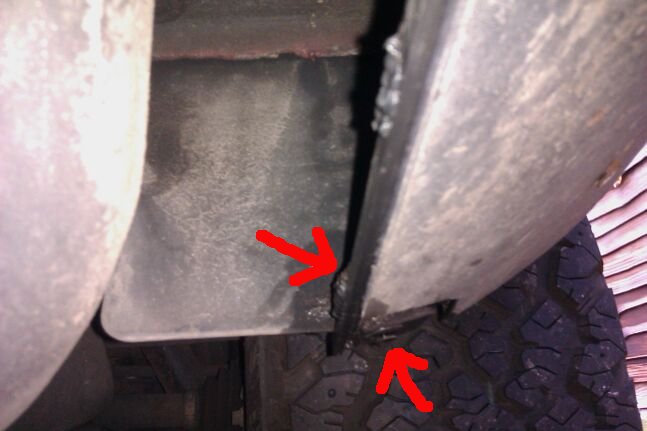
3. With the mudflap loosely fitted, you will see that you have quite a gap
between the side of the mudflap and the rear wing. This is what the holes at 4 and 5 are for.
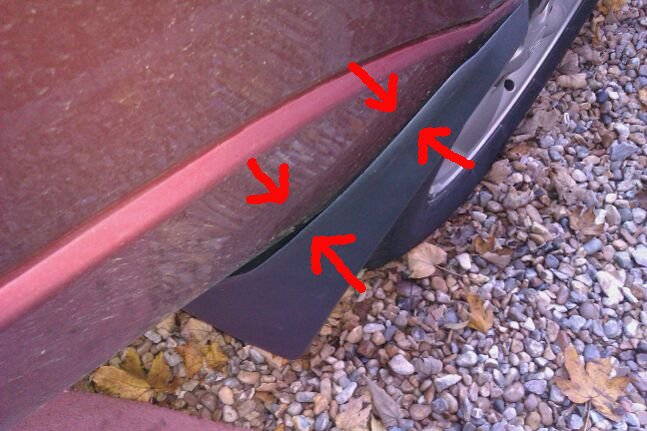
 | | Click image to enlarge |
A leap of faith required now, as you are going to need to drill two holes
into the lower rear wing. Its plastic, so it won't corrode.
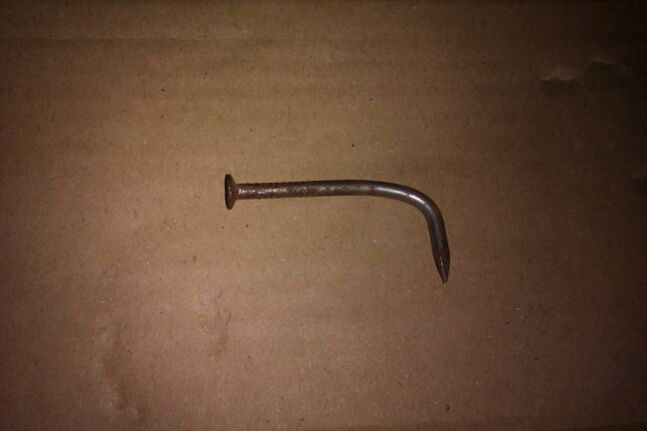
I used a bent nail to mark out the drill points, pushing the mudflap up tight
to get it in the right place. The LR instructions seem to indicate you can bend back
the outer edge of the flap to mark and drill, but you might need to dunk it in a
bucket of very hot water to soften it up!
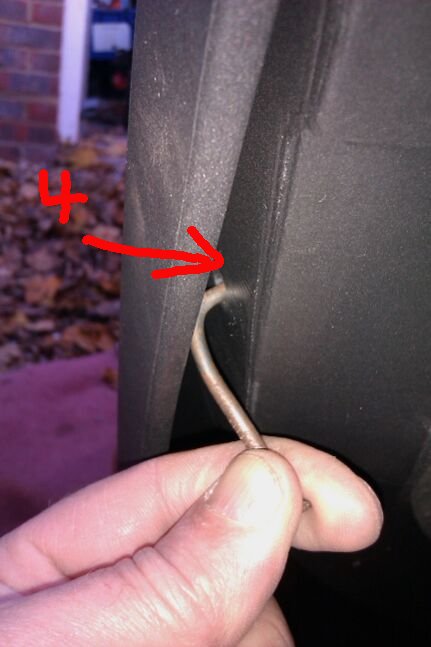 | | Click image to enlarge |
Having marked off, I undid 1 & 2, allowing me to pull the upper part of the
mudguard out of the way to drill.
I drilled pilot holes for 4 and 5, then used an 8mm bit
to drill out a suitably sized hole for fixing
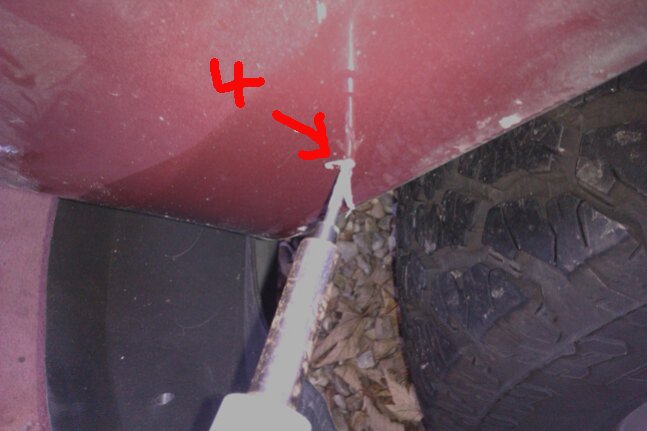
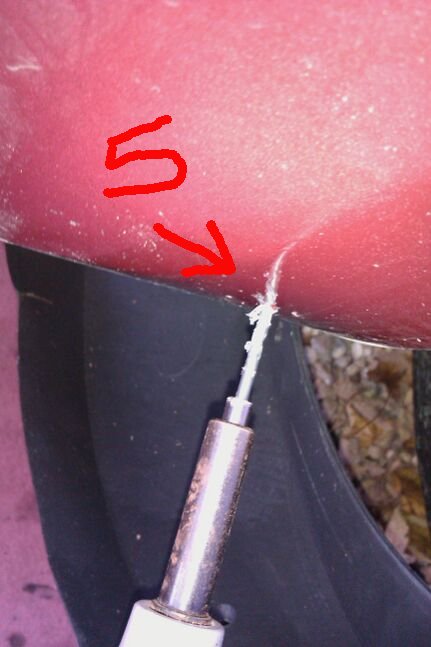 | | Click image to enlarge |
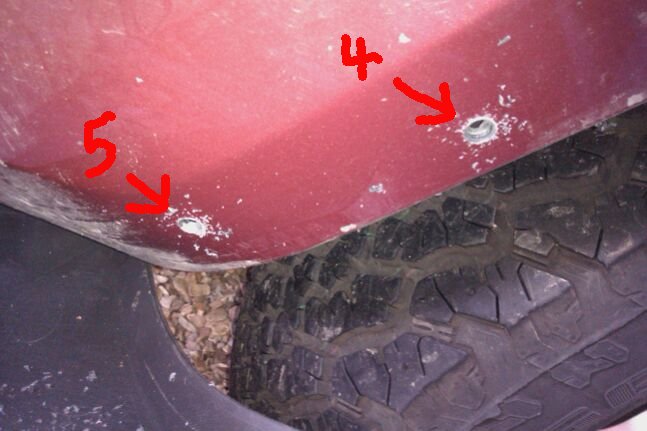
Next you put the two remaining bolts with washers onto the mudguard and push
them through the holes. You are going to need a helper now.
I found that the bolt for 5 was not long enough so I used an 8mm longer bolt
on both sides. Make sure you use a locking nut if you have to do this.
From the photos, it looks like there is plenty of space to get up inside the rear wing
to get the nuts on these bolts, but there isn't. I am fortunate to have skinny arms
that I could just about get a forearm in between the wing, chassis and exhaust
but you might need your helper to do this bit!
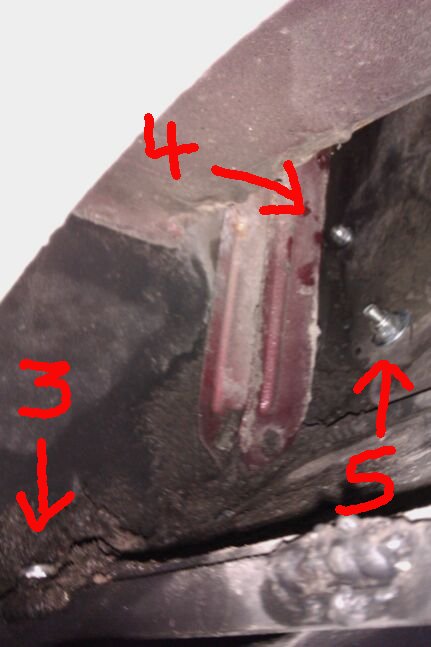 | | Click image to enlarge |
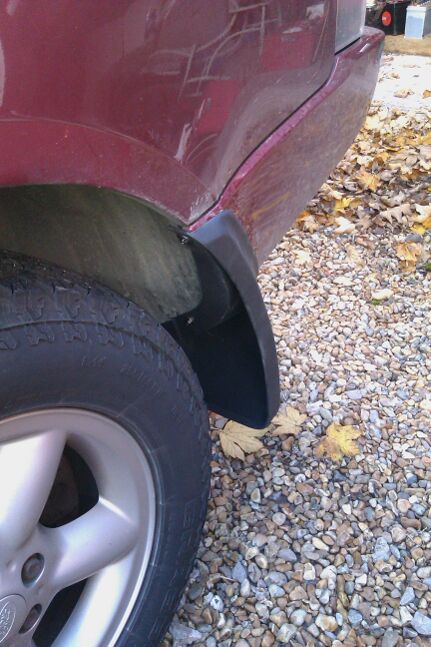
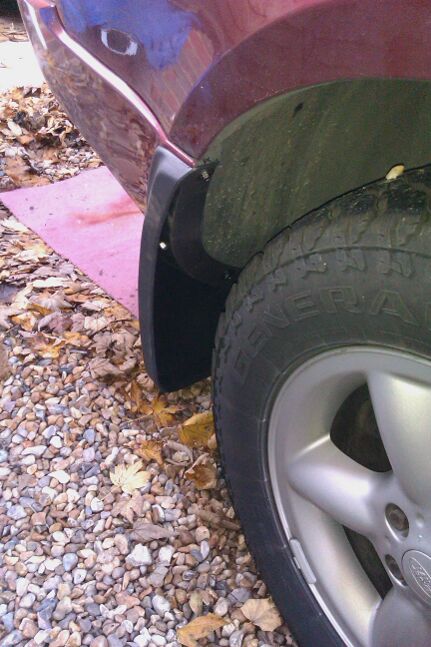
Once everything is in place, tight up all round, and you should get a good fit
between mudflap and wing, closing off the gap I mentioned earlier.
Now all that remains is to tidy up, and stand back and admire your handiwork 
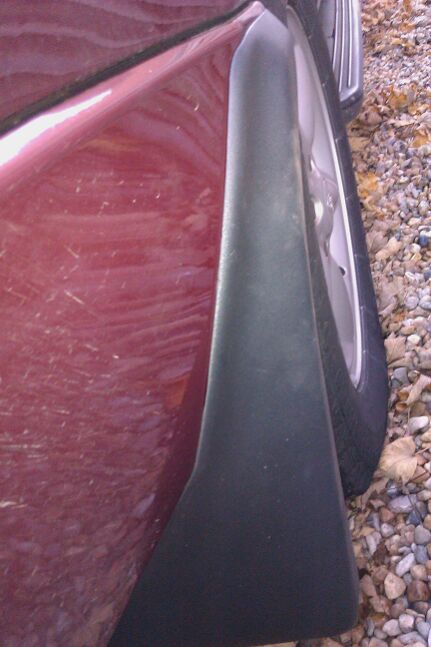 | | Click image to enlarge |
 | | Click image to enlarge |
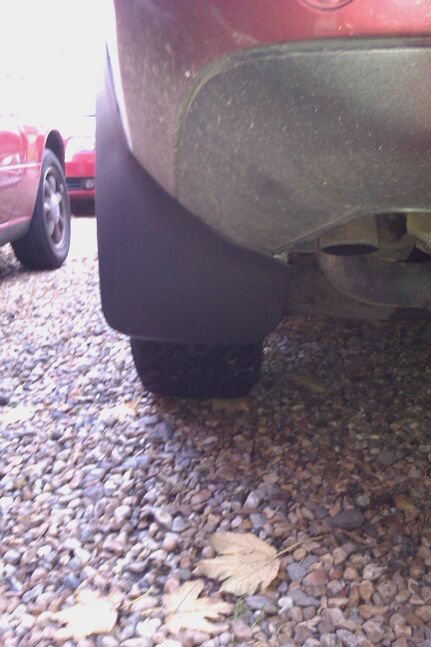 | | Click image to enlarge |
 | | Click image to enlarge |
 | | Click image to enlarge |
Yes, I know, I should have cleaned the car before starting on this!
Anyway hope this helps anyone else facing this job. .
Experience is the only genuine knowledge, but as time passes, I have forgotten more than I can remember 
Volvo V70 P2 2006 2.4 Petrol 170bhp Estate SE
MG Midget Mk1 1962
Previous: L322 Range Rover TDV8 3.6 2008; L322 Range Rover TD6 3.0 2002; P38A Range Rover V8 1999
Last edited by Joe90 on 17th Jun 2012 5:05pm. Edited 2 times in total
|


![]()


