| Integrated Air line and tank (air tools, air jack, and air ) | |
Well... Lock down mods continue.
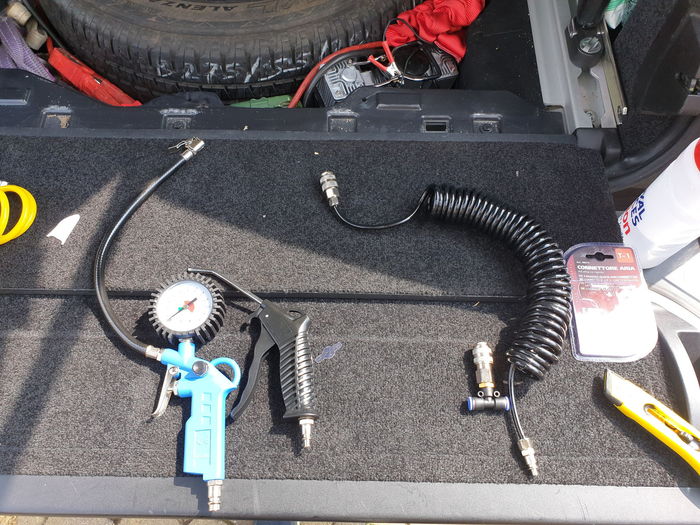
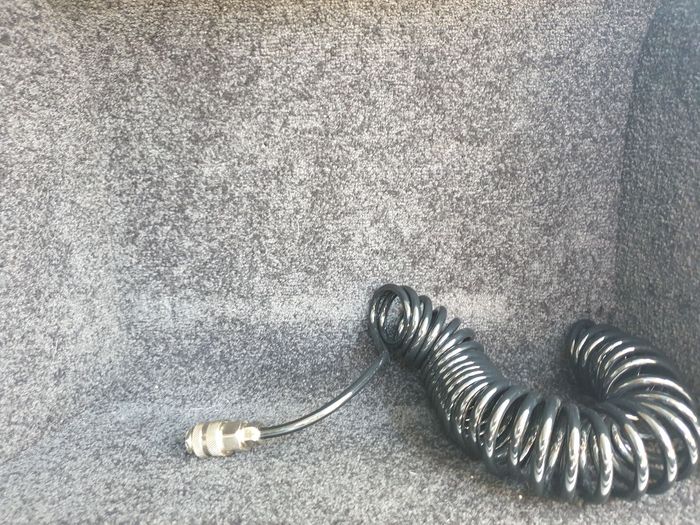
As part of my longer Air suspension trailer strategy, I needed to install a secondary tank for the air suspension today, so I did this and decided at the same time that I would install a quick fit air line so that I always have on board air to inflate the tyres, and to use a compact air jack for if the wheel needs changing or anything needs lifting etc. along with being able to run some basic air tools.
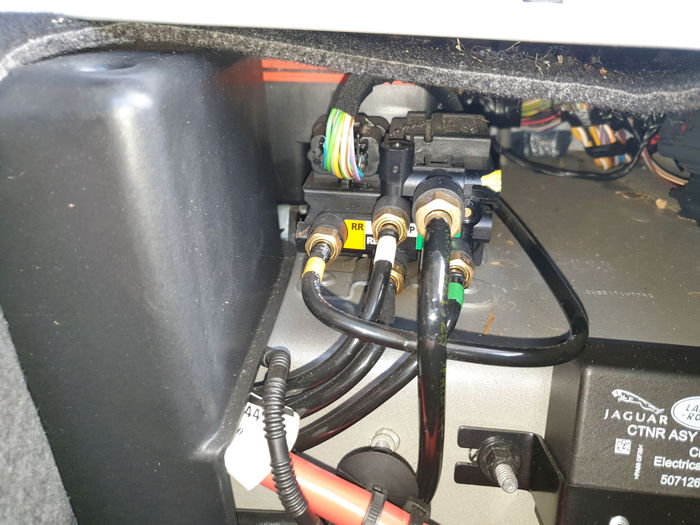
Firstly I emptied the boot out, and opened up the panel on the right hand side to access the air suspension rear valve block, this is the one that controls flow from the compressor to the tank, and the valve opens when pressure gets low enough to allow the tank to re-fill.
I bought some air line fittings from ebay here:
T piece: https://www.ebay.co.uk/itm/Push-in-Fitting...2749.l2649
Straight connector: https://www.ebay.co.uk/itm/Push-in-Fitting...2749.l2649
Air line fitting: https://www.ebay.co.uk/itm/Truck-air-line-...2749.l2649
Regulator control valve: https://www.ebay.co.uk/itm/Push-in-Fitting...2749.l2649
Air Line: https://www.ebay.co.uk/itm/METRIC-Flexible...2749.l2649
Ball Valve:https://www.ebay.co.uk/itm/Push-in-Fitting-for-Discovery-3-Range-Rover-Sport-compressor-air-suspension-1-2/263052673362?ssPageName=STRK%3AMEBIDX%3AIT&var=562055205242&_trksid=p2057872.m2749.l2649
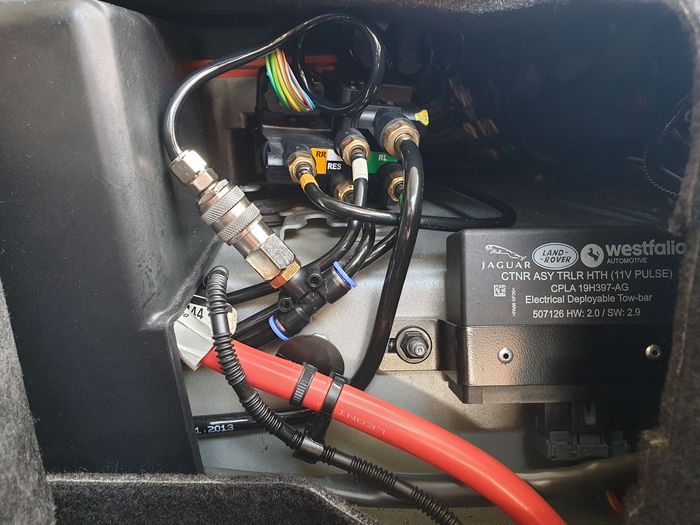
Firstly disconnect the power cable to the valve block, and then pull the valve block out, identify from the sticker the pipe that says RES (reservoir) take this pipe off with a 12mm spanner.
Next Grow some cohones and cut the pipe so you can install the T piece. Install the T piece push fit connector.
Take out the rear panel that covers the secondary battery, and cut a small channel to allow the air line to come through.
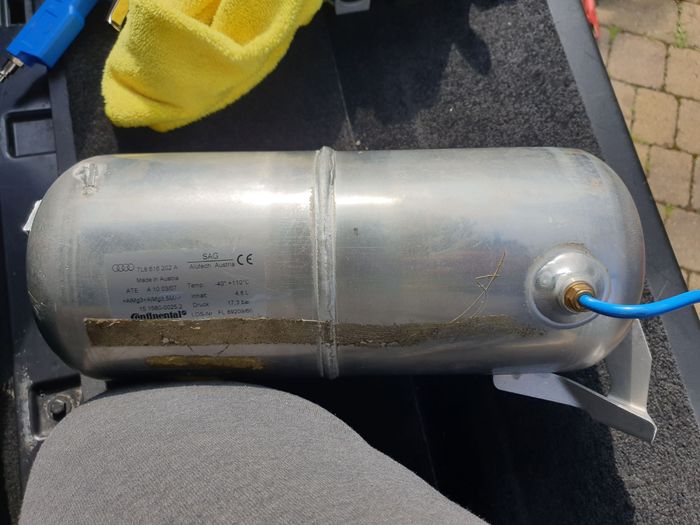
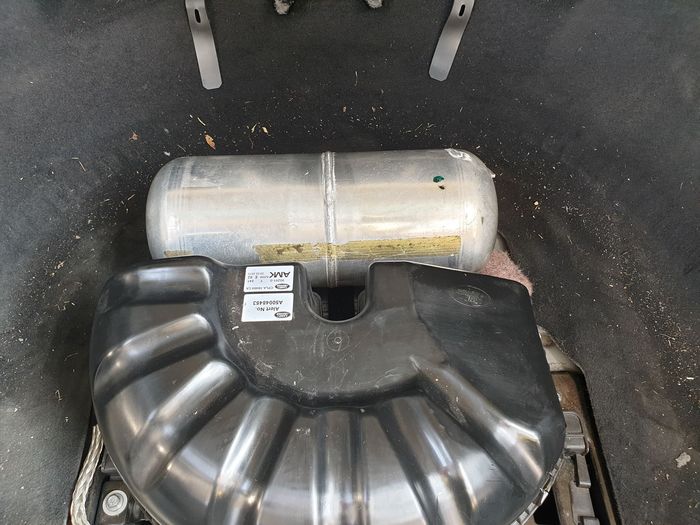
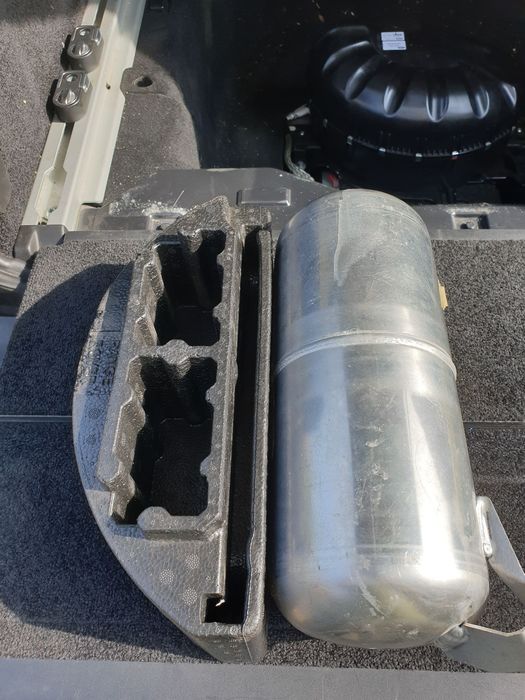
Run some 6mm X 4mm pnumatic line to where the secondary tank is going to be placed. I have opted to buy an Audi Q7 tank as its size is a perfect replacement for the factory chock holder and wheel brace. I pulled the carpet out and ran the pipe under the carpet, and two bolts hold the tank in place.
As you can see from this image below, the tank is the perfect size when compared to the factory chock holder
 | | Click image to enlarge |
Use the T piece to run a line to the tank, the compressor will simply fill both tanks at the same time and balance the pressure across the two. I tested this and deflated a tyre completely and then re-filled the tyre from flat, it took a matter of seconds and was by far the fastest I have ever inflated a tyre, the capacity of the tanks combined really do help to provide additional options. P.S. The reason for the straight connector, is to that if it all went wrong for some reason its a 5 minute job to reverse. and yes... I did hoover out and clean the boot space when done  
|


![]()

